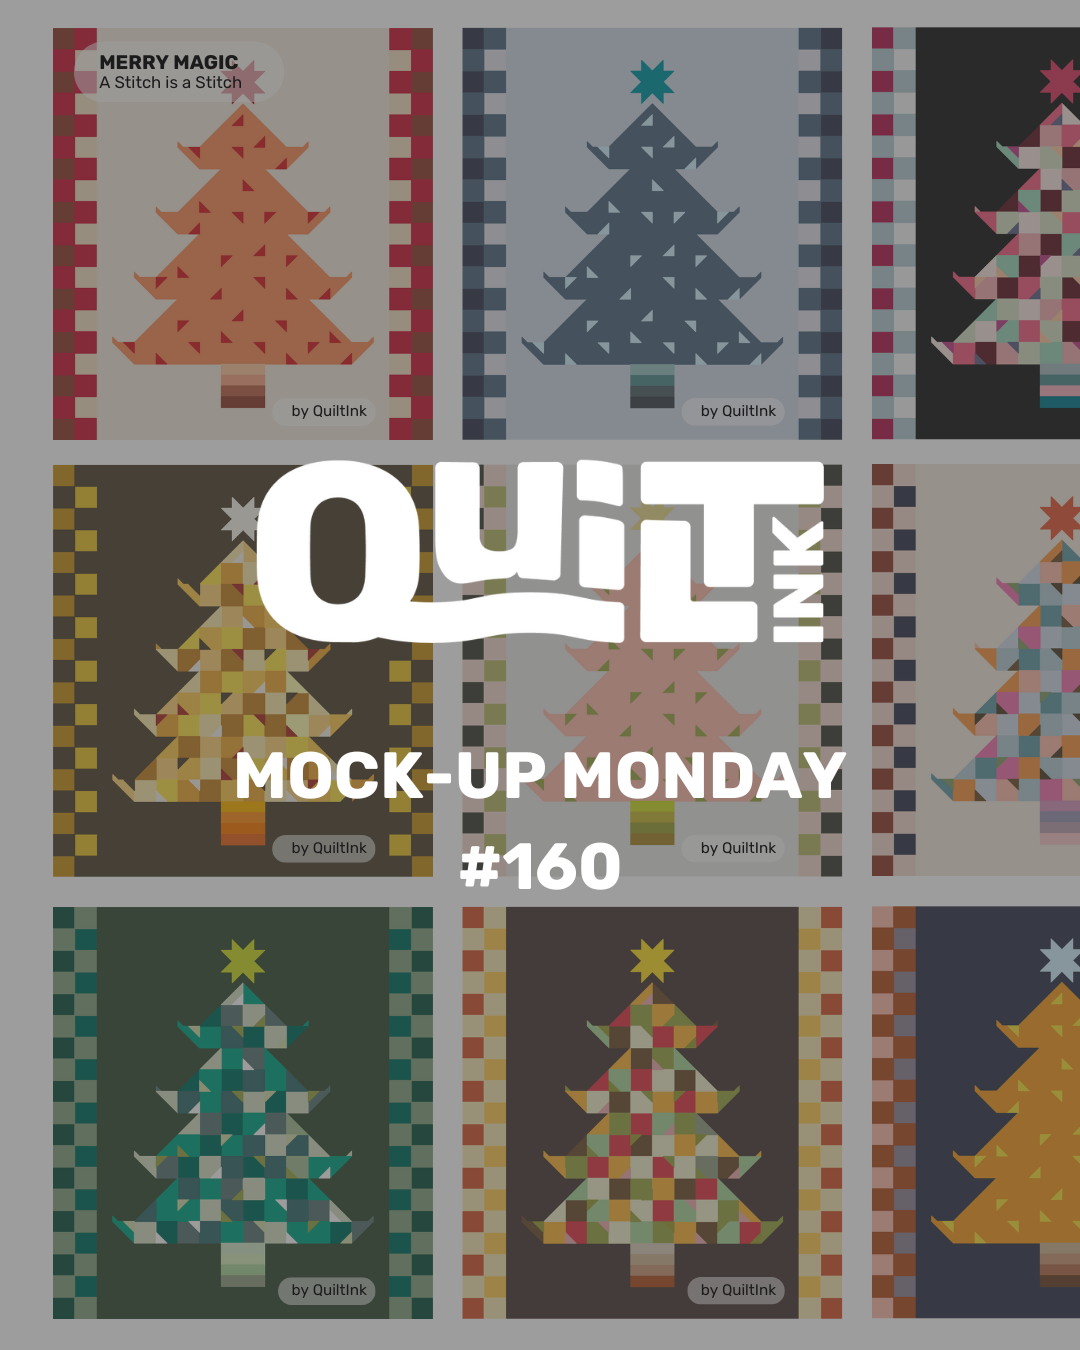
Mockupmonday #107

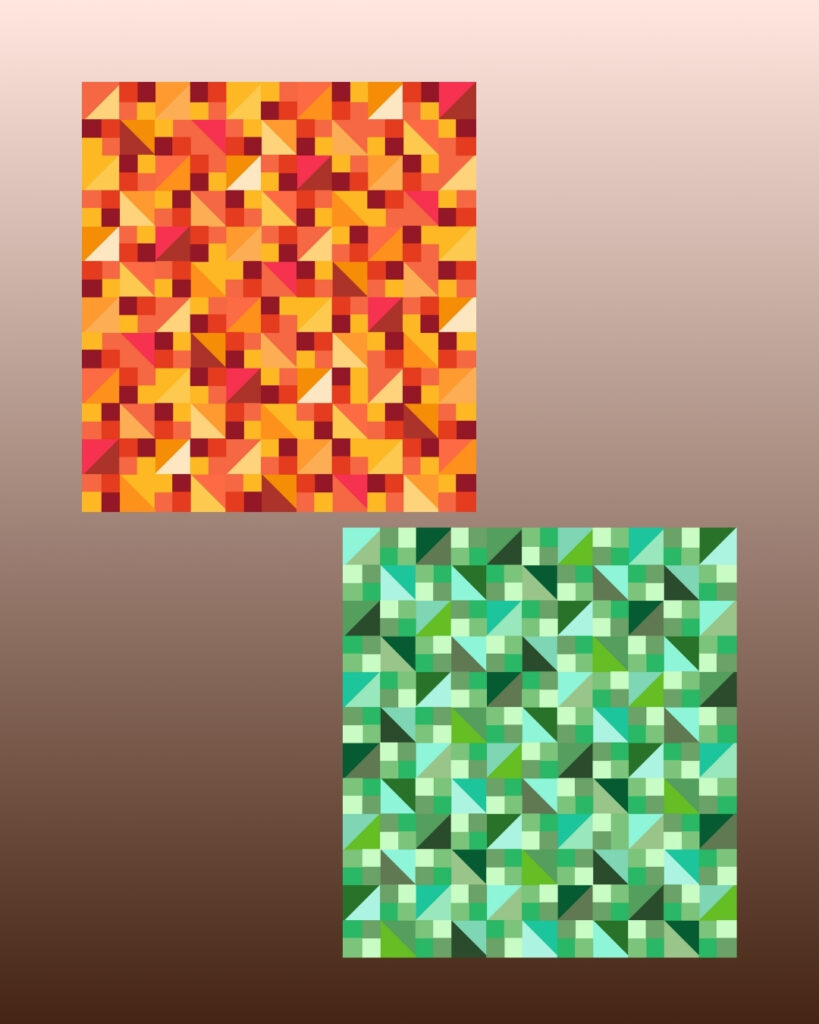
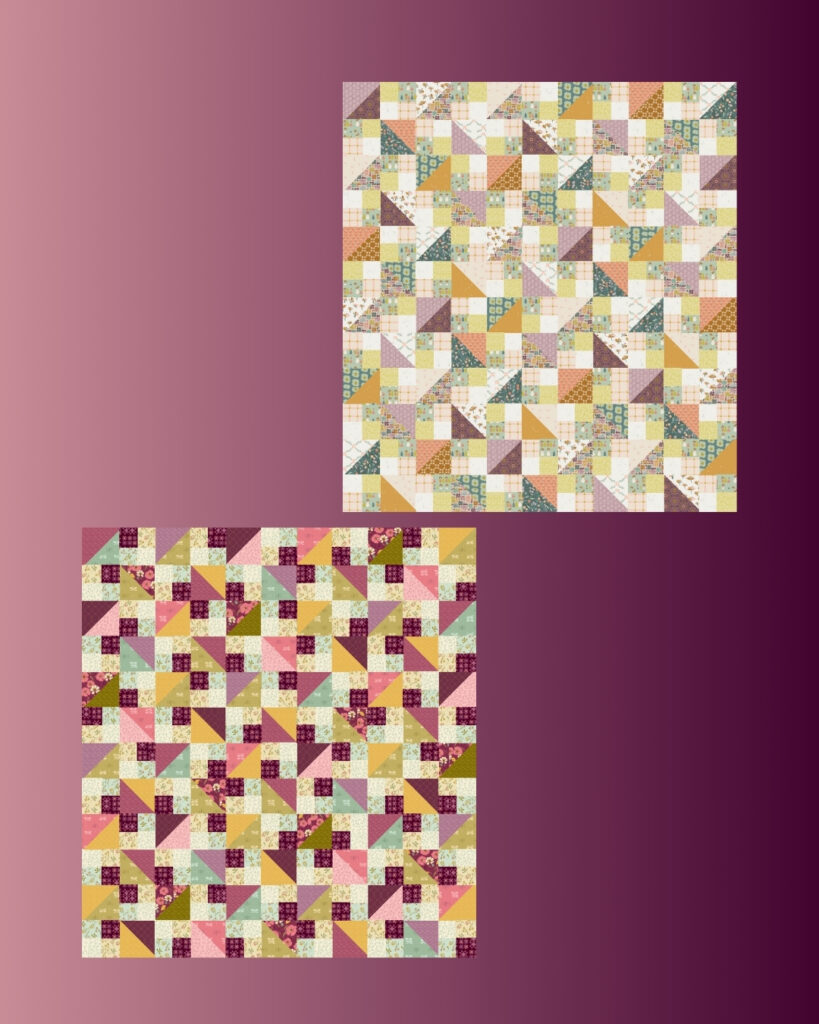
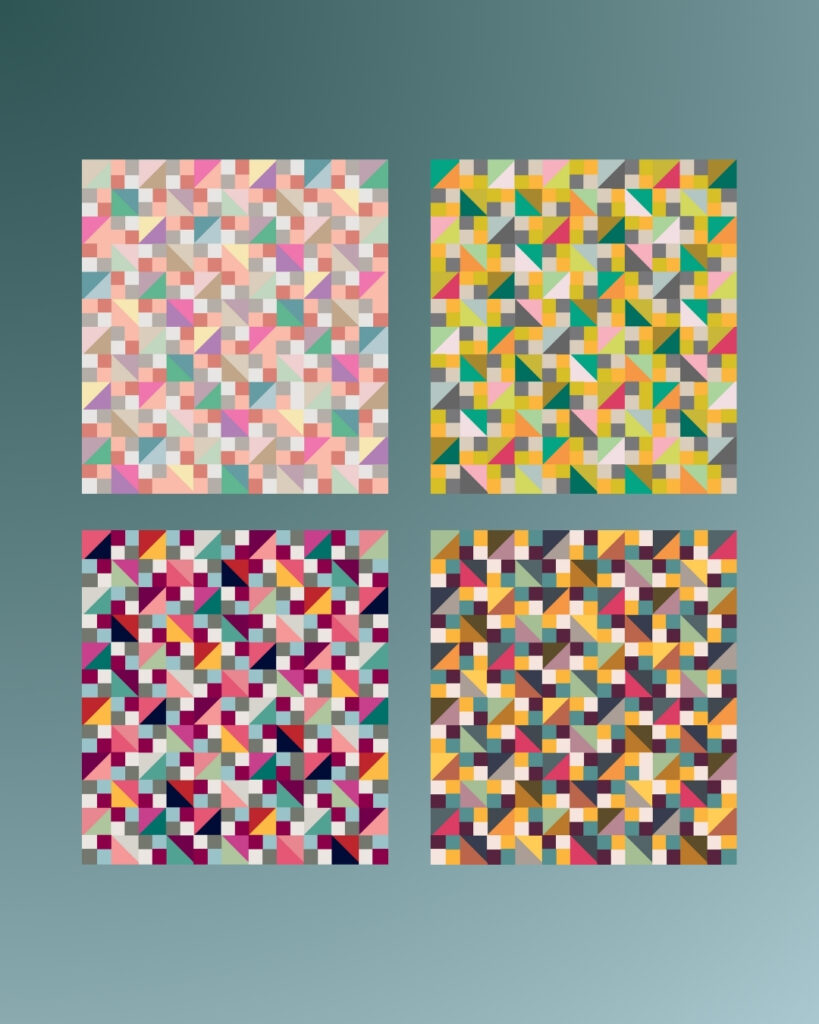
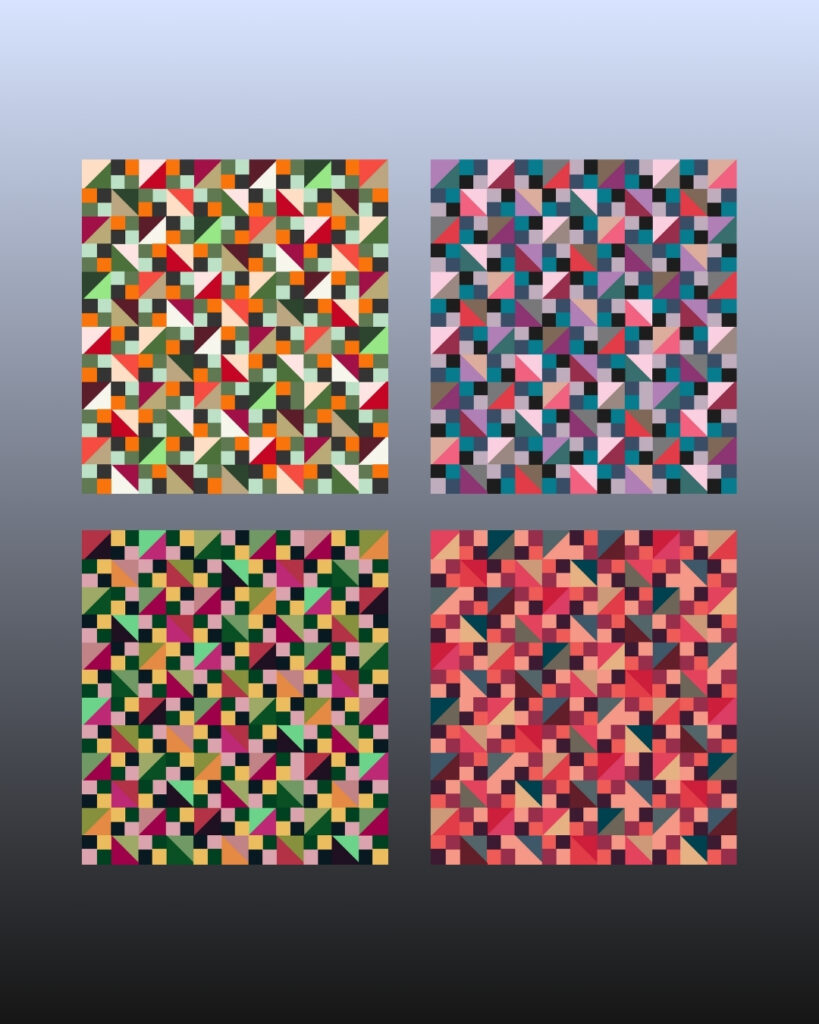
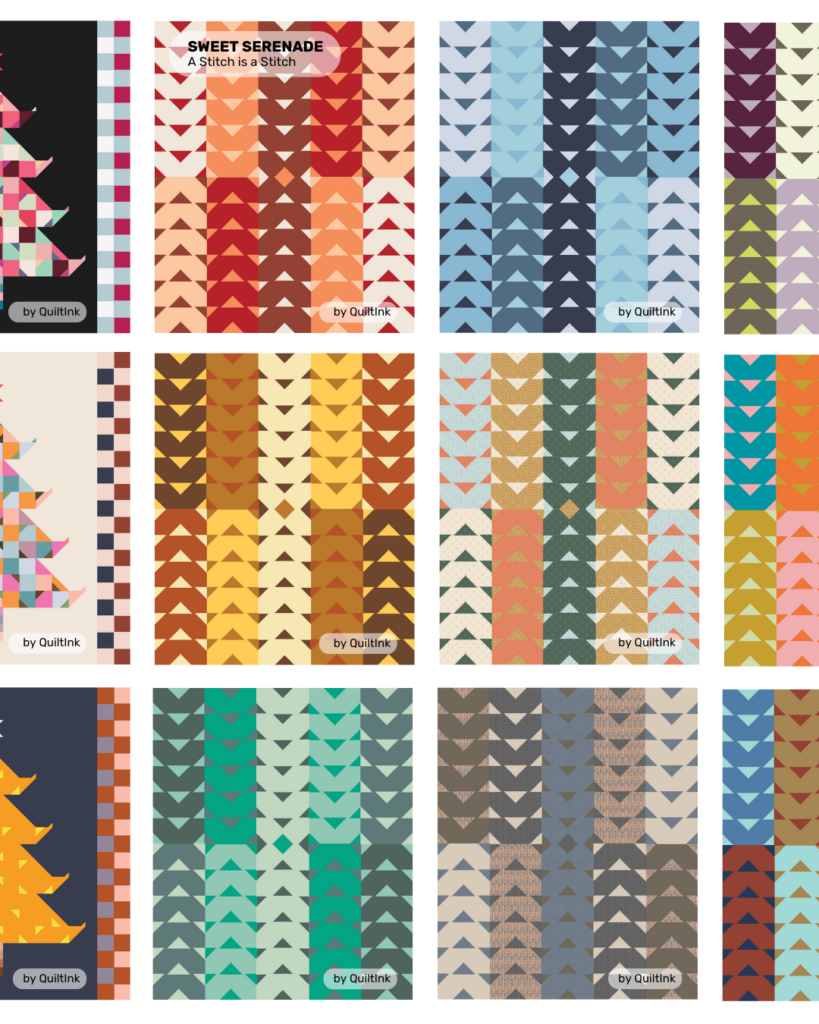
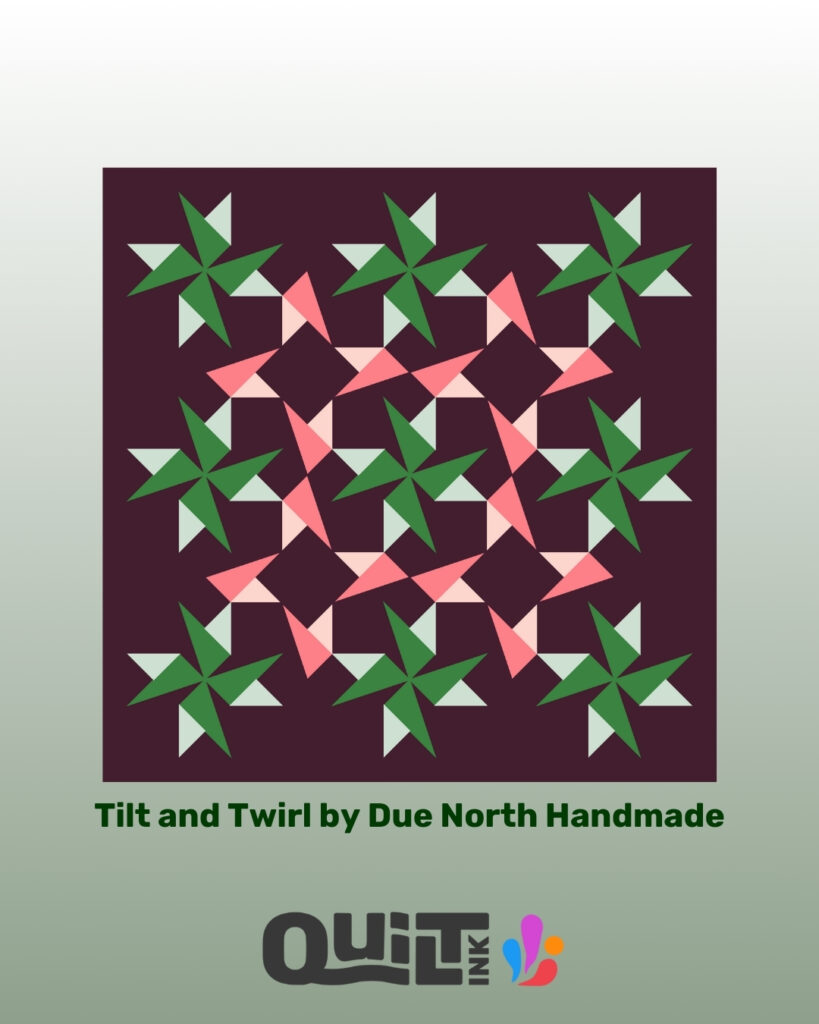
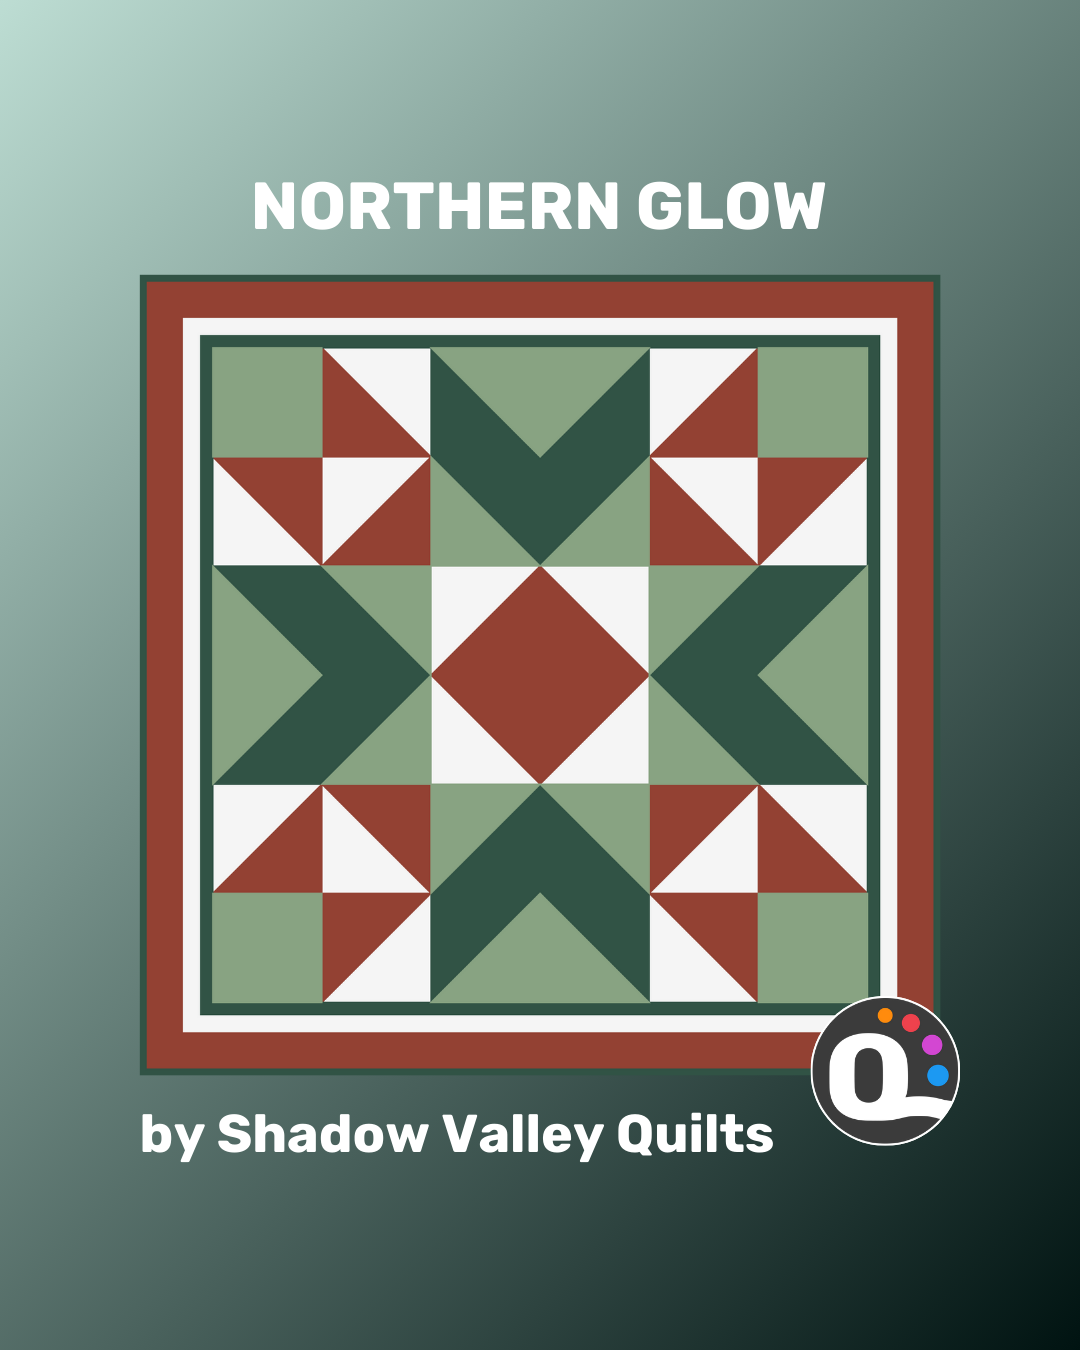
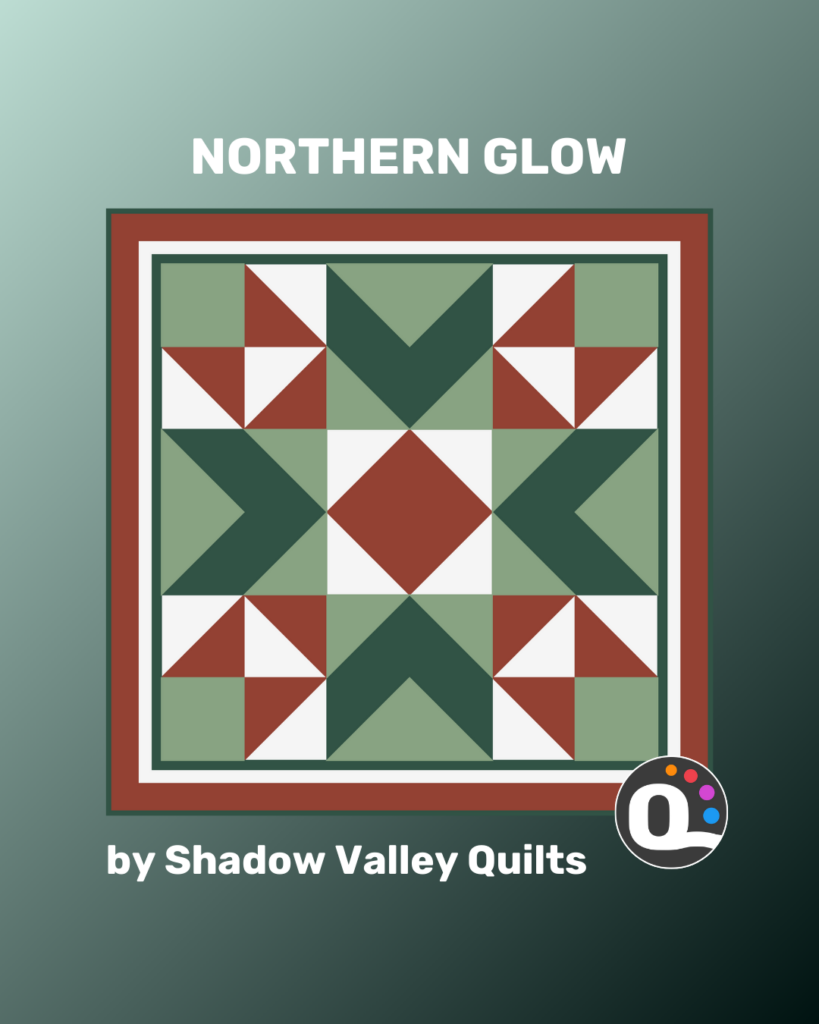
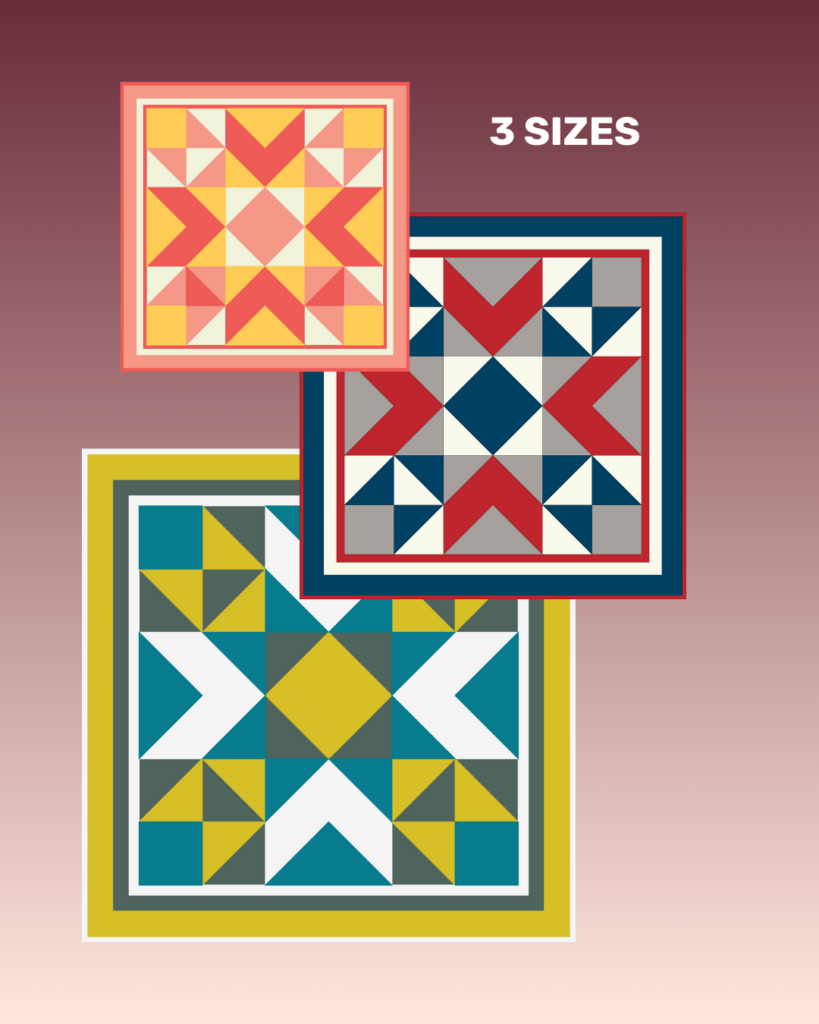
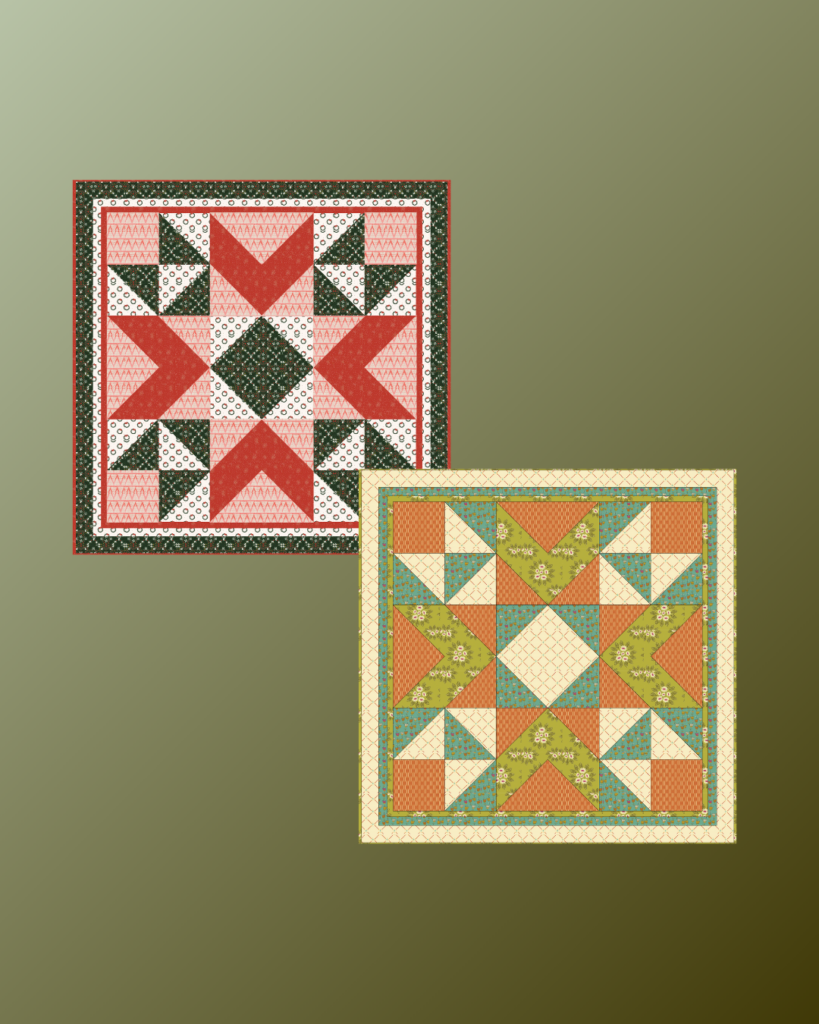
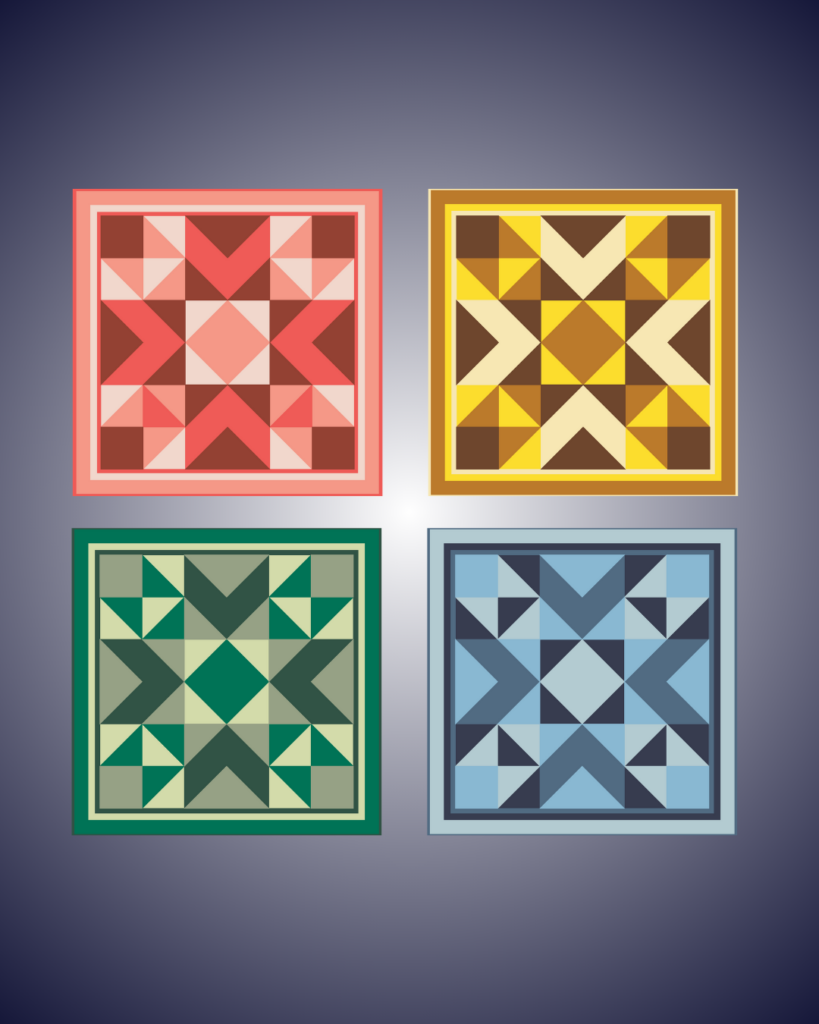
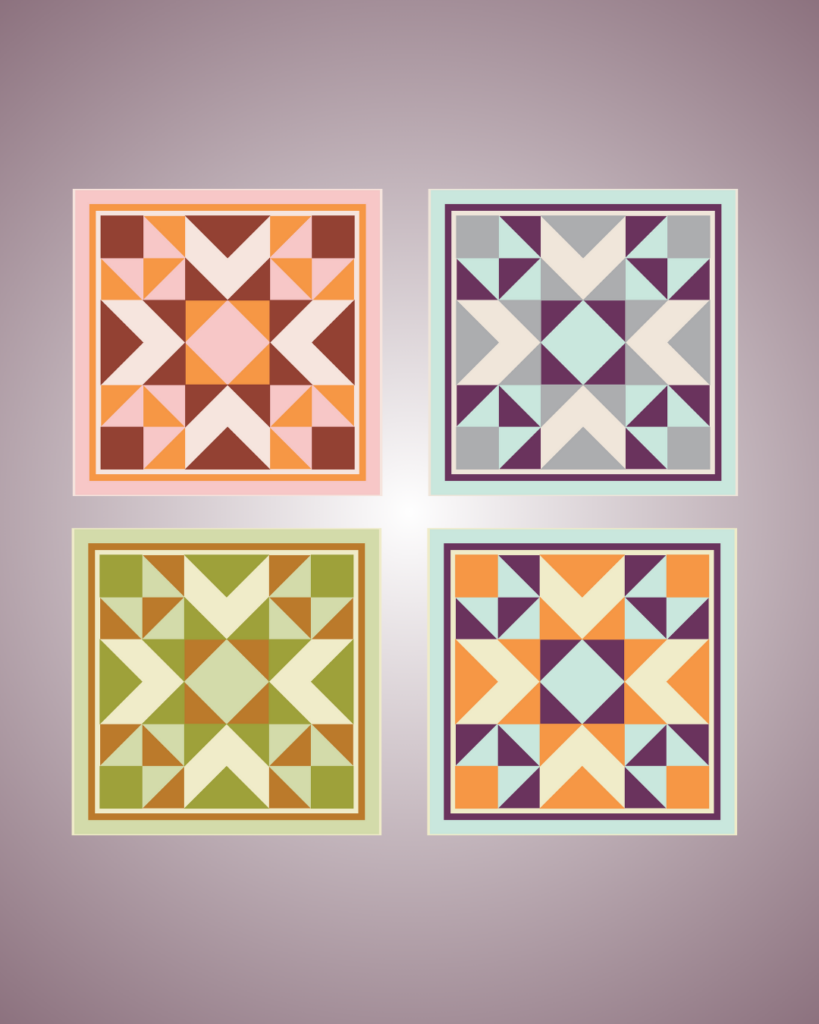
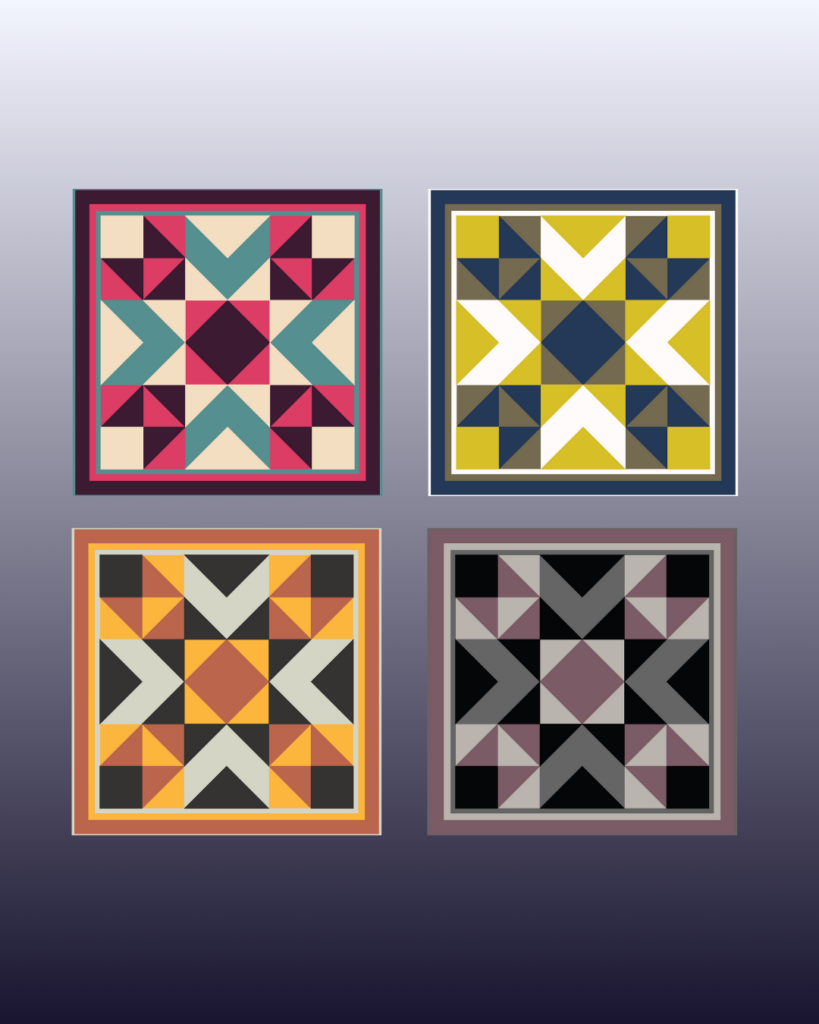
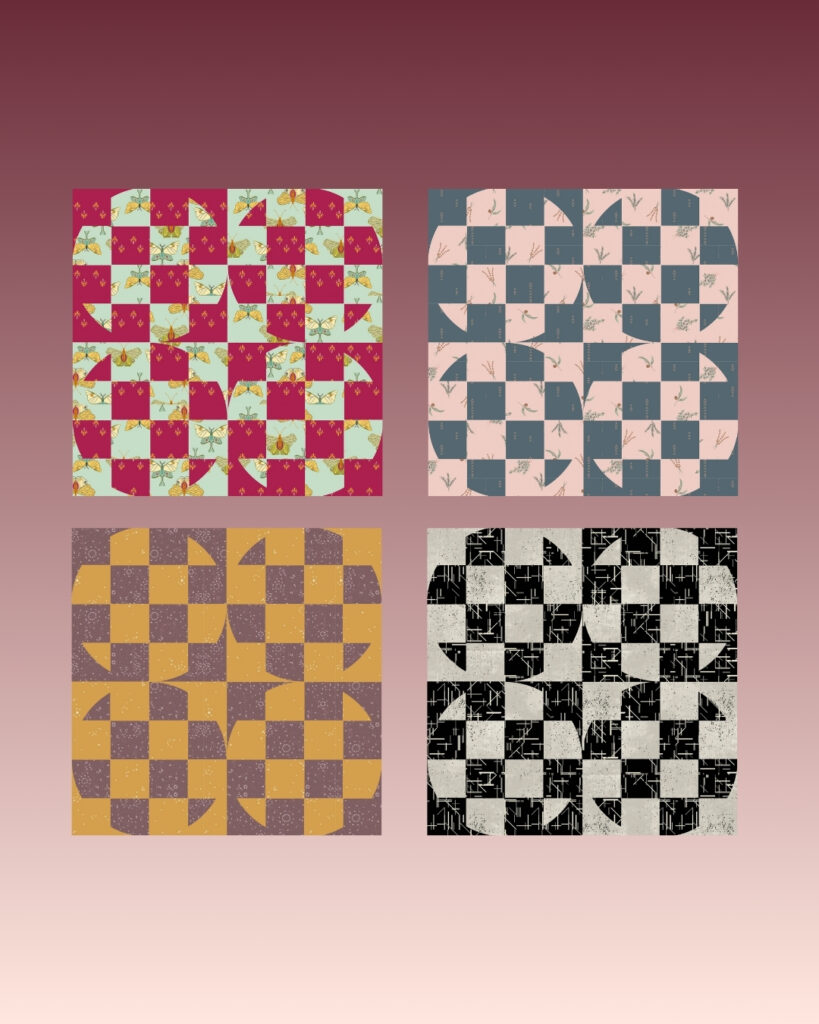
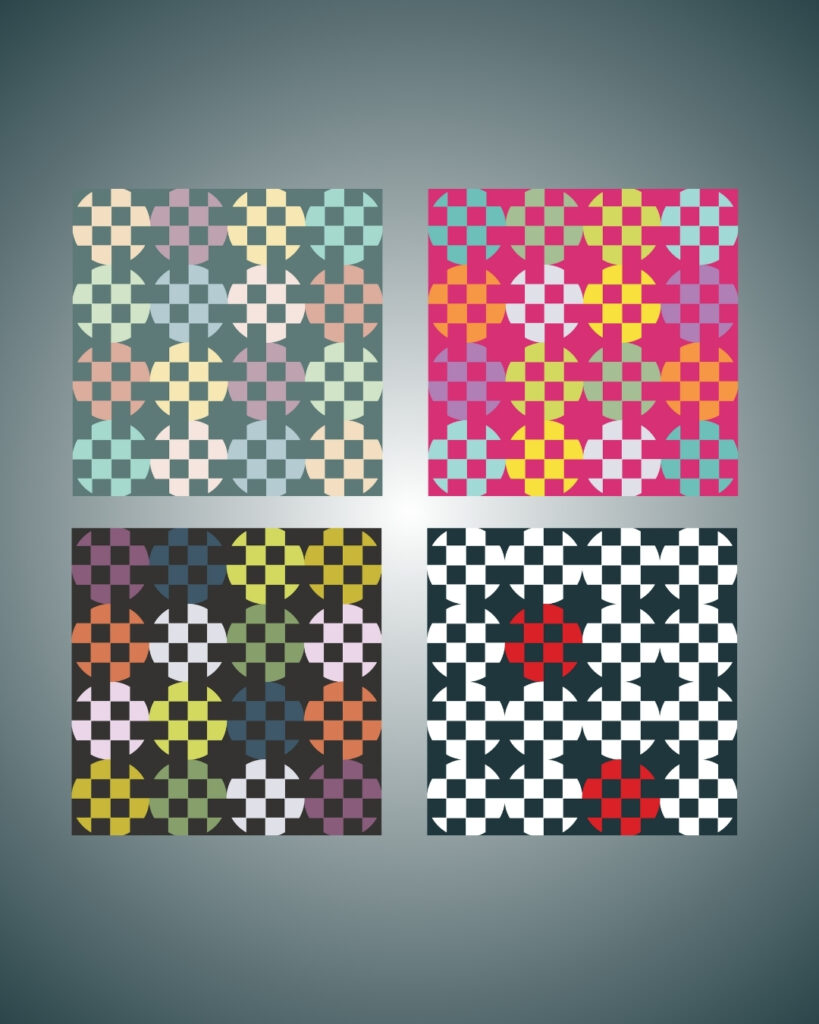
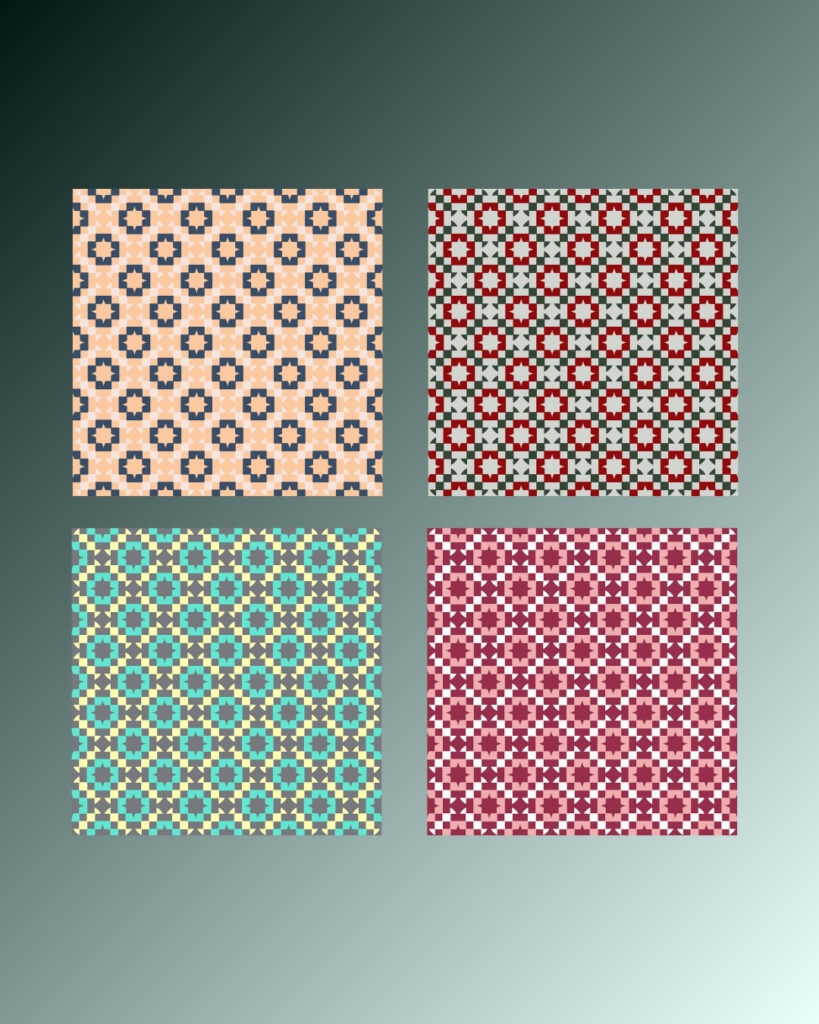
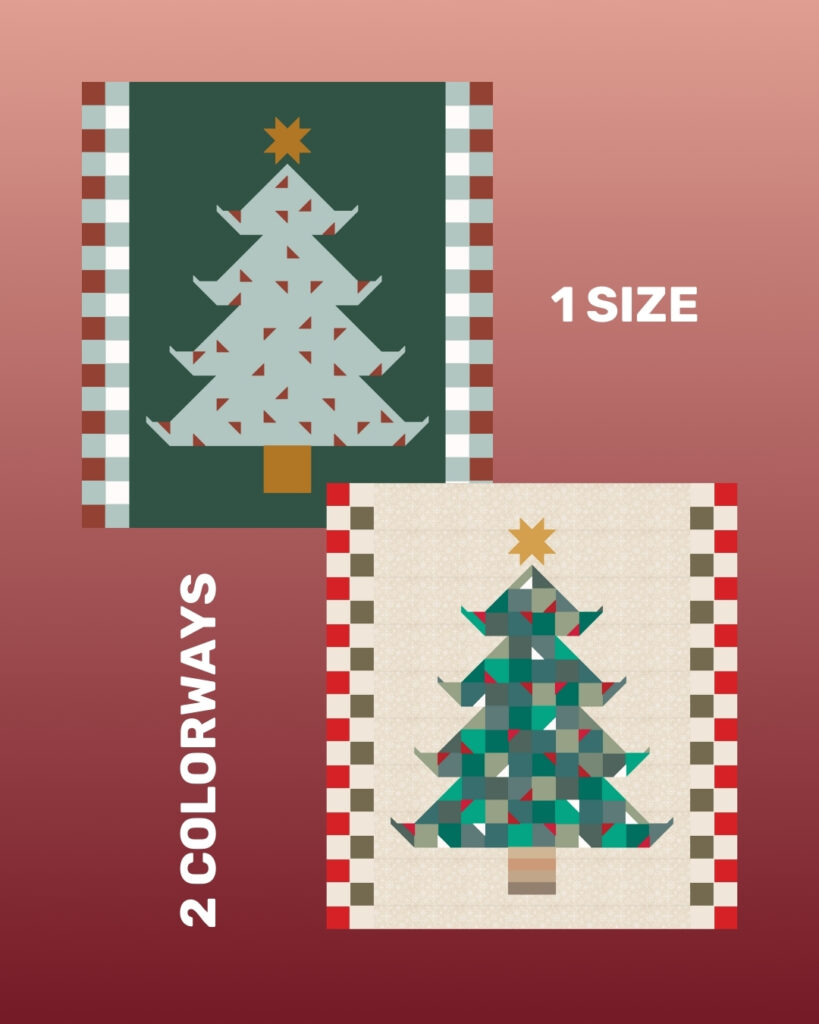
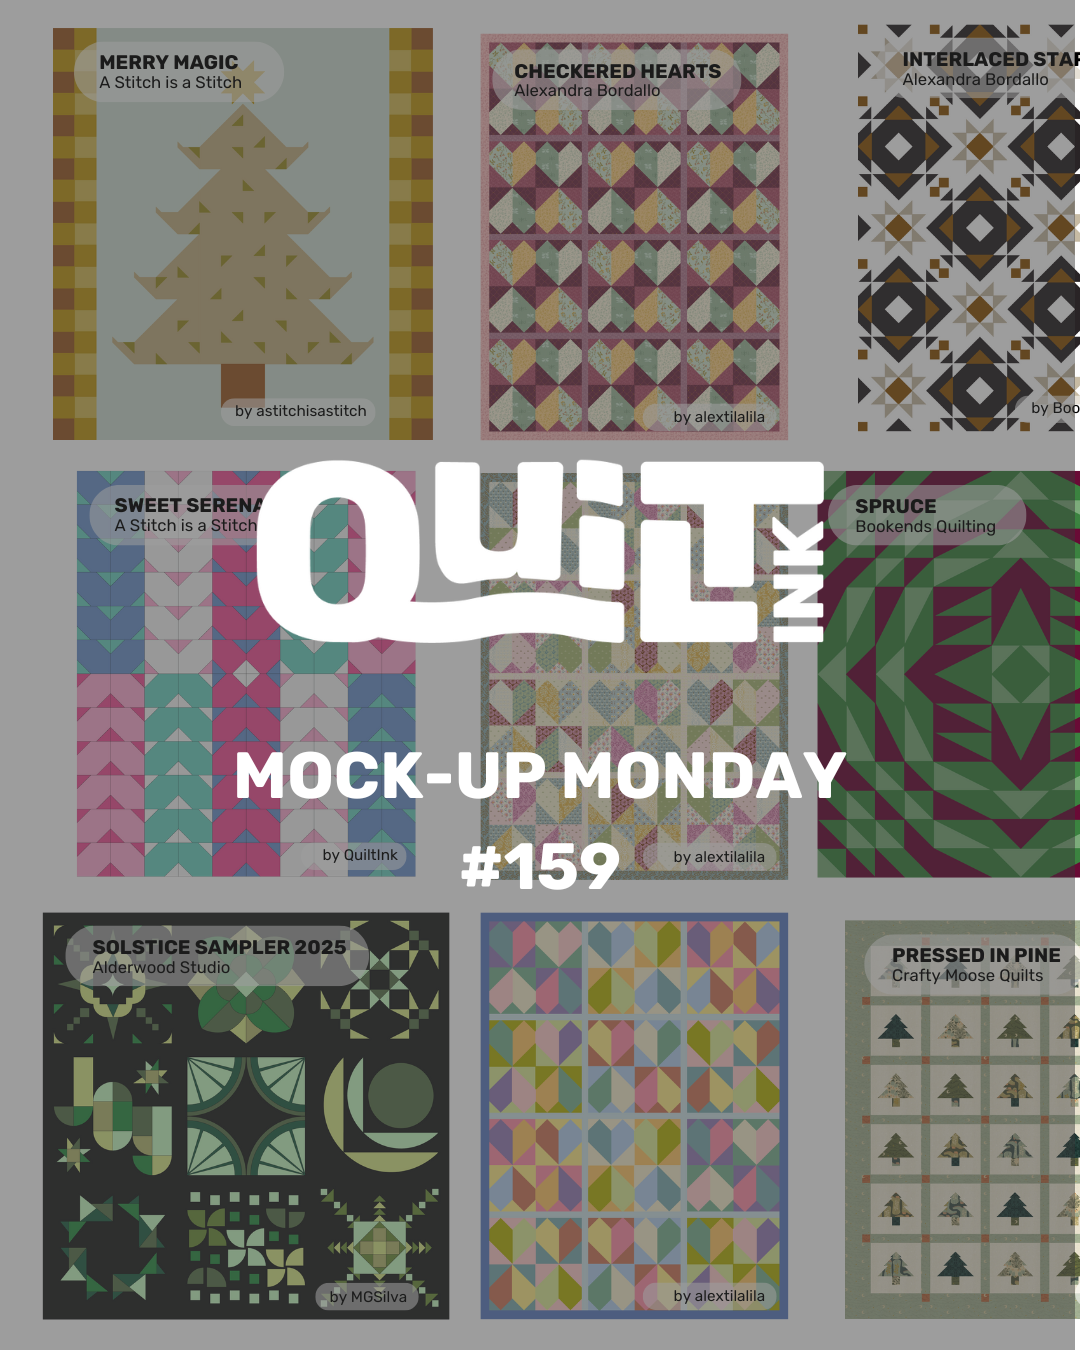
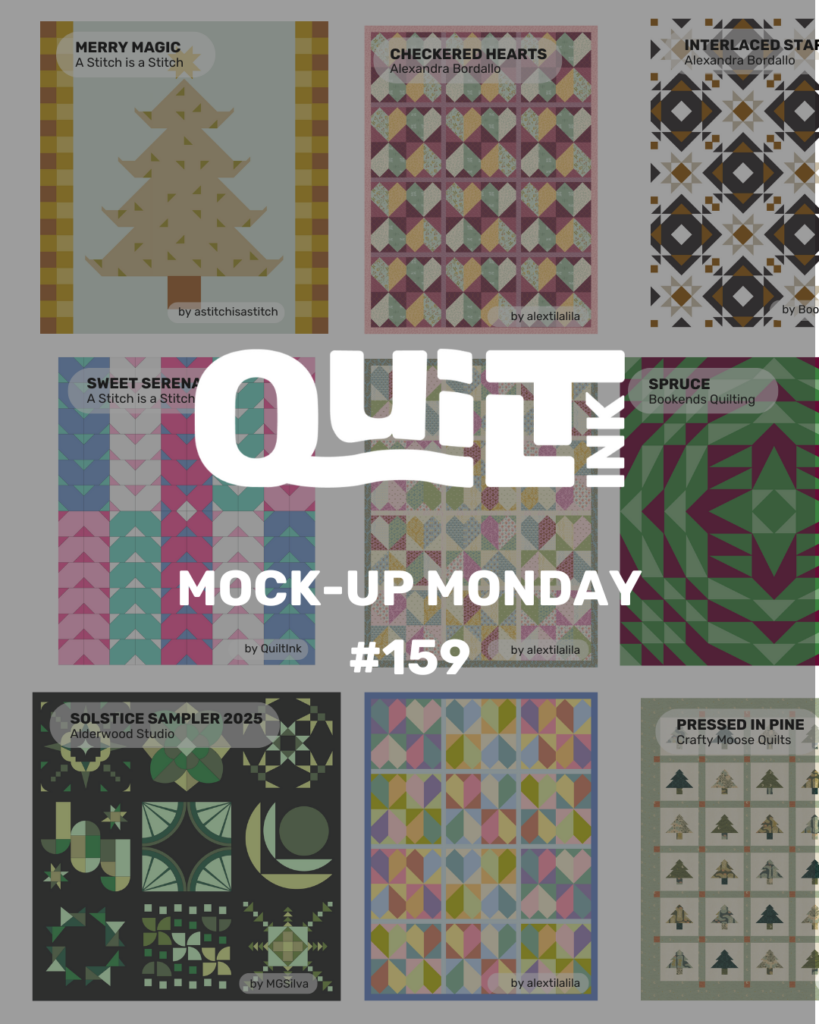
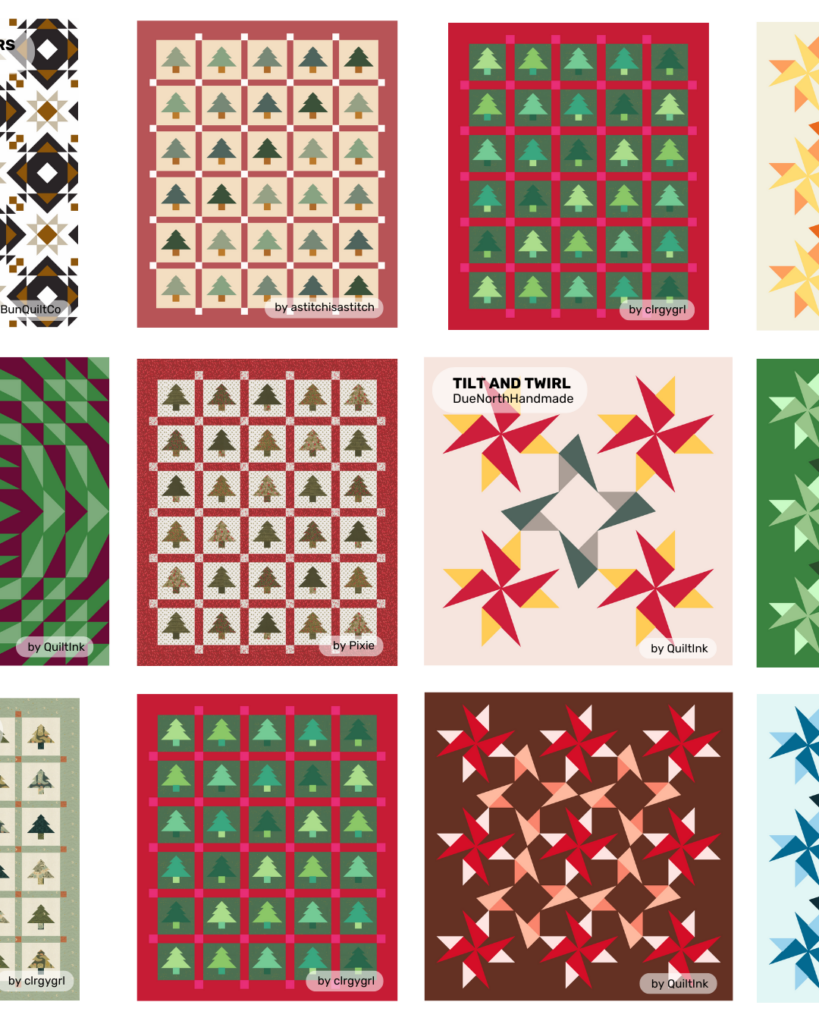
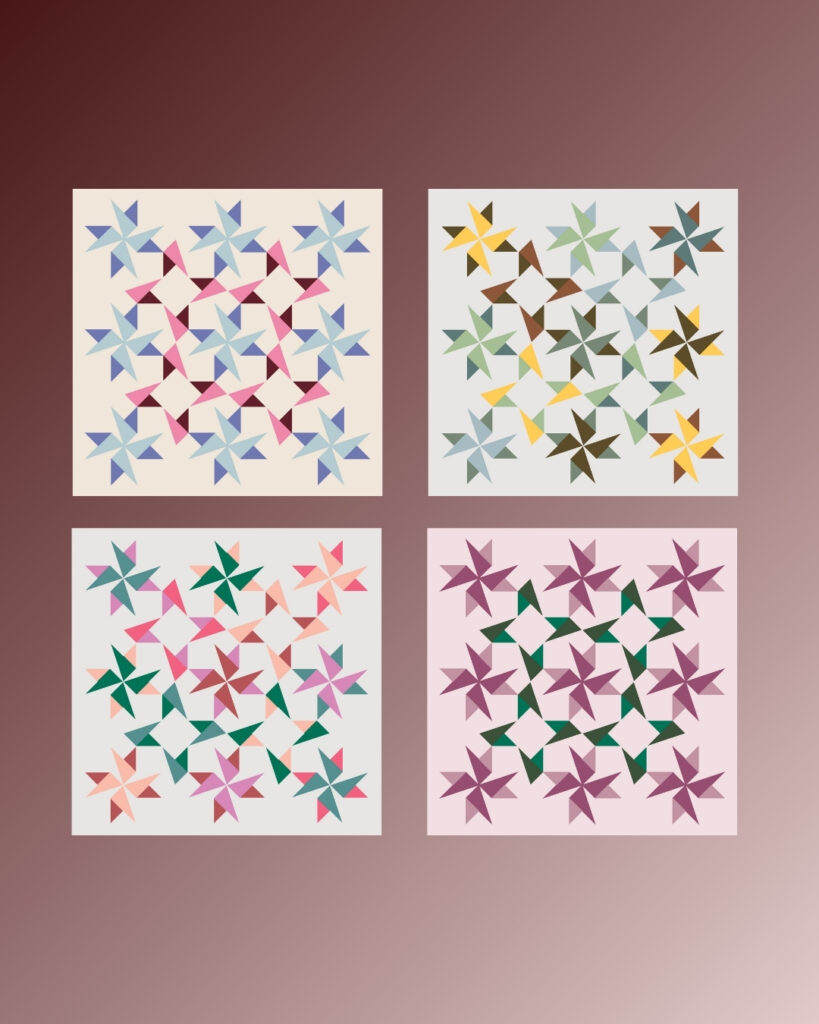
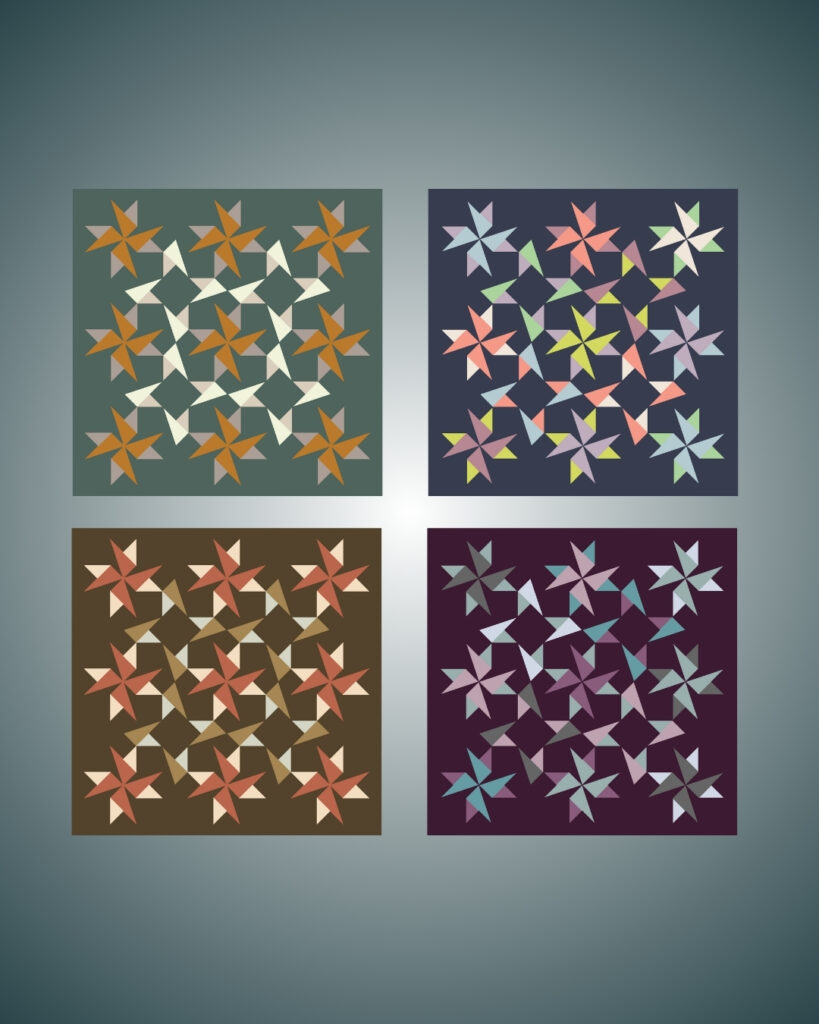
🎨 It’s Mockup Monday #107! 🎨 This week, we’ve got more than 100 incredible mock-ups from our amazing community—so much inspiration in one place! Whether you’re looking for new ideas or just love seeing creative designs come to life, the QuiltInk Wall is the perfect space to explore.

Haven’t joined yet? Don’t miss out! Register now and become part of our growing community. Share your own mock-ups, get inspired by others, and let your creativity shine! ✨ We can’t wait to see what you create next!

New Patterns: Del Sol

TitleDel Sol

DesignerSewspicious

Technique: Piecing with templates

Sizes: 1

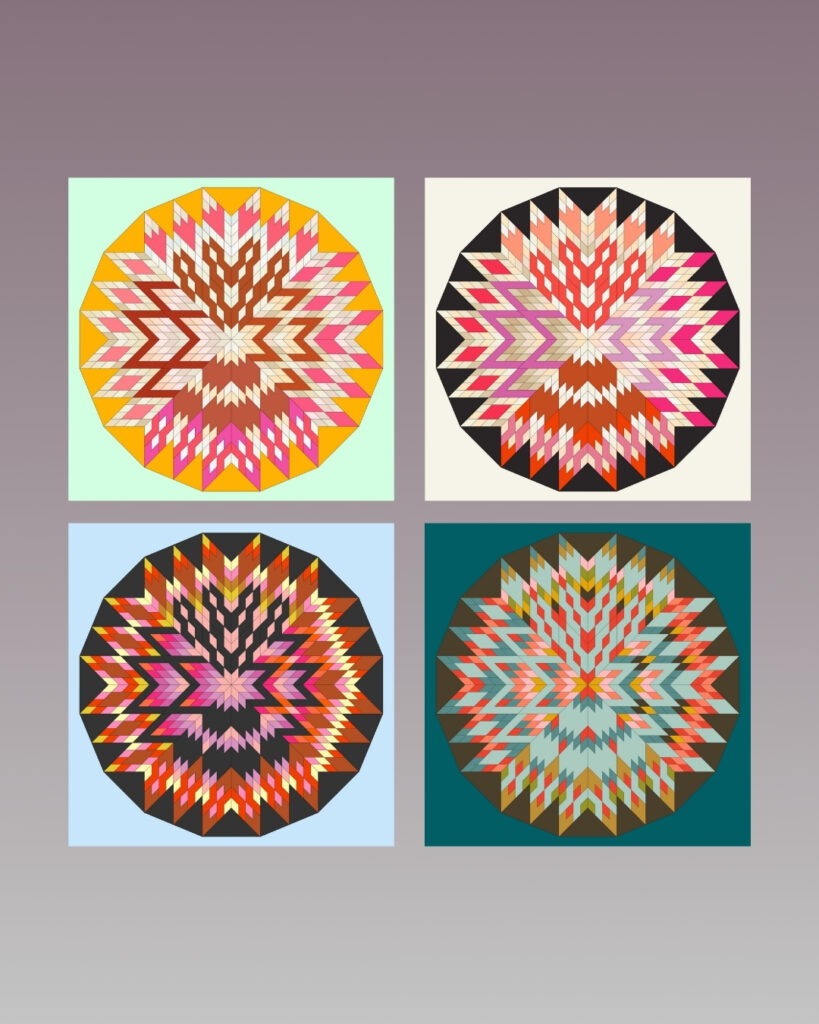
Get ready, quilters! In just 3 days, the Del Sol pattern by Vickeidy from Sewspicious is launching! This stunning design is inspired by the breathtaking sunsets of her Caribbean island home, capturing the beauty of the sea, sun, and vibrant skies.
 
The Del Sol pattern is template-based and offers two options: print-at-home templates or a large-format A0 file, so you can choose what works best for you. 🌅✨
 
Come to QuiltInk and color your next project with this radiant design! Share your mock-ups on the QuiltInk Wall to inspire others — we can’t wait to see them all!

New Patterns: Dog Star

TitleDog Star Quilt

DesignerPlains and Pine

Technique: Regular piecing

Sizes: 5

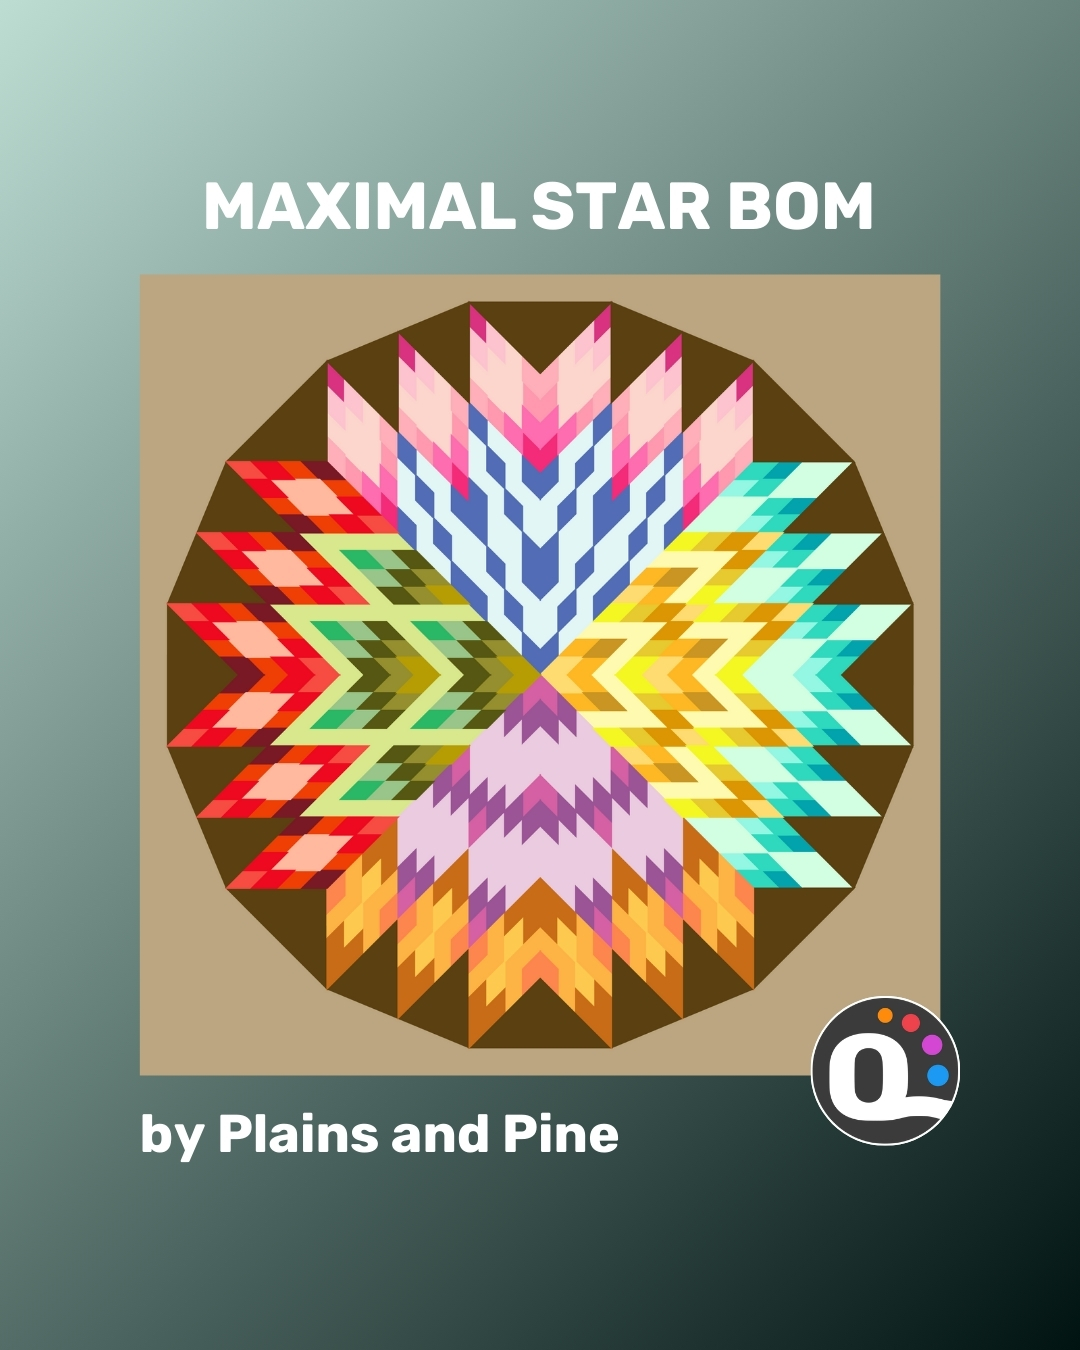
✨ Ready for a new star in your quilting lineup? ✨ Just 2 days ago, Lindlee of Plains and Pine released her stunning new Dog Star Quilt Pattern. This beauty is perfect for both prints and solids—so let your creativity run wild!
 
  💡 Before diving into your project, check out the amazing mock-ups on the QuiltInk Wall for inspiration and ideas. Then, head over to QuiltInk to color your own version! We can’t wait to see what you create! 🎨🖌️
 
Tag us and share your mock-ups—your design could inspire others! 🙌

QuiltInk Challenge Oct24

Are you ready for a new creative challenge? For October, I’ve chosen the Garden Dreams palette, a stunning fabric line by Amber Elliot of Alderwood Studio. Amber’s love for gardening and the changing seasons is beautifully reflected in her designs, making this palette perfect for our autumn-themed challenge.


Garden Dreams is Amber’s debut fabric collection, and it captures the anticipation of spring and the joy of watching a garden bloom. Amber, a talented modern quilt pattern designer, fabric designer, and educator, draws her inspiration from the Pacific Northwest’s natural beauty. Her designs bring a sense of calm and creativity, perfect for quilting projects.


Before we begin, let’s give a huge congratulations to MissJonge, the winner of the September Challenge, who has won a yearly Supporter Subscription!


We can’t wait to see all your incredible creations using this dreamy palette. Don’t forget to share your mock-ups with us on the QuiltInk Wall!

Garden Dreams is the first fabric line by Amber Elliot of Alderwood Studio. What she tell us about it?

“As a passionate gardener, my life revolves around the garden and the ever-changing seasons. Each year, as the late winter approaches, I find myself daydreaming about what my garden will look like in the coming year.  While I wait for the spring weather to arrive I start my seeds and daydream about spring days warmed by the sun, leaves emerging from their long winter slumber, fluffy clouds passing by on a cool breeze, and the first wild roses.”

Start planning your upcoming quilting projects with this wonderful fabric collection as you join our monthly challenge!


Note: Garden Dreams fabric collection has been released on September 2024 ans is now available in shops!

Amber Elliot

Amber is a modern pattern designer, author, fabric designer, and educator. She runs the Modern Makes Membership, teaches technique and pattern writing courses, and releases modern patterns under the Alderwood Studio brand. She designs fabric for Riley Blake Designs, and draws inspiration for both her fabric and her quilt patterns from the natural beauty of the Pacific Northwest. Amber lives in Portland with her two small children and enjoys gardening, painting, and knitting in her free time.

How to participate
 
1. Access to www.quiltink.com, sign in or create your free account.
2. Choose a pattern from the main page.
3. Color the pattern using the challenge palette, it’s the first palette in solid palettes list.
4. Share your mock-up on our #quiltinkwall.
 
5. Boost your chances creating a post or story on Instagram, mentioning @quilt_ink and @alderwoodstudio, and tagging #QuiltInkChallengeOct24. It counts as 2 entries in the giveaway.
 
Prize: a Garden Dreams 12 FQ Bundle!!
 
Selection: On November 1st, we will pick 1 mock-up randomly chosen between all the mock-ups in the Wall made with the QuiltInk Challenge Oct24 palette (the ones with the gift icon).
 
The more mock-ups you create, the higher your chances of winning! Start coloring now!
 
This giveaway is open internationally. You must be at least 18 years old. This giveaway is not sponsored by Instagram. Participants release Instagram of any responsibility and agree to IG terms of use.
 

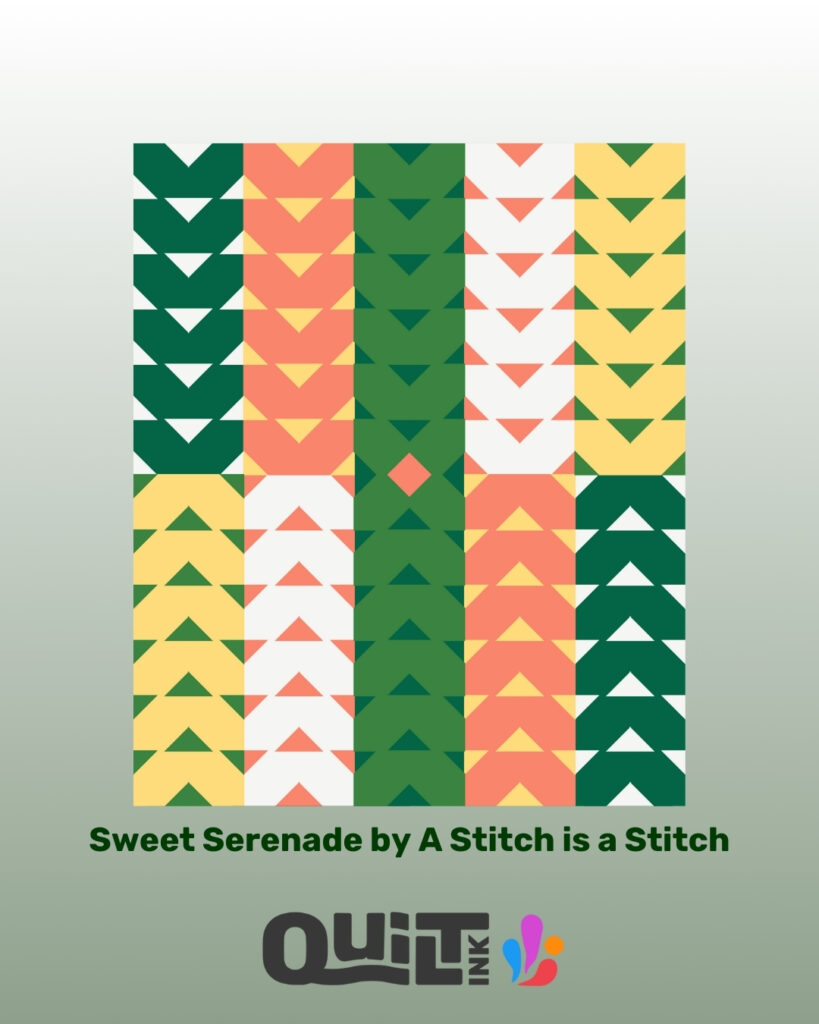
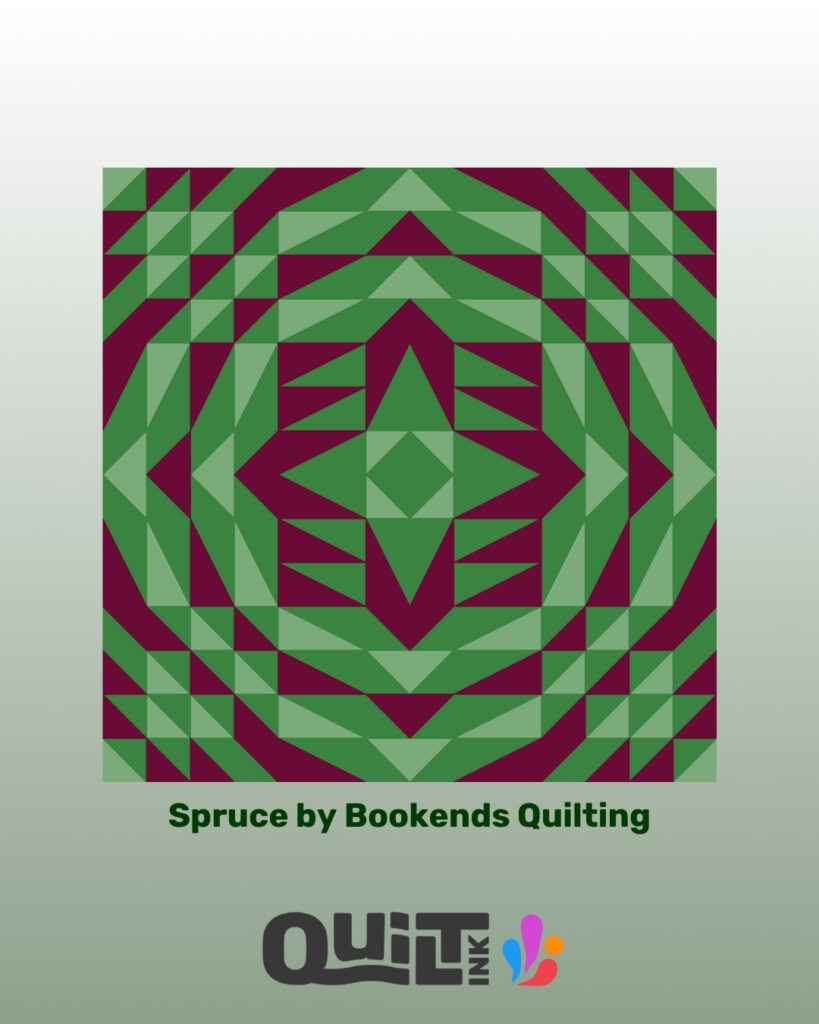
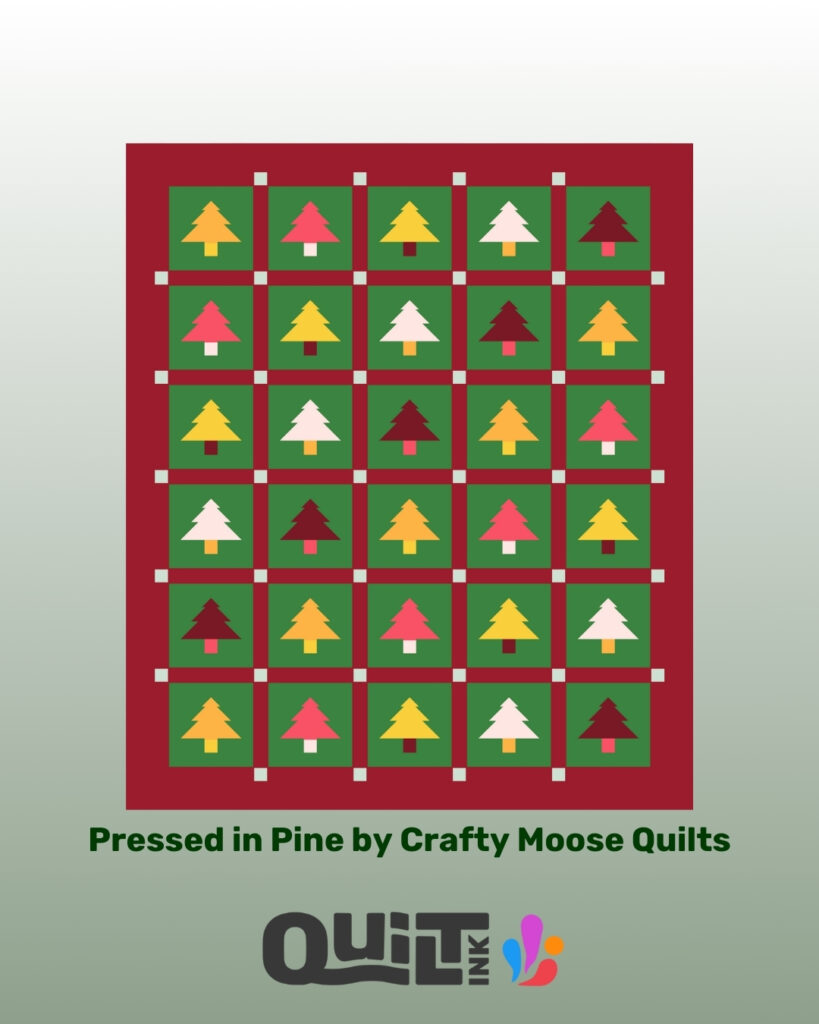
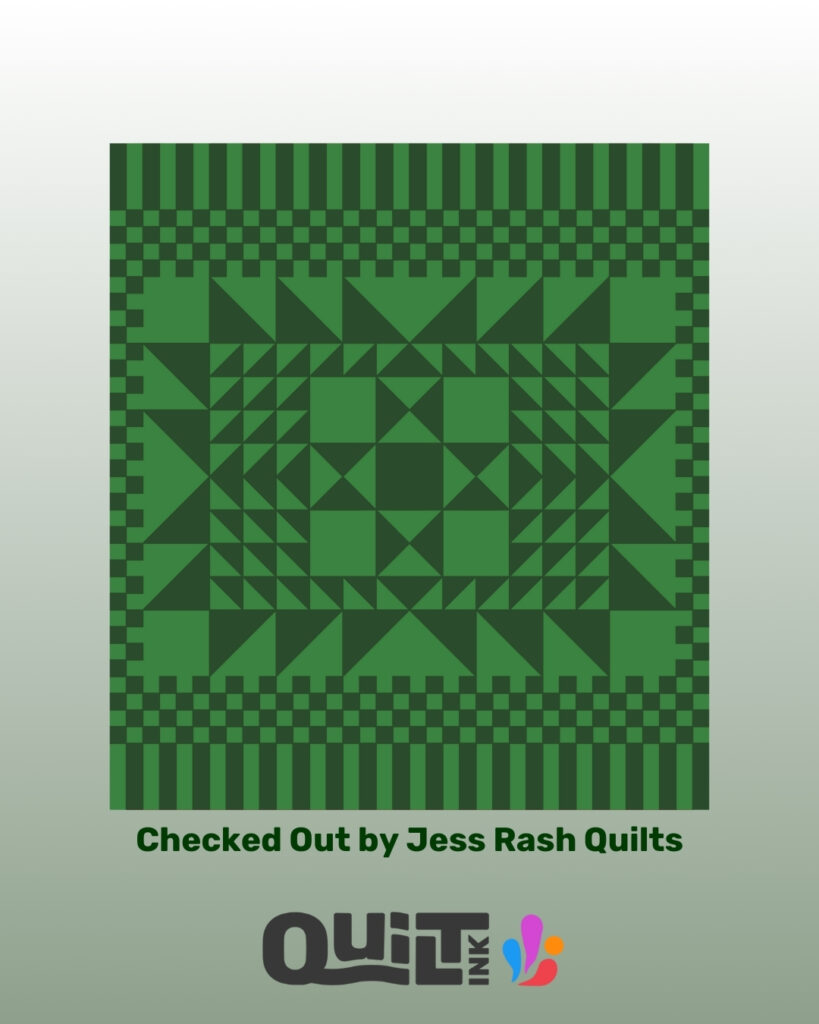
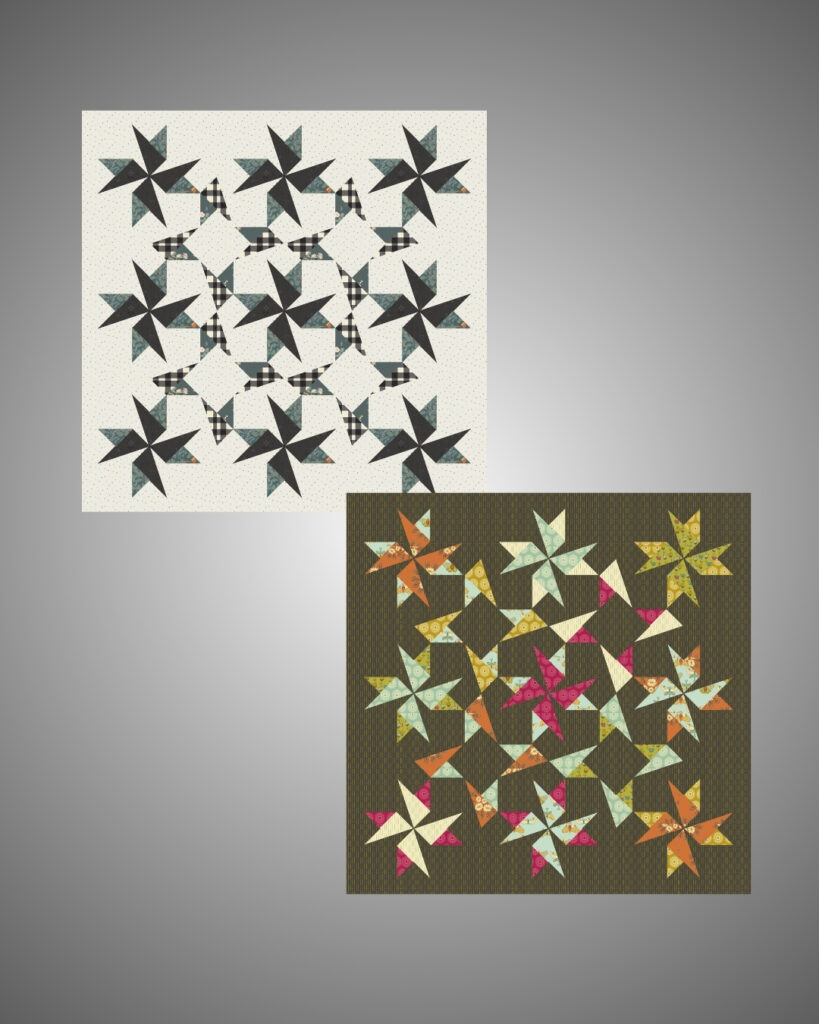
Here are some examples of quilt patterns mock-ups using the Garden Dreams palette in QuiltInk! I love them all!


Remember by clicking on the gift icon in the QuitlInk Wall you will be able to see all the mock-ups for the Challenge alive.

If you are wondering where you can find the QuiltInk Challenge palette, check the following video!


Pattern featured in this video is:

Cross Track by CMarie Quilts

And here you can check the Oct24 Challenge fabrics. Aren’t they amazing?

We can’t wait to see all your mock-ups! 

Happy coloring and quilting to you all!

New Patterns: Labyrinth

TitleLabyrinth

DesignerColleen Sews

Technique: Regular piecing

Sizes: 4

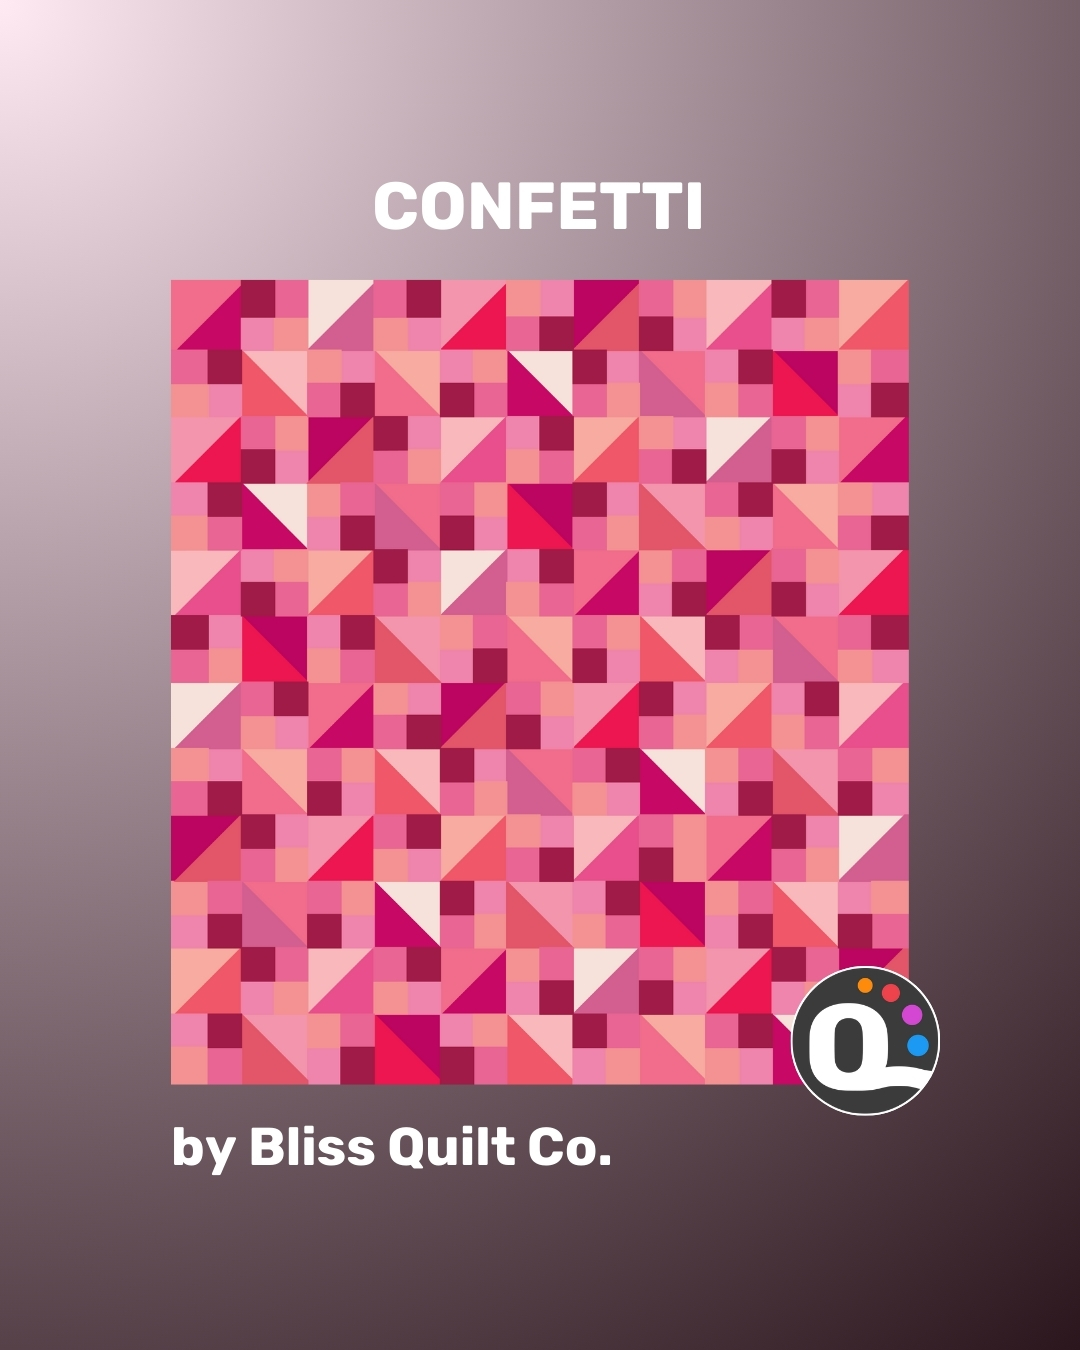
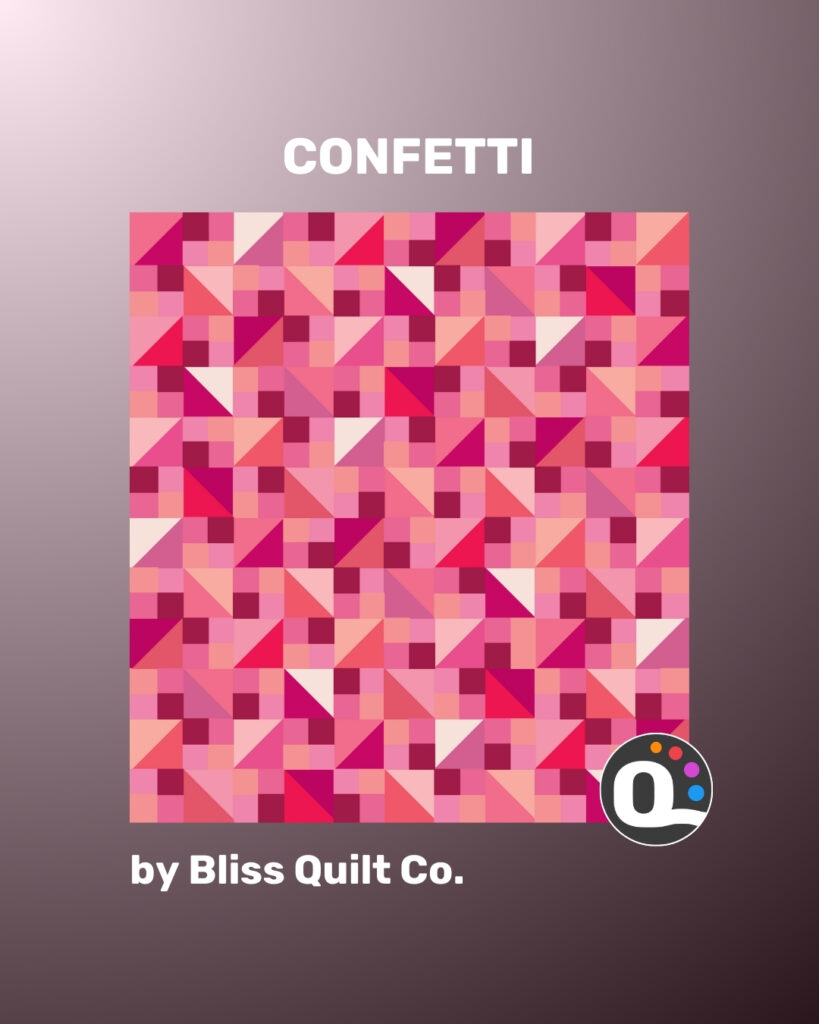
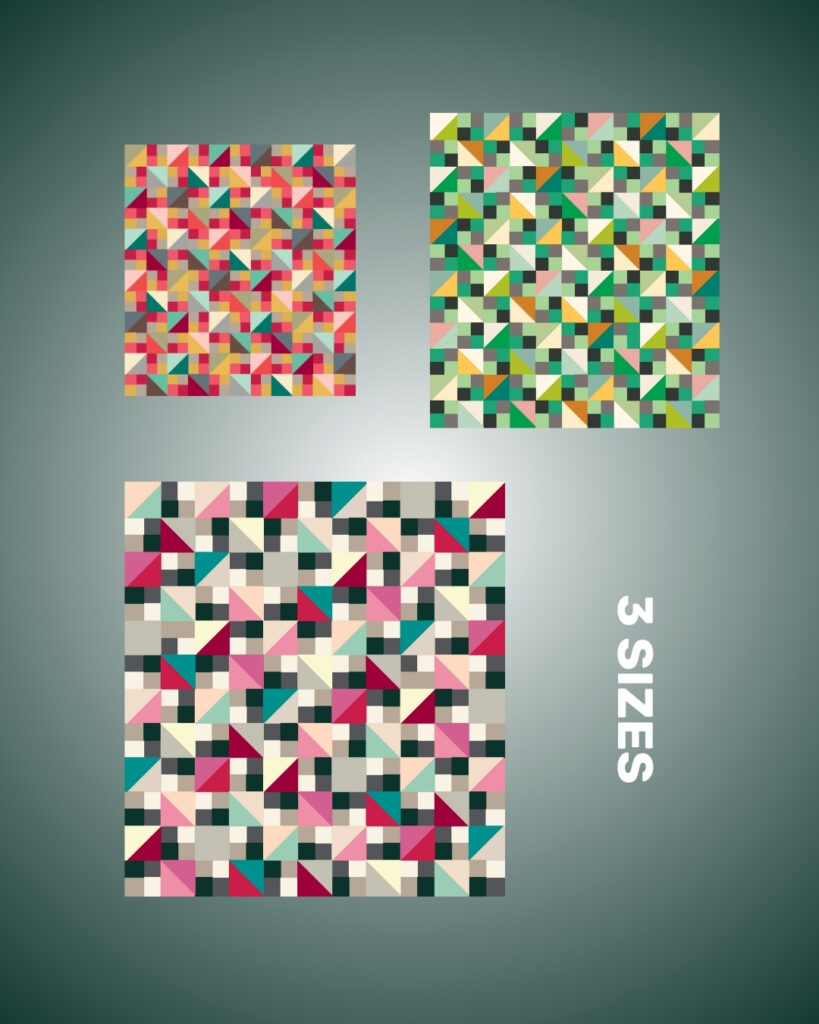
The Labyrinth pattern by Colleen from Colleen Sews is now activated on QuiltInk! This stunning quilt, filled with half-square triangles, is perfect for both prints and solids, and looks amazing with dark or light backgrounds. If you’re short on time or sewing in a busy household, Labyrinth is a great project to pick up and put down—it’s super organized and can be chain-pieced for quicker assembly!
 
Head to QuiltInk, color your version, and share your creations on the Wall! Let’s see those beautiful quilts come to life! ✨

QuiltInk Challenge Sep24 winner

What a fun Challenge has been this September one. More than 100 amazing mock-ups have been shared on the QuiltInk Wall using the new Glaze II fabric collection by Libs Elliott for Andover Fabrics.


We encourage you to keep exploring this beautiful collection in your quilting projects—perfect for your upcoming Christmas creations! The collection is available to color in QuitlInk at the Shops/Designer Tab in the coloring page. Don’t miss it!


And the winner of a QuiltInk Subscription is …… MissJonge!!


Congratulations! She will enjoy a yearly Supporter QuiltInk subscription with a private pattern,

Check the next QuiltInk Challenge for September 2024. It’s already live and you can win a QutilInk Subscription!

Fabric Requirements

Fabric Requirements option

The fabric requirements feature in QuiltInk is a powerful tool that enhances the overall quilting experience. This option allows designers, fabric shops, and users to easily keep track of how much fabric is needed for any project. Instead of manually check the fabric needed from the pattern, users can view accurate fabric amounts directly from the platform, making the quilting process more streamlined and efficient.

Here’s why the fabric requirements option is important:

  • Saves Time: With the fabric requirements feature, there’s no need to calculate or search through patterns to figure out how much fabric is needed. This information is automatically displayed, making the planning process much faster and easier.

  • Ensures Accuracy: By providing detailed and organized fabric requirements, users can avoid mistakes and miscalculations, ensuring they have the correct amounts of each fabric before starting their project.

  • Enhances Creativity: Being able to quickly see the fabric requirements allows users to explore multiple design possibilities. With accurate fabric information, users can experiment with different fabric choices and color schemes without worrying about fabric shortages or errors.

  • Improves Organization: Having fabric requirements included in every mock-up and export sheet keeps the project more organized, making it easier to manage supplies and stay on track.


  • Improves Organization: Having fabric requirements included in every mock-up and export sheet keeps the project more organized, making it easier to manage supplies and stay on track.

QuiltInk’s fabric requirements feature is designed to make quilting more efficient, enjoyable, and worry-free. Whether you’re a designer, a fabric shop, or a quilting enthusiast, this tool ensures that your projects are well-prepared and your creativity can flow freely.

Currents Quilt by Eudaimonia Studios

Where to check the Fabric Requirements

All the patterns in QuiltInk have the ability to display the fabric requirements. Since this is a new option on the platform, designers are still in the process of adding them to previous patterns, although most new patterns are being activated with the fabric requirements included.

To know the fabric requirements of a mock-up, you have two options:

Check the Colors Used in the Coloring Page: By simply opening a coloring page, you can check the fabric requirements of the color layout displayed. Click the drop-picker icon, and a list of the fabrics used along with their amounts will pop up. 
When you change the colors or fabrics, you can see how the list will adjust accordingly.


The Exporting Sheet: By clicking the Export icon in the coloring page or at any mock-up in the Wall, you can view a page with the mock-up, all the pattern information, and a list of the fabrics used to color this mock-up, including the required amounts for each fabric.

The backing and binding requirements are also included, with no selected fabric at this stage, and you can see if the designer has added any special fabric requirements or comments.

Add the Fabric Requirements

Did you know that QuiltInk allows all subscribers to add fabric requirements to any pattern or mock-up? By subscribing, you unlock this powerful feature, making your quilting projects more efficient and organized.

DESIGNERS: Designers have the ability to add fabric requirements to all their patterns in QuiltInk, ensuring users can easily access the exact amounts of fabric needed for each project. This not only makes the pattern more user-friendly but also enhances the overall quality of the quilting experience.

FABRIC SHOPS: Fabric shops can add or modify fabric requirements when creating Kits in QuiltInk. This allows them to offer tailored bundles of fabric that match specific patterns, making it easier for customers to purchase the right amount of fabric in a convenient package.

SUPPORTERS: Supporters have the ability to add fabric requirements to any mock-up they create in QuiltInk. By doing so, they can track fabric usage for their personalized designs and ensure they have the right amounts before starting a project. They can also create as many mock-ups as they wish with the fabric requirements already added, streamlining their creative process.

If you have any questions or concerns about the fabric requirements or any other aspect of using QuiltInk, we’re here to assist you. Feel free to reach out to us via email at info@quiltink.com or through the chat on our Instagram platform (@quilt_ink). We’re always happy to help ensure your experience with QuiltInk is smooth and productive.

Fabric Requirements

Fabric Requirements option

The fabric requirements feature in QuiltInk is a powerful tool that enhances the overall quilting experience. This option allows designers, fabric shops, and users to easily keep track of how much fabric is needed for any project. Instead of manually check the fabric needed from the pattern, users can view accurate fabric amounts directly from the platform, making the quilting process more streamlined and efficient.

As with all subscribers in QuiltInk, supporters have the ability to add fabric requirements to any mock-up they create. This feature provides several benefits and adds value to your experience on the platform. Here’s why it’s important for supporters to add fabric requirements to their mock-ups:

  • Simplifies Project Planning: By adding fabric requirements, you can easily track the exact amounts of fabric needed for each project. Users can quickly see how much fabric they need for each choice without manually checking the pattern. This ensures you won’t have to recheck the pattern or calculate fabric amounts manually.

  • Enhances Mock-Up Flexibility: Once the fabric requirements are added, you can create as many mock-ups as you want from that pattern without needing to re-enter the information each time. This saves time and allows you to experiment with different color schemes or fabric options more efficiently.

  • Improves Project Organization: With fabric requirements in place, you’ll have all the necessary information in one place, making your projects more organized and reducing the risk of errors when selecting fabrics for your quilt.

By adding fabric requirements to your mock-ups, you ensure that your quilting projects are better planned and ready to execute, all while enjoying more flexibility in your creative process.

Currents Quilt by Eudaimonia Studios

Where to check the Fabric Requirements

All the patterns in QuiltInk have the ability to display the fabric requirements. Since this is a new option on the platform, designers are still in the process of adding them to previous patterns, although most new patterns are being activated with the fabric requirements included.

To know the fabric requirements of a mock-up, you have two options:

Check the Colors Used in the Coloring Page: By simply opening a coloring page, you can check the fabric requirements of the color layout displayed. Click the drop-picker icon, and a list of the fabrics used along with their amounts will pop up. 
When you change the colors or fabrics, you can see how the list will adjust accordingly.


The Exporting Sheet: By clicking the Export icon in the coloring page or at any mock-up in the Wall, you can view a page with the mock-up, all the pattern information, and a list of the fabrics used to color this mock-up, including the required amounts for each fabric.

The backing and binding requirements are also included, with no selected fabric at this stage, and you can see if the designer has added any special fabric requirements or comments.

How to add the Fabric Requirements

Adding fabric requirements to your  mock-ups is an easy process at the color page. 

The process below starts from the designer’s color layout, but it can be made on any mock-up on QuitlInk.

1. Create a new mock-up from the designer color layout: Go to the pattern page in the QuitlInk main page, and click “Create a new mock-up”. Choose the color layout with the colors from the fabric requirements table you can check int he pattern or designer website. 


2. Check the colors used in the color layouts are the same than in the fabric requirements table you have.


3. Merge the Pieces by Color: Click the icon to merge the pieces by color.


4. Click the “FQ” icon: This icon allows you to input fabric requirements for each color/fabric.

5. Add Labels and Amounts: For each color/fabric, add the appropriate labels and the amount of fabric needed.

NOTE: The fabric requirements should be added in the following format:
Number + space + Fraction (X/X)

For amounts less than one yard, use this format:
0 + space + Fraction


6. Add Specific Requirements: In the field below the fabrics, you can add specific requirements, such as the total number of Fat Quarters needed, for example.

7. Include Backing and Binding Needs: Don’t forget to specify any backing and binding fabric requirements for this size of the patten.

8. Add Important Comments: In the fields at the bottom, include any relevant comments about the fabric requirements, such as: Width of Fabric (WOF); whether it’s for directional fabrics; if the fabric requirements are adjusted or have a little room, etc.

By following these steps, you can ensure that your patterns in QuiltInk provide clear and accurate fabric requirements, enhancing the experience for users!


9. QuiltInk allows you to add fabric requirements not only in yards but also using precuts. To do this:

  • Select the UNITS Icon: At the top bar, click the UNITS button to switch from yards to precuts.
  • Choose Precuts: From the list, select the precuts you want to use. Available options include: Fat Quarter (FQ); Fat Eighth (F8); Layer Cake (LC); Jelly Roll (JR); and more
  • Select Multiple: You can choose several yards and precut options at the same time.
  • Add Amounts: For each selected yards/precut, add the appropriate amount required for the pattern.

10. Save. Click the disk icon to save the fabric requirements added.

CHECK THE FABRIC REQUIREMENTS
 

After adding the fabric requirements, it’s important to verify that everything is displayed correctly. Follow these steps:

1. Check the Drop-Picker Icon:

  • Open the drop-picker icon on the coloring page.
  • Ensure that all fabrics, labels, and amounts are displayed correctly.
  • Confirm that the colors and labels match the fabrics you intended to use.

2. Verify the Exporting Sheet:

  • Open the exporting sheet for the pattern.
  • Check the list of all fabrics to ensure accuracy.
  • Confirm that the backing and binding fabric requirements are correctly displayed.
  • Review any comments you added (e.g., WOF, directional fabrics, etc.) to make sure they appear as intended.

By reviewing these areas and reaching out if needed, you can ensure that the fabric requirements have been properly added to your pattern.

Multiple mock-ups with FQ

This process will allow you to create as many mock-ups as needed for a pattern where the designer hasn’t added fabric requirements, without having to add them to each mock-up individually.

1. Create a new mock-up as described in the previous section.

2. After finishing coloring all the pieces, add the fabric requirements as explained int he previous section.

3. Save the mock-up as a finished one or as draft.

4. Go to your profile page and locate the mock-up, at the Finished or Drafts tabs.

5. Duplicate the mock-up by clicking the “+” icon.

6.  Locate the duplicated mock/up in the Drafts tap.
7. Click the Palette icon to color it and create a different version..

8. Check the FQ are there.

9. Download the sheet with the list of fabrics and fabric requirements and save!

If you have any questions or concerns about the fabric requirements or any other aspect of using QuiltInk, we’re here to assist you. Feel free to reach out to us via email at info@quiltink.com or through the chat on our Instagram platform (@quilt_ink). We’re always happy to help ensure your experience with QuiltInk is smooth and productive.

New Patterns: Pinery

Title: Pinery

DesignerKelli Fox Designs

Technique: With templates

Sizes: 3

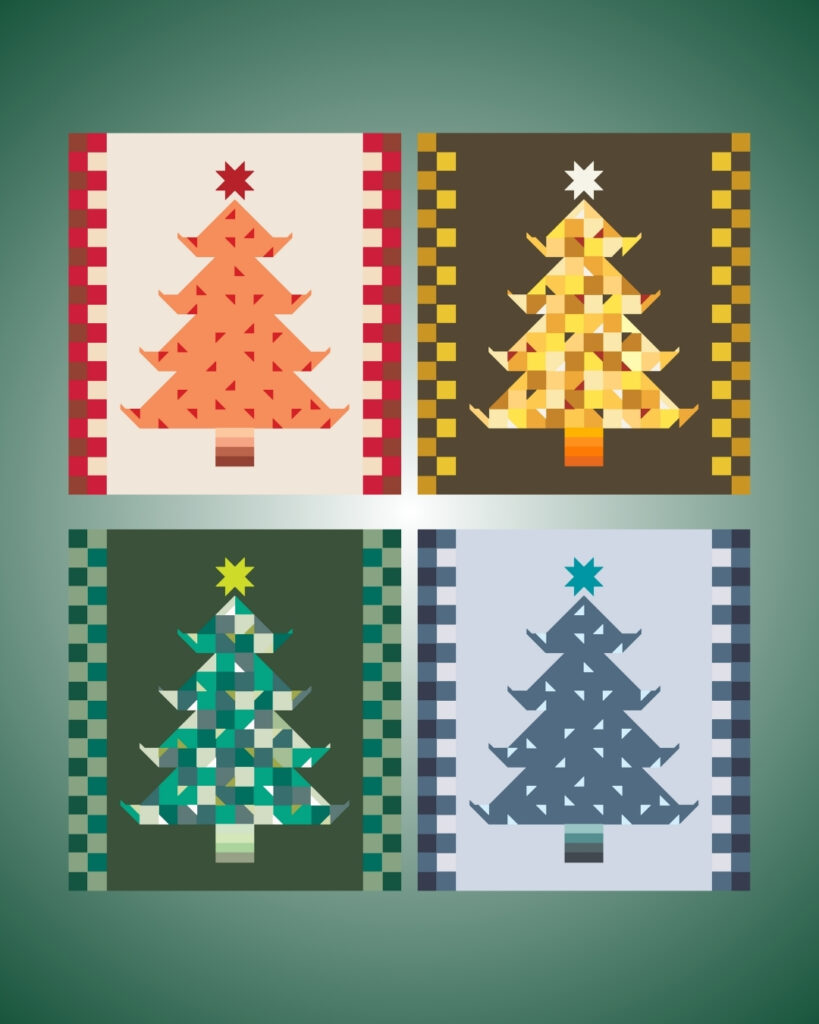
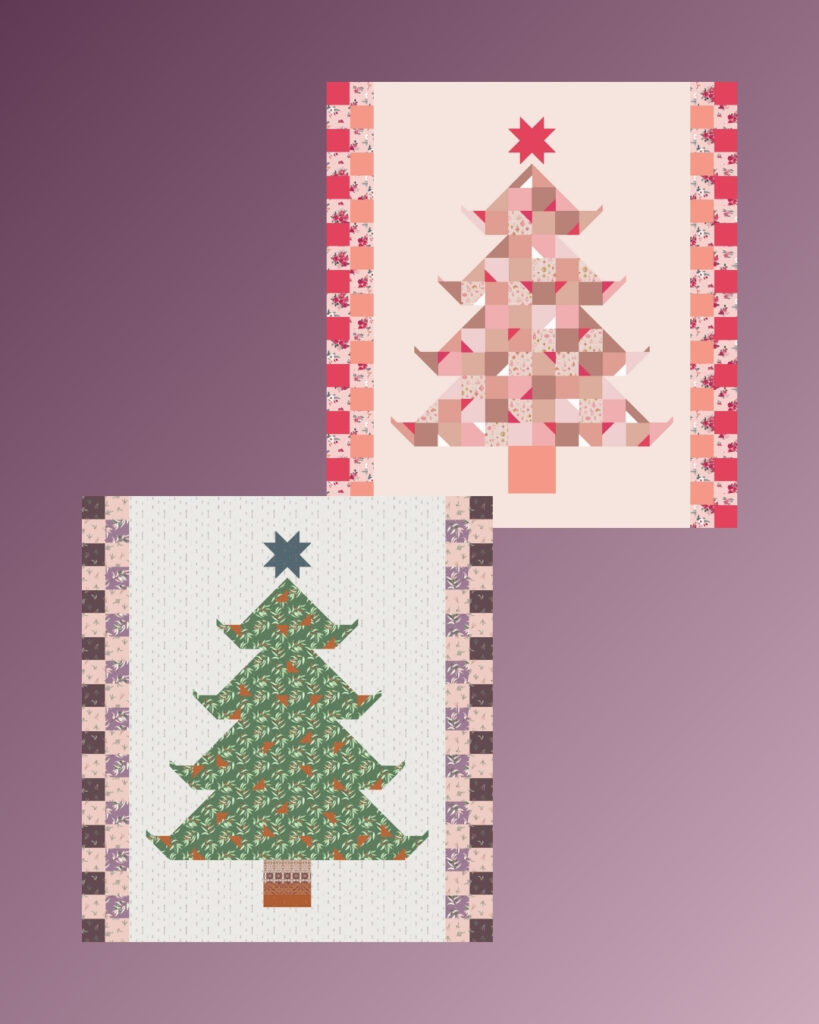
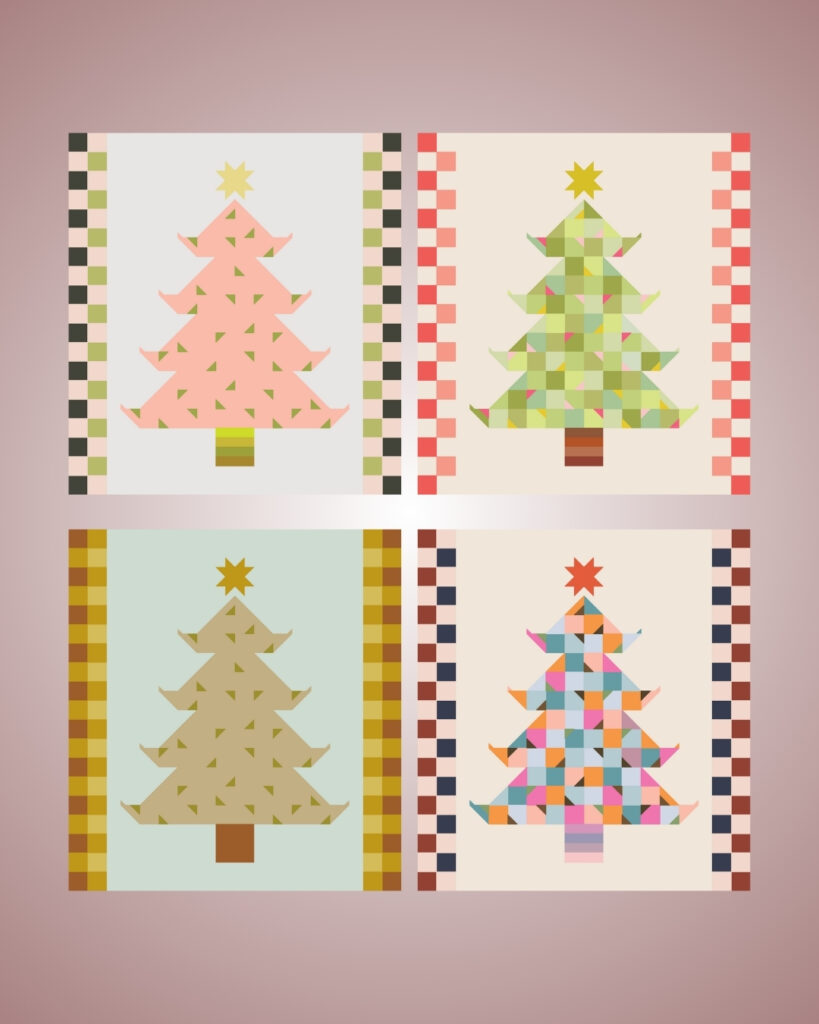
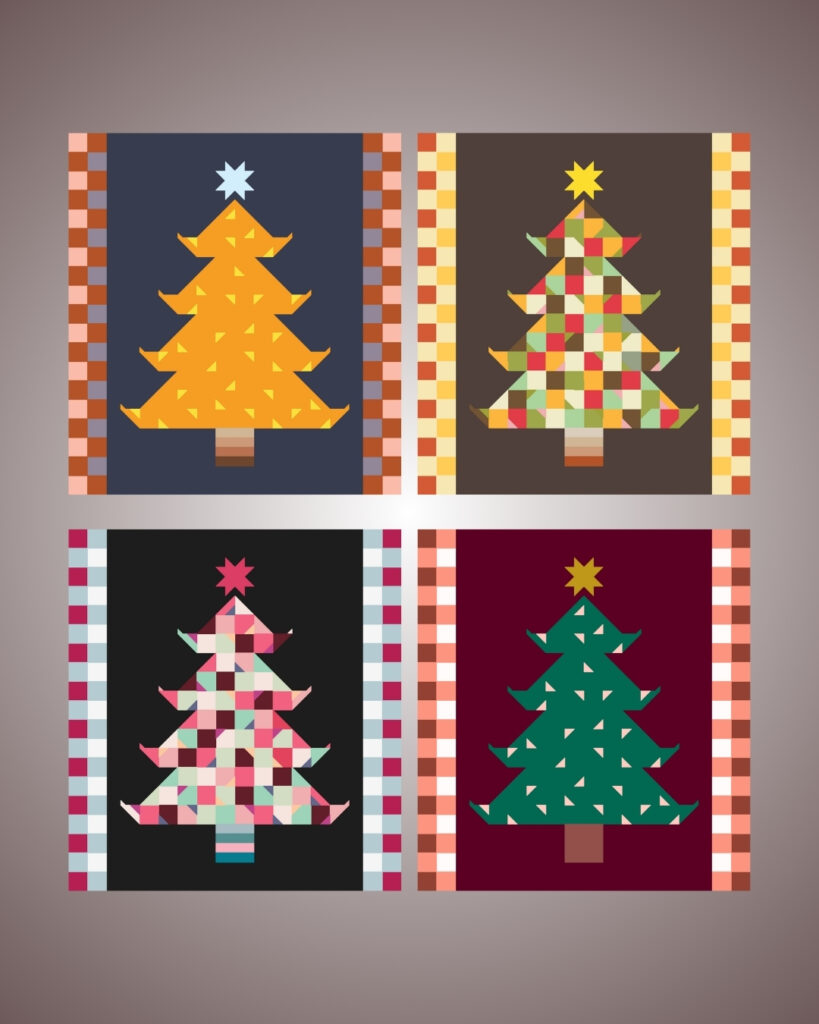
🎉 Exciting news, quilters! Kelli Fox Designs just released the Pinery pattern, and it’s now active on QuiltInk! Perfect for adding a festive Christmas touch to your home, this pillow top pattern offers two charming 16″ designs: a large tree and a star tree made from four smaller blocks.
 
With templates for each option and easy instructions for a 3″ border, you can create a stunning 22″ Christmas pillow top in no time! Get started on this quick and delightful project today—color your version digitally in QuiltInk, and don’t forget to share your creations on the QuiltInk Wall! 🌲✨
 

Fabric Requirements

Fabric Requirements option

The fabric requirements feature in QuiltInk is a powerful tool that enhances the overall quilting experience. This option allows designers, fabric shops, and users to easily keep track of how much fabric is needed for any project. Instead of manually check the fabric needed from the pattern, users can view accurate fabric amounts directly from the platform, making the quilting process more streamlined and efficient.

Fabric shops now have the ability to check and add fabric requirements to patterns in QuiltInk, a feature that significantly enhances your workflow and customer experience. By taking advantage of this tool, you can streamline the process of creating kits, bundles, and mock-ups for your customers.

This feature is valuable for fabric shops for several reasons:

  • Simplifies Kit Creation: By adding fabric requirements directly to the patterns, fabric shops can quickly create kits and bundles, saving time and effort.

  • Improves Customer Experience: Providing clear fabric requirements makes it easier for customers to purchase the exact fabrics they need, leading to a smoother shopping experience and fewer questions about the patterns.

  • Increases Sales: When fabric requirements are included, customers are more likely to buy all the materials they need from your shop in one go, boosting fabric sales.

  • Offers Flexibility: Shops can adjust the fabric requirements to fit their stock and precuts, offering more tailored and attractive kit options for customers.

  • Enhances Pattern Value: By adding fabric requirements, even if the designer hasn’t done so, you’re increasing the usability of the pattern, which can drive more engagement and sales for both your fabrics and the patterns.

Fabric shops can add or modify fabric requirements in the following areas within QuiltInk:

Kits: Add or adjust the fabric requirements when creating Kits in QuiltInk.
If a pattern doesn’t already have fabric requirements added by the designer, or if you’d like to adapt them to fit your shop’s needs, you can easily do so while setting up Kits with any pattern in QuiltInk. 

Mock-ups: Add fabric requirements to any mock-up on the platform.
Want to create a mock-up of a pattern where the designer hasn’t included fabric requirements? Now you can! This ensures that you can always create your mock-ups knowing the fabric requirements needed.

Currents Quilt by Eudaimonia Studios

How to add the Fabric Requirements

Adding fabric requirements to your Kits or mock-ups is an easy process at the coloring page. You can also apply this to all already active Kits in QuiltInk. Follow these simple steps:


1. Finish Coloring: After completing a finished color layout in the Kits or any mock-up, check the colors used via the drop-picker icon. Ensure you have used the desired colors and removed any extras that you didn’t plan to include.

2. Merge the Pieces by Color: Click the icon to merge the pieces by color.


3. Click the “FQ” icon: This icon allows you to input fabric requirements for each color/fabric.

4. Add Labels and Amounts: For each color/fabric, add the appropriate labels and the amount of fabric needed.

NOTE: The fabric requirements should be added in the following format:
Number + space + Fraction (X/X)

For amounts less than one yard, use this format:
0 + space + Fraction


5. Add Specific Requirements: In the field below the fabrics, you can add specific requirements, such as the total number of Fat Quarters needed, for example.

6. Include Backing and Binding Needs: Don’t forget to specify any backing and binding fabric requirements for this size of the patten.

7. Add Important Comments: In the fields at the bottom, include any relevant comments about the fabric requirements, such as: Width of Fabric (WOF); whether it’s for directional fabrics; if the fabric requirements are adjusted or have a little room, etc.

By following these steps, you can ensure that your patterns in QuiltInk provide clear and accurate fabric requirements, enhancing the experience for users!


9. QuiltInk allows you to add fabric requirements not only in yards but also using precuts. To do this:

  • Select the UNITS Icon: At the top bar, click the UNITS button to switch from yards to precuts.
  • Choose Precuts: From the list, select the precuts you want to use. Available options include: Fat Quarter (FQ); Fat Eighth (F8); Layer Cake (LC); Jelly Roll (JR); and more
  • Select Multiple: You can choose several yards and precut options at the same time.
  • Add Amounts: For each selected yards/precut, add the appropriate amount required for the pattern.

6. Save. Click the disk icon to save the fabric requirements added.

CHECK THE FABRIC REQUIREMENTS
 

After adding the fabric requirements, it’s important to verify that everything is displayed correctly. Follow these steps:

1. Check the Drop-Picker Icon:

  • Open the drop-picker icon on the coloring page.
  • Ensure that all fabrics, labels, and amounts are displayed correctly.
  • Confirm that the colors and labels match the fabrics you intended to use.

2. Verify the Exporting Sheet:

  • Open the exporting sheet for the pattern.
  • Check the list of all fabrics to ensure accuracy.
  • Confirm that the backing and binding fabric requirements are correctly displayed.
  • Review any comments you added (e.g., WOF, directional fabrics, etc.) to make sure they appear as intended.

By reviewing these areas and reaching out if needed, you can ensure that the fabric requirements have been properly added to your pattern.

Multiple mock-ups with FQ

Here is the process you need to follow to maximize the fabric requirements usage when coloring a pattern without fabric requirements added by the designer, and you don’t want to create a Kit for it.
This process will allow you to create as many mock-ups as needed for a pattern where the designer hasn’t added fabric requirements, without having to add them to each mock-up individually.

1. Create a new mock-up.

2. After finishing coloring all the pieces, add the fabric requirements as explained int he previous section.

3. Save the mock-up as a finished one or as draft.

4. Go to your profile page and locate the mock-up, at the Finished or Drafts tabs.

5. Duplicate the mock-up by clicking the “+” icon.

6.  Locate the duplicated mock/up in the Drafts tap.
7. Clikc the Palette icon to color it and create a different version..

8. Check the FQ are there.

9. Download the sheet with the list of fabrics and fabric requirements and save!

If you have any questions or concerns about the fabric requirements or any other aspect of using QuiltInk, we’re here to assist you. Feel free to reach out to us via email at info@quiltink.com or through the chat on our Instagram platform (@quilt_ink). We’re always happy to help ensure your experience with QuiltInk is smooth and productive.