Personal Background
Could you tell us a bit about yourself? (location, age, educational background, …) Who is behind Piece Fabric Co?
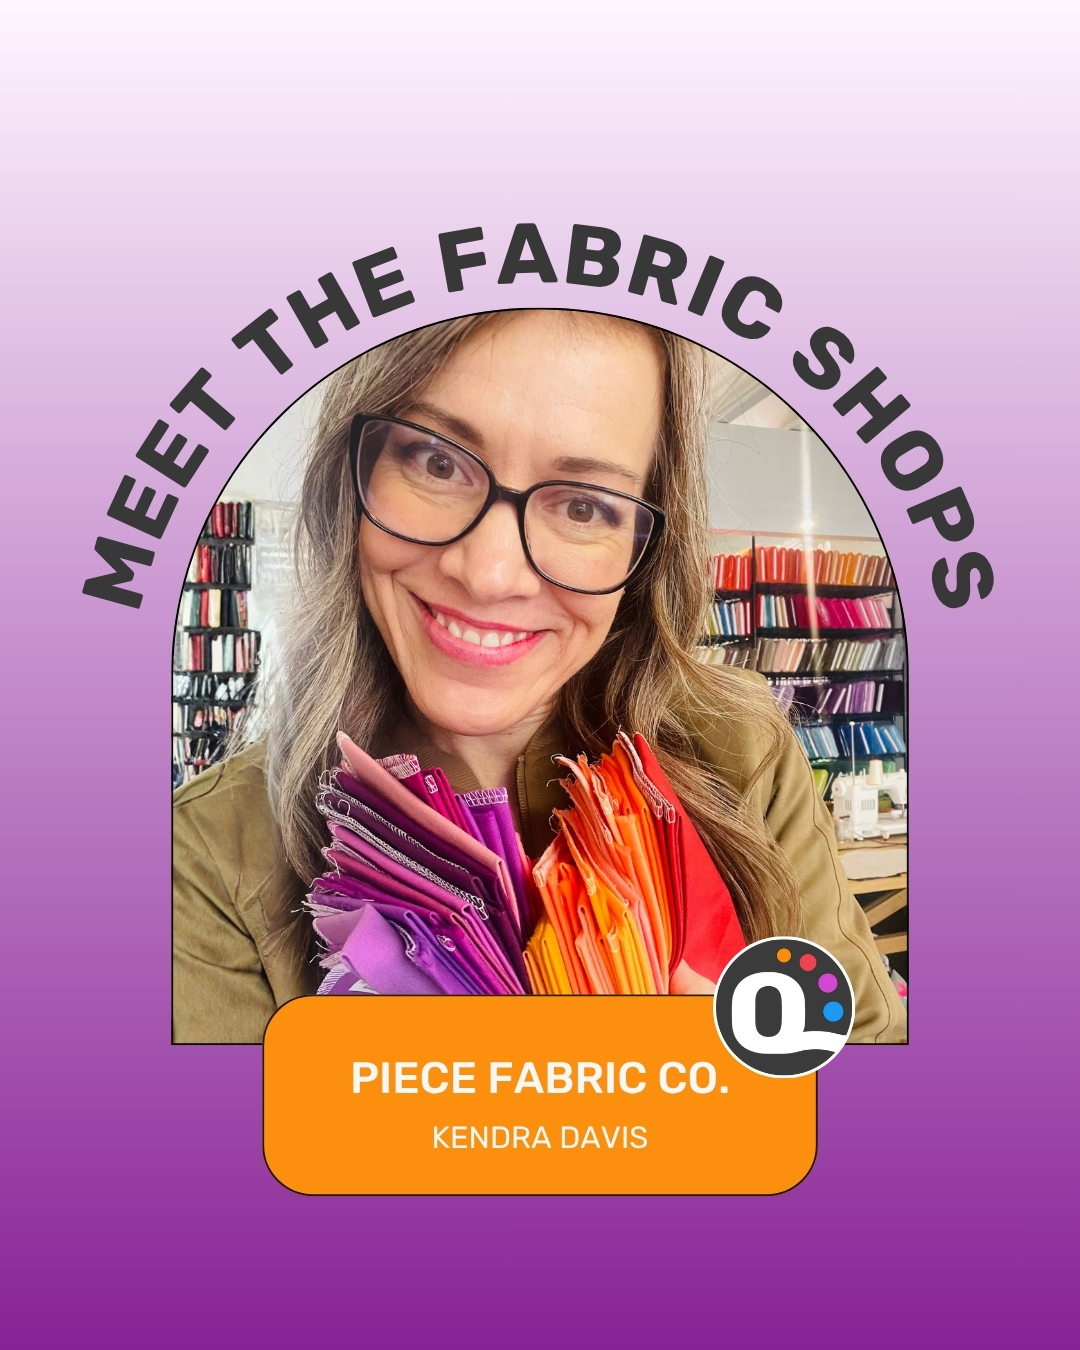
Hi friends! Kendra from Piece Fabric Co. here, an online fabric store based out of Grande Prairie, Alberta, Canada. Grande Prairie is a small city in northern Alberta, and I’ve lived here most of my life. My husband and I have owned a few businesses here while raising our four children.
Quilting Journey
How did you first get into quilting? When did you decide to turn this passion into a business by opening your shop?
I originally picked up quilting as a hobby when my (now adult) kids where toddlers. I had a friend who graciously walked me through the basics, and then I was off, looking up blog posts whenever a step was confusing. It was just the creative outlet I needed when it seemed like any other work I did in the home always got un-done within 30 minutes!
As the years went by, busyness kept me from the sewing machine for long stretches of time, but every once in a while I would sit down and make something, which would spur on a mini-obsession for a few months.
After working for many years alongside my husband in the office for his construction company, the forced slowdown of 2020 caused me to start quilting again, and I found that the fabric that I wanted to purchase from Canadian shops wasn’t readily available. I made a grumbling comment to my husband, “I should just open a fabric store”; to which he replied, “Why don’t you?” And the rest, as they say, is history!
Shop Story and Style
What’s the story behind Sewing Arts? When did it start, and how would you describe its personality, style, and size?
Piece Fabric Co. started off as a small shop in my living room, with online sales only. We grew quickly until there was fabric stacked in every room except the kids bedrooms and the bathrooms (even the kitchen had extra shelves in it to hold the overstock!).
We started looking for a warehouse space and came across a wonderful shop in downtown Grande Prairie. We moved the shop there in 2022, and then renovated the upstairs to be our apartment in 2023 – so I have a very short commute to work again.
We opened for retail (in-person) shopping for a time, but found that online shopping suits us best. We have the best customers and love to help people get their feet planted in the sewing world.
We are small but mighty, and strive to give the best customer service – answering emails and social media messages to help put together quilt kits and coordinate fabric.
Product Offerings
What types of fabrics do you focus on? How do you offer them to customers—by the yard, as kits, or with custom options?
We are mainly a quilting store, with a small amount of apparel fabric. Our focus is ensuring that basics such as Kona Cotton and Art Gallery Fabrics Pure Solids are ALWAYS in stock. Beyond that, we have a selection of Fableism, AGF Prints, Ruby Star Society, Essex Linen, and apparel fabrics in natural fibres. We round this out with notions and thread for apparel and quilting projects, as well as tools to make the job easier.
Our fabric can be purchased in 1/4 yard increments (multiple quantities are sent as one piece, of course!), and we offer many quilt kits and bundles. In addition, we answer several messages every day from customers who need a custom quilt kit or bundle put together – with a little bit of inspiration from a customer, we make their dream come to life! Well, the fabric for it at least.
Special Collections and Products
Are there any collections, brands, or unique products you’re especially proud to carry?
We carry quilt kits for the foundation paper pieced Legit Kits. These kits are huge (!!) and having them available from a Canadian retailer makes it much more affordable to our customers than being shipped from the US.
We carry ALL of the colours of Kona, AGF Pure Solids, and Aurifil Thread in most weights!
Online Presence
Where can people find your shop online? (Website, social media handles, online marketplaces). How do you use online platforms to connect with your audience and fellow quilters?
You can shop our shop at PieceFabric.co; but if that feels overwhelming (there is a LOT on there), we are always only a message away. Use whichever platform is easiest for you:
Email – info@piecefabric.co
Instagram – https://www.instagram.com/piecefabricco/
Facebook – https://www.facebook.com/piecefabricco
Our social media pages are full of fun ideas and we post stories often-ish that is usually just me rambling about something I’m looking forward to or excited about!
Upcoming News and Projects
Are there any exciting new projects, events, or collaborations coming up that you’d like to share with the community
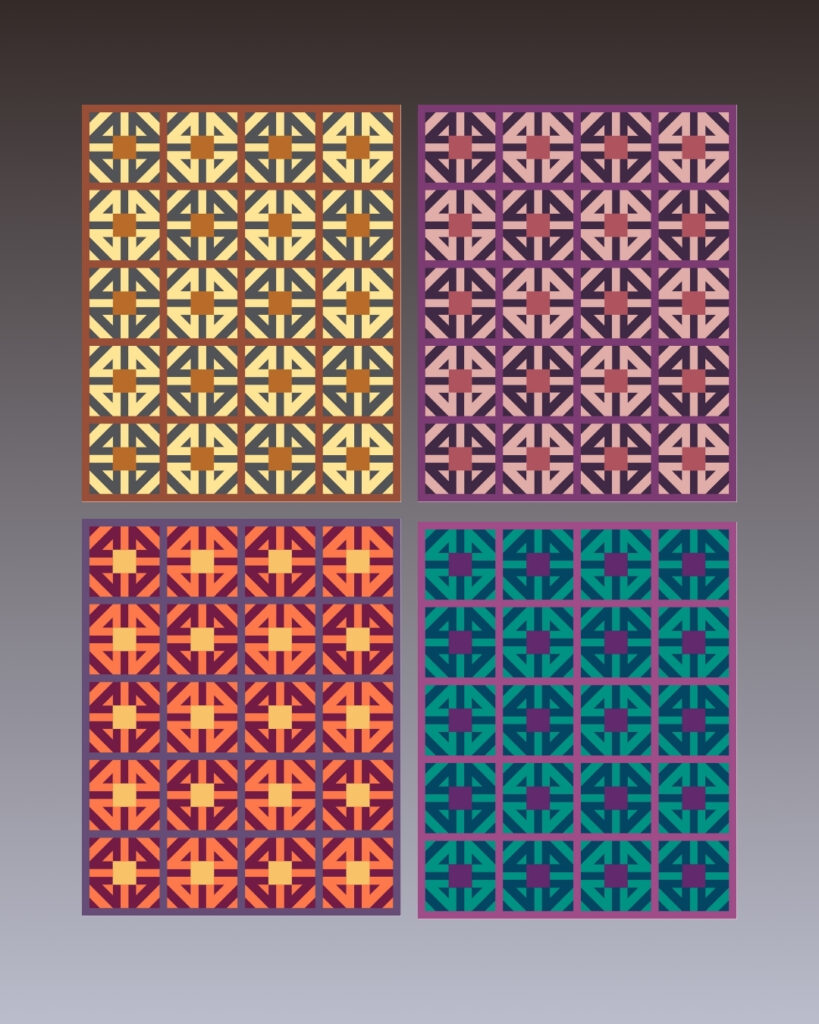
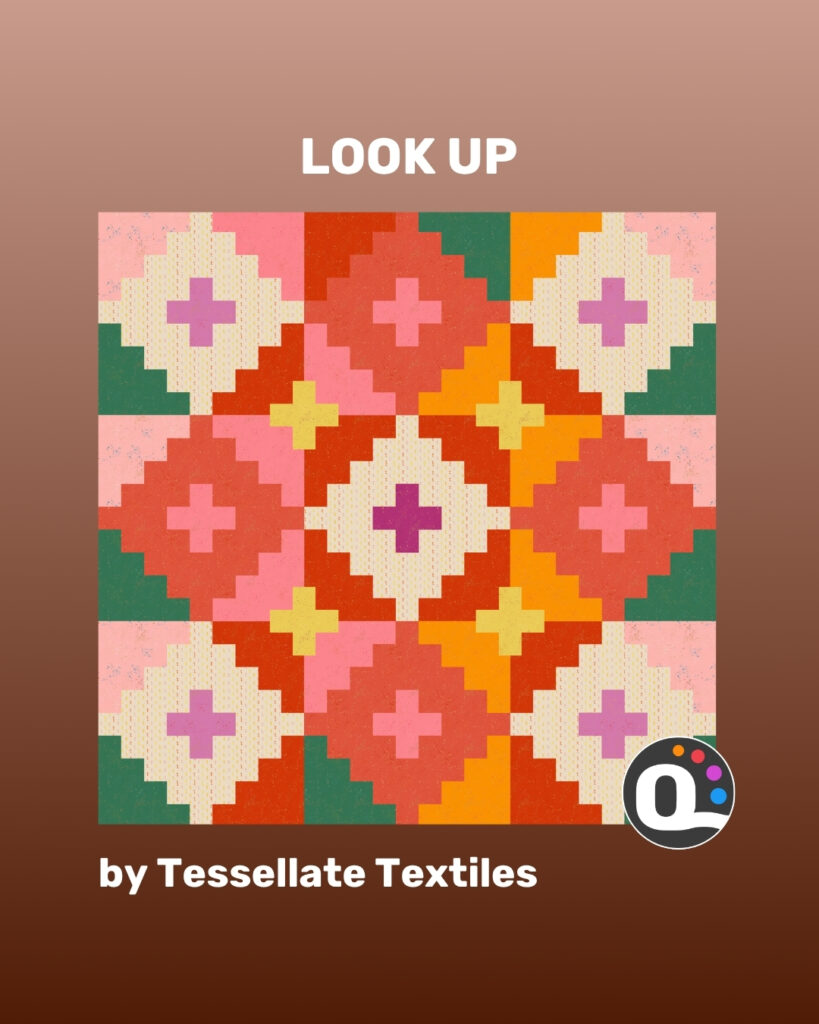
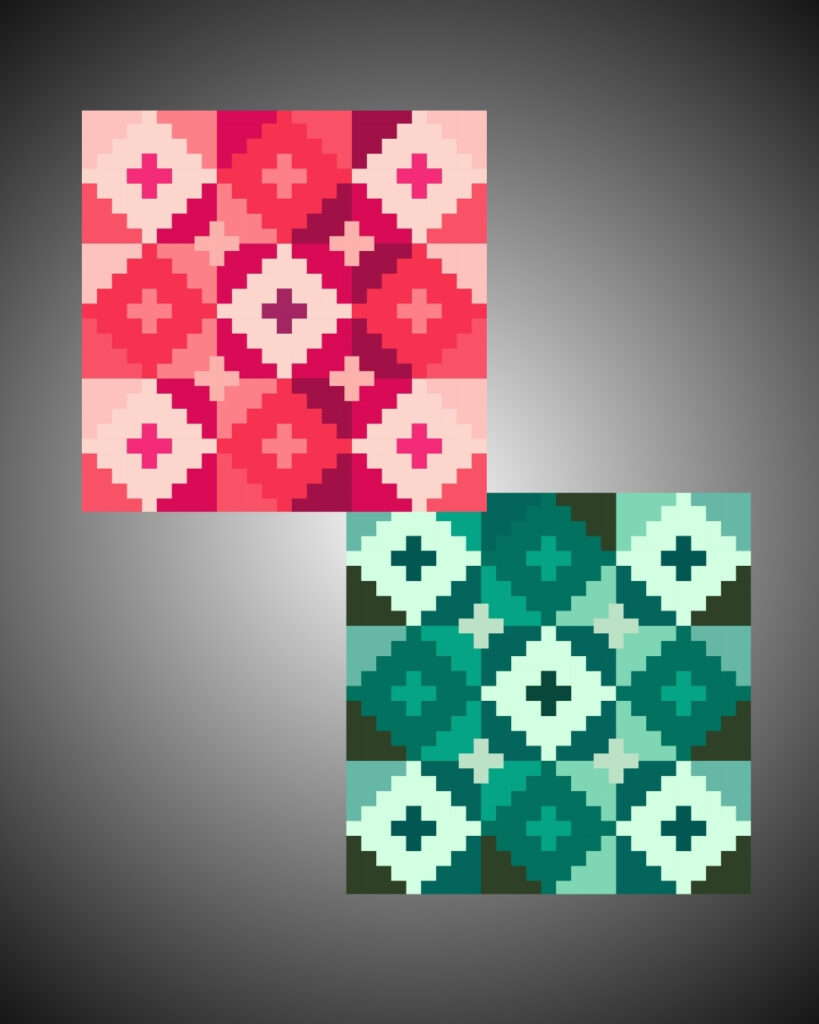
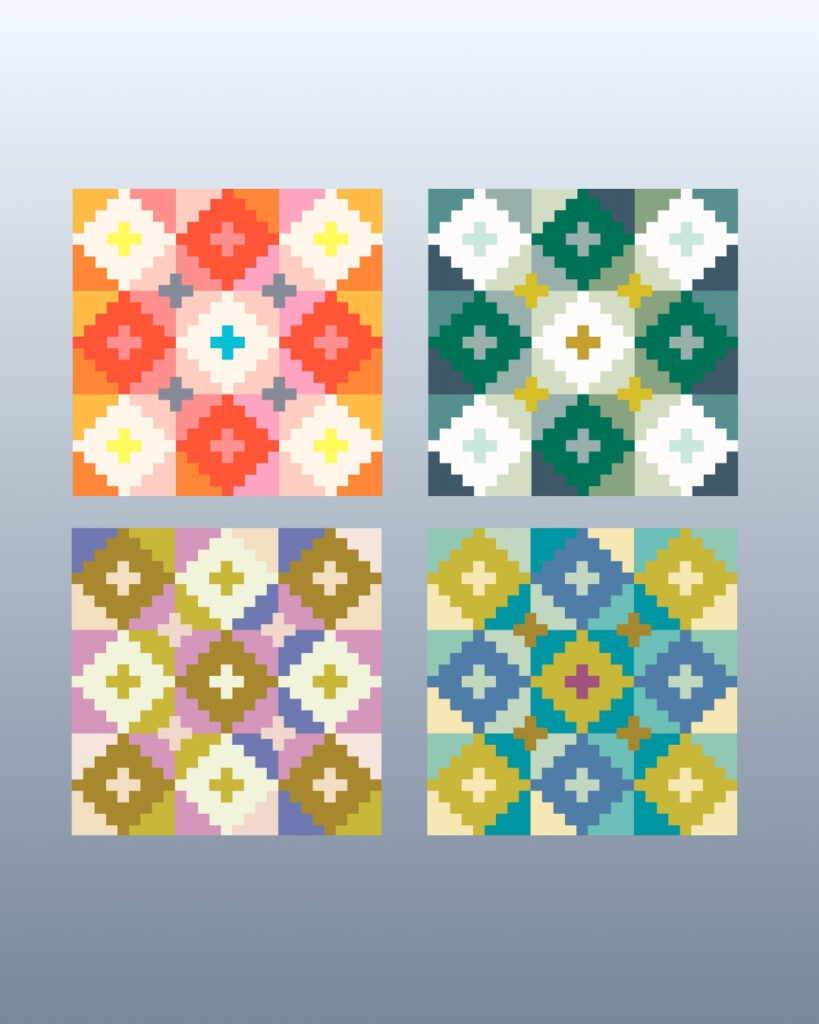
Now that Christine from Tessellate Textiles is back up and running, I am super excited for her upcoming pattern releases! I am working on ideas for fun versions and you’ll be sure to see a version or two of her “Look Up” quilt talked about on my pages!
QuiltInk Experience
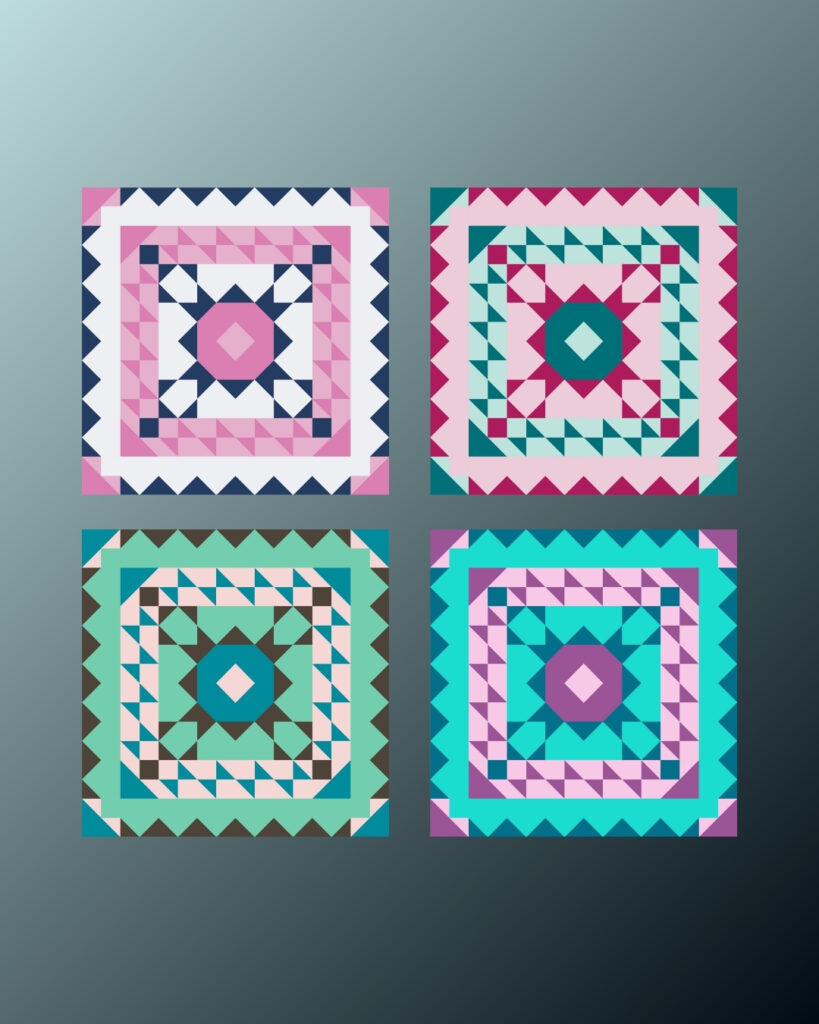
How has QuiltInk been useful for your shop or customers? Any favorite tools or ways it’s made things easier?
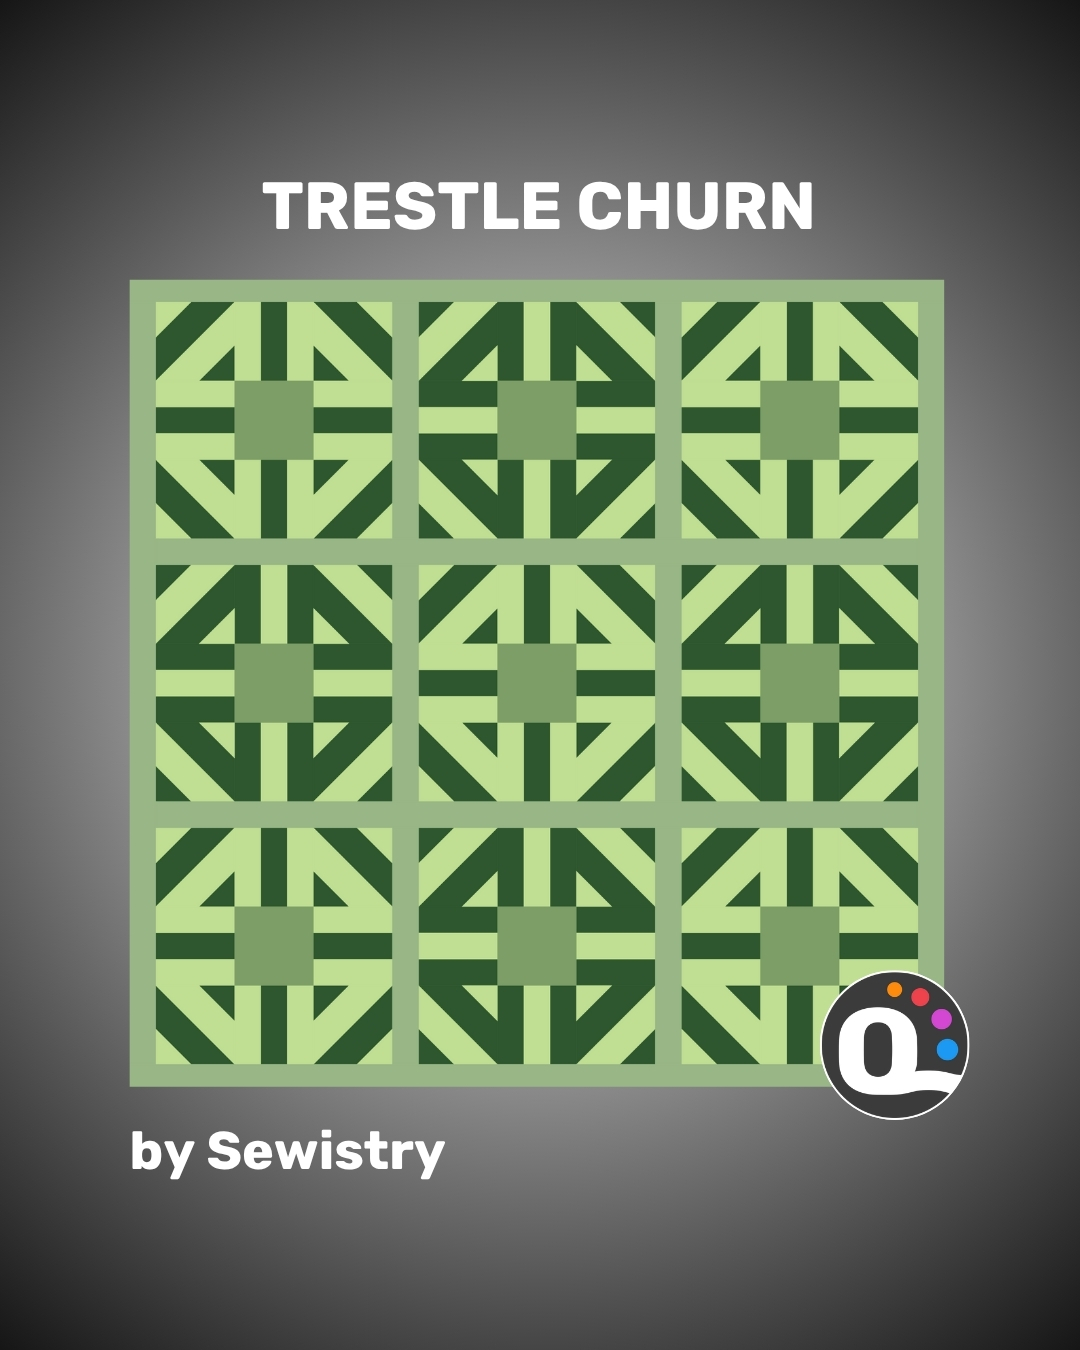
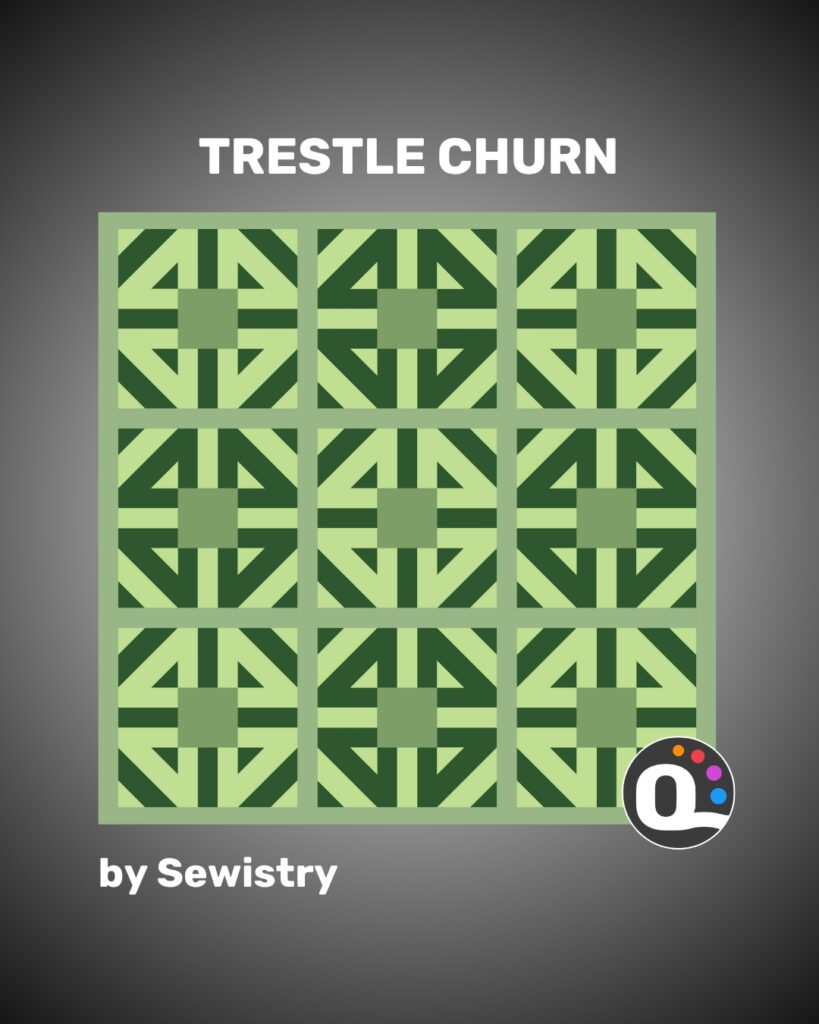
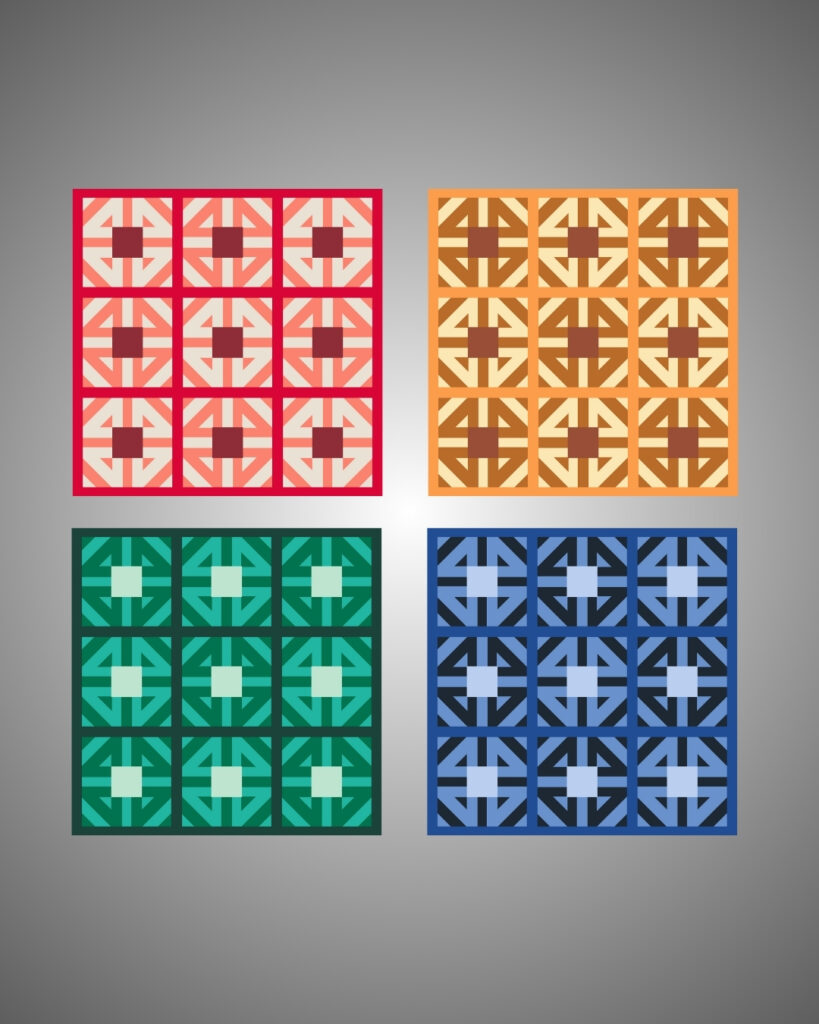
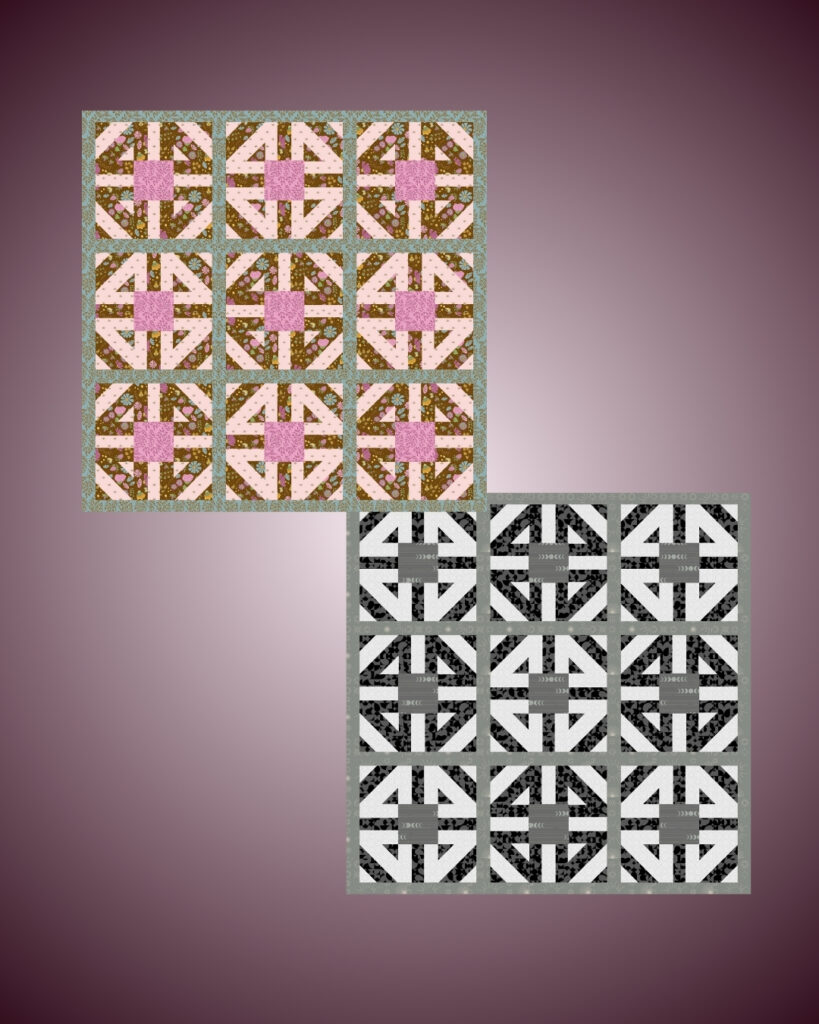
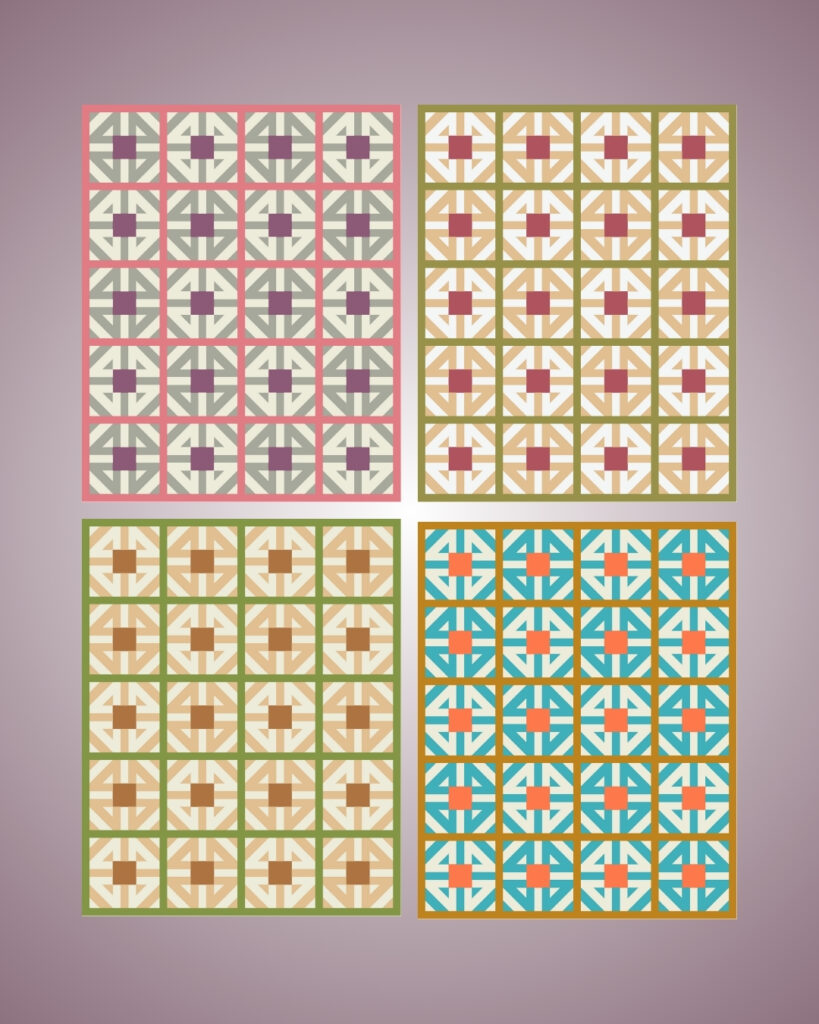
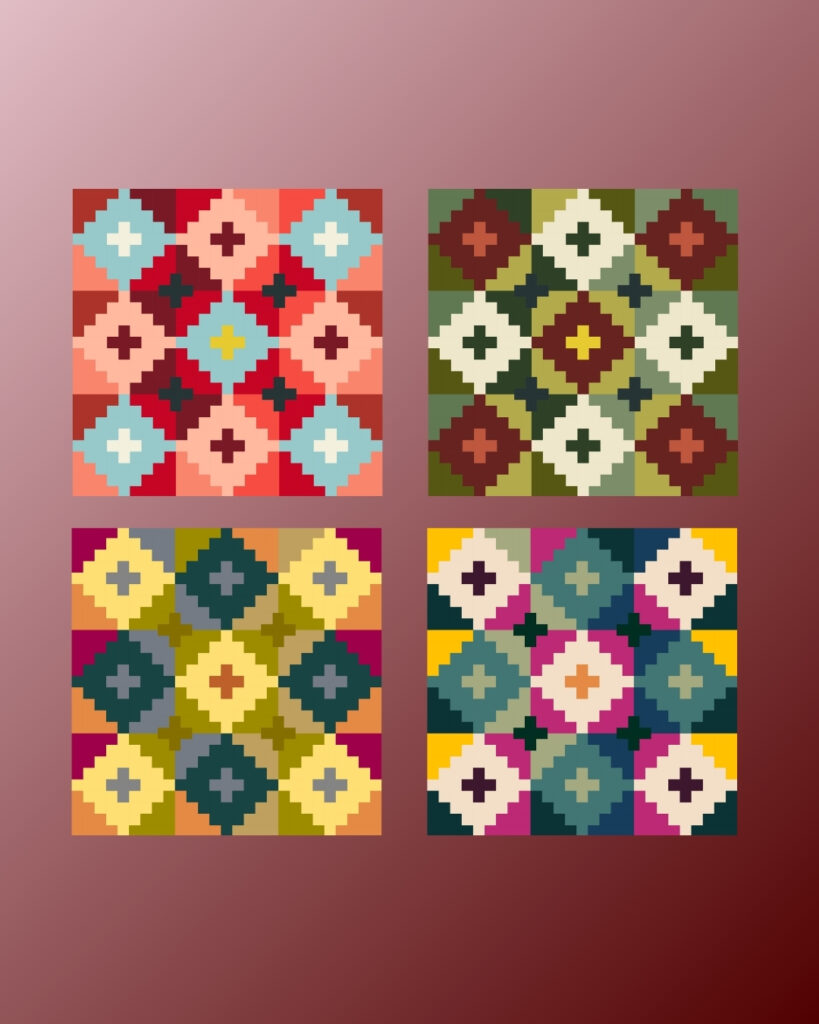
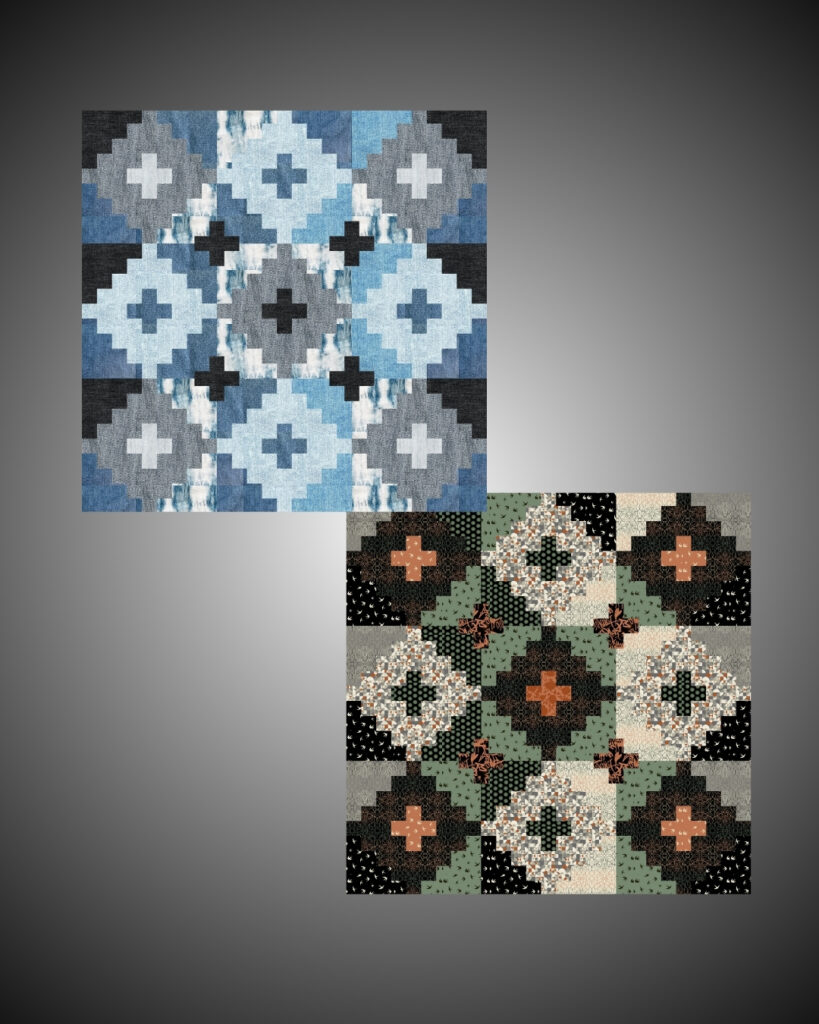
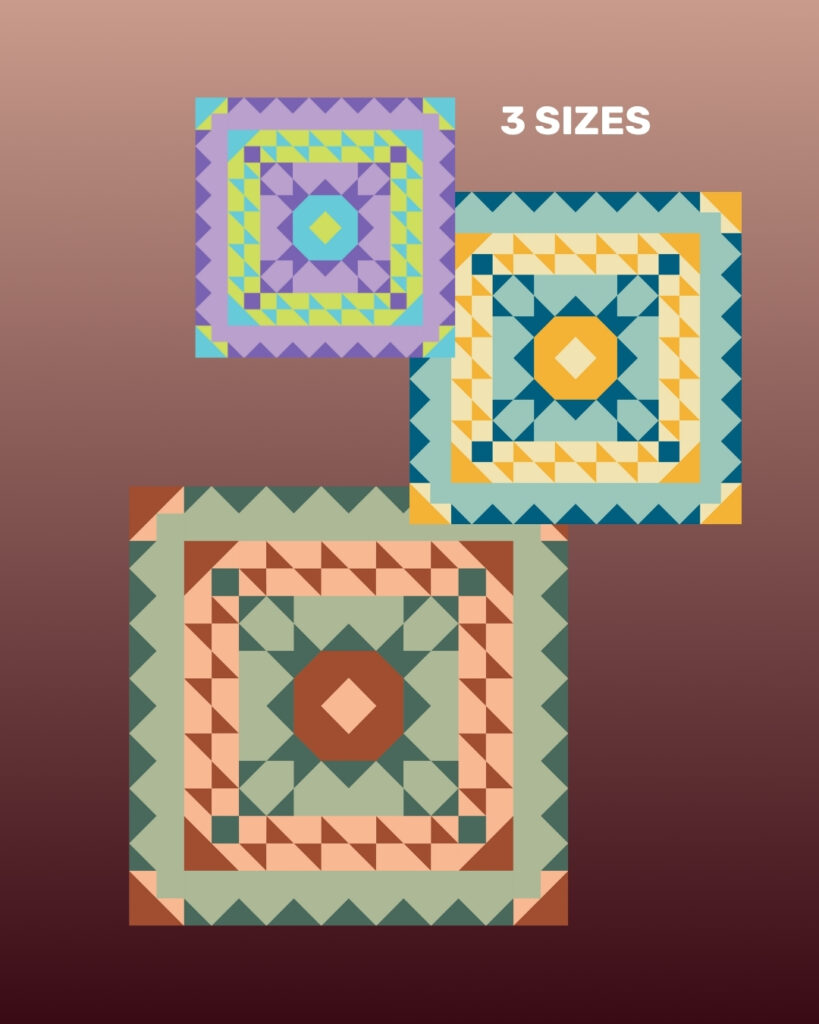
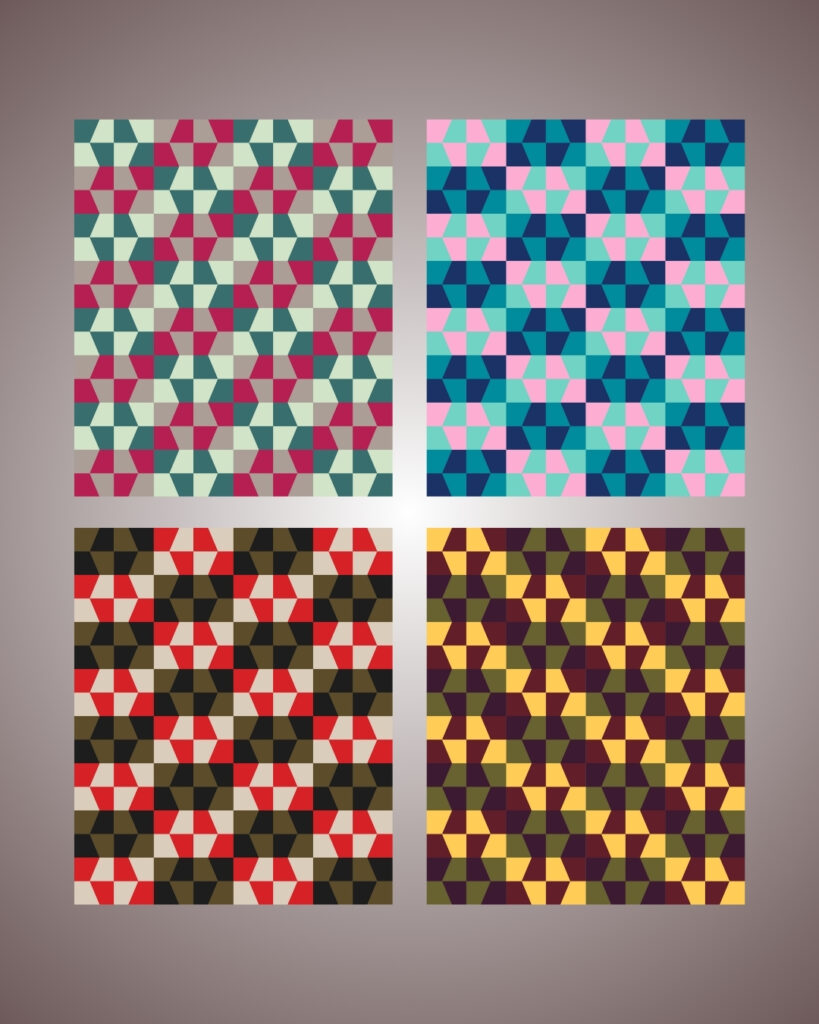
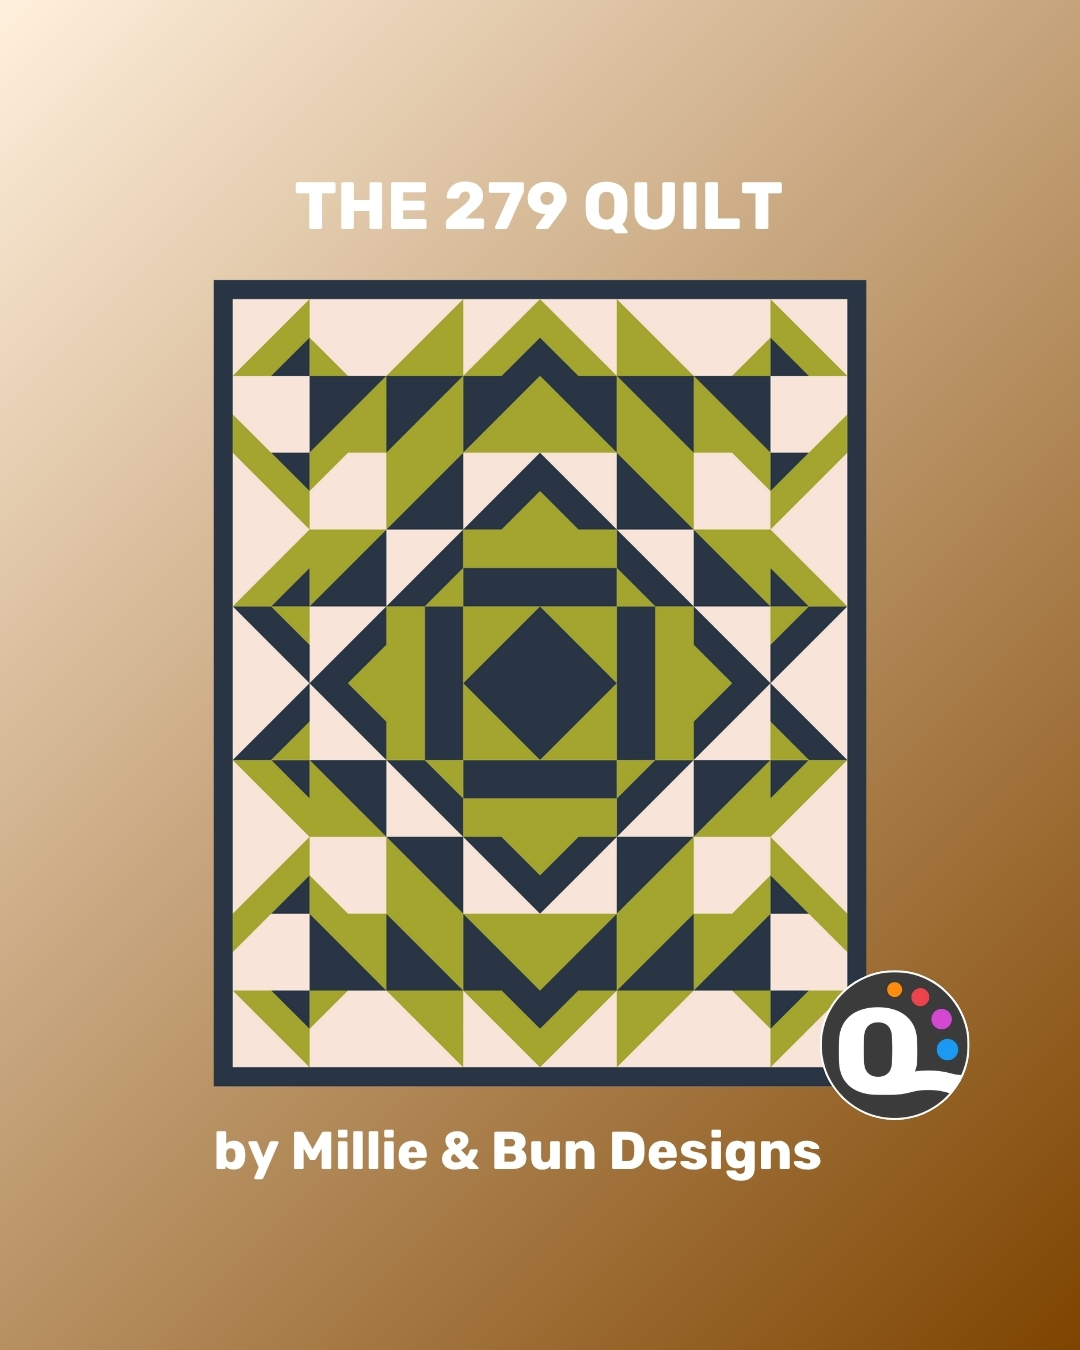
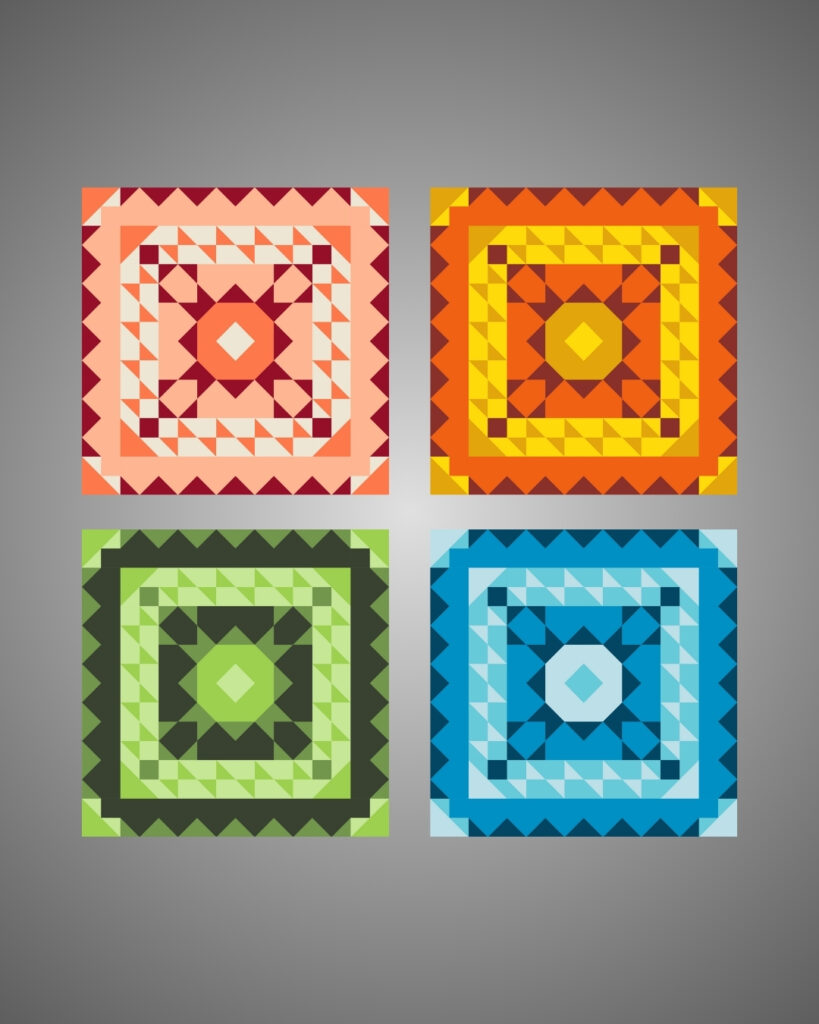
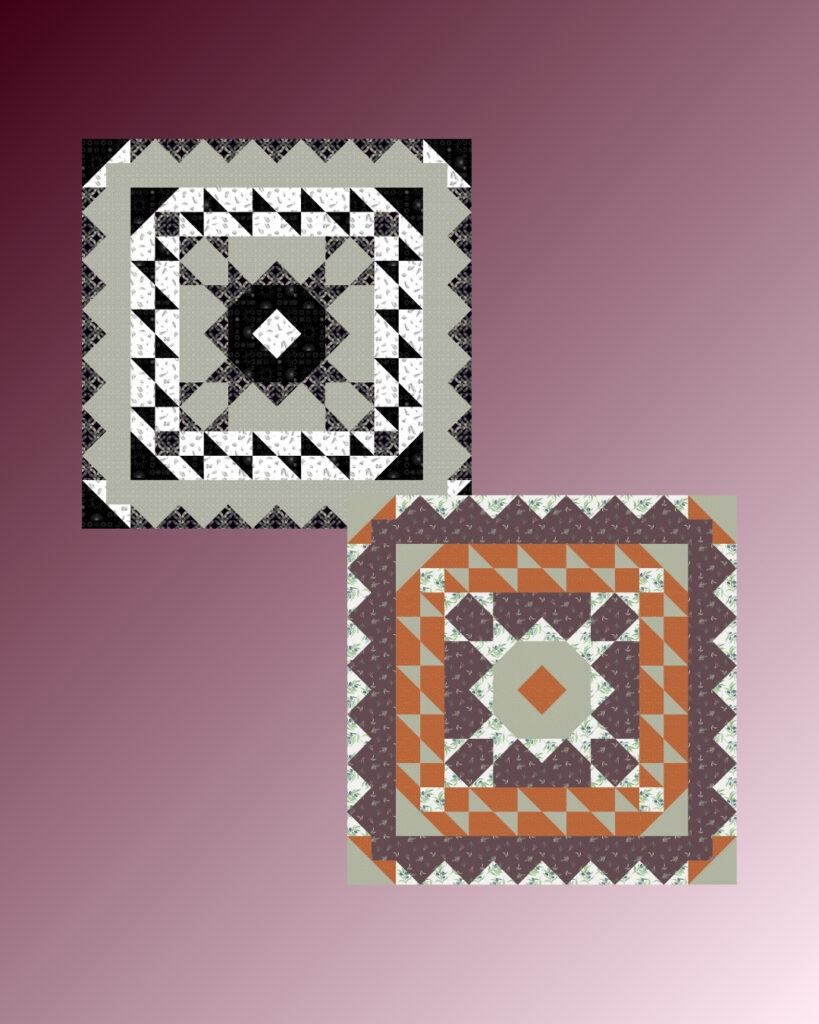
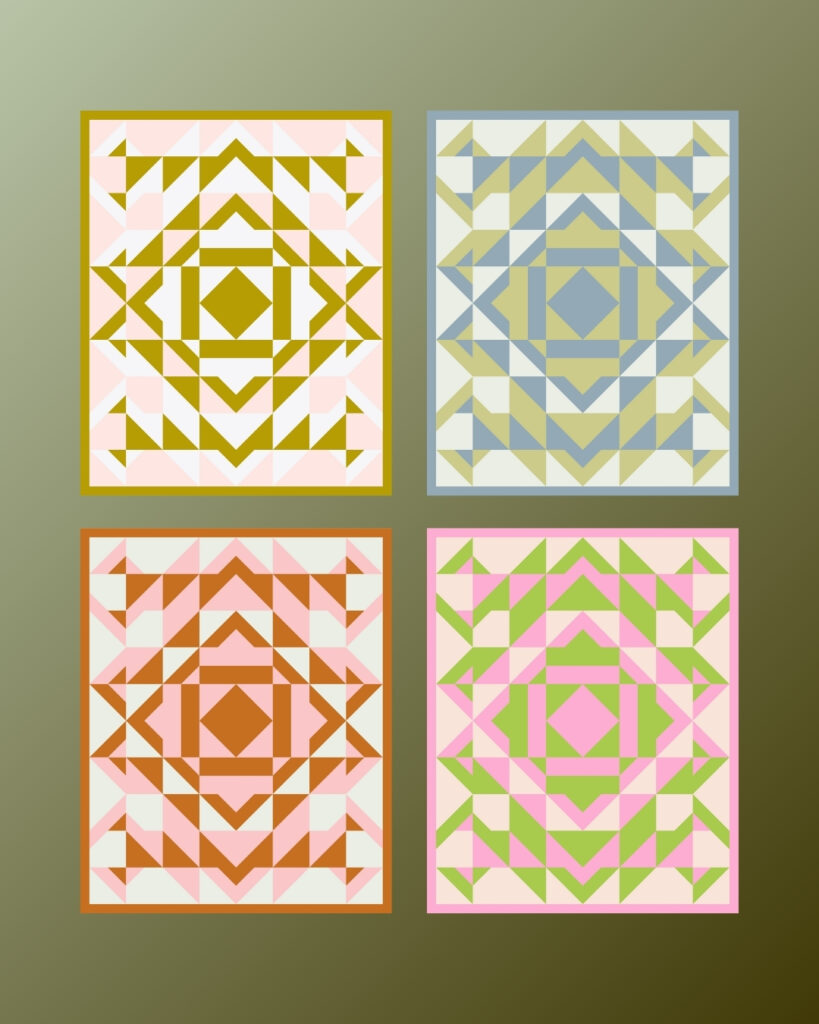
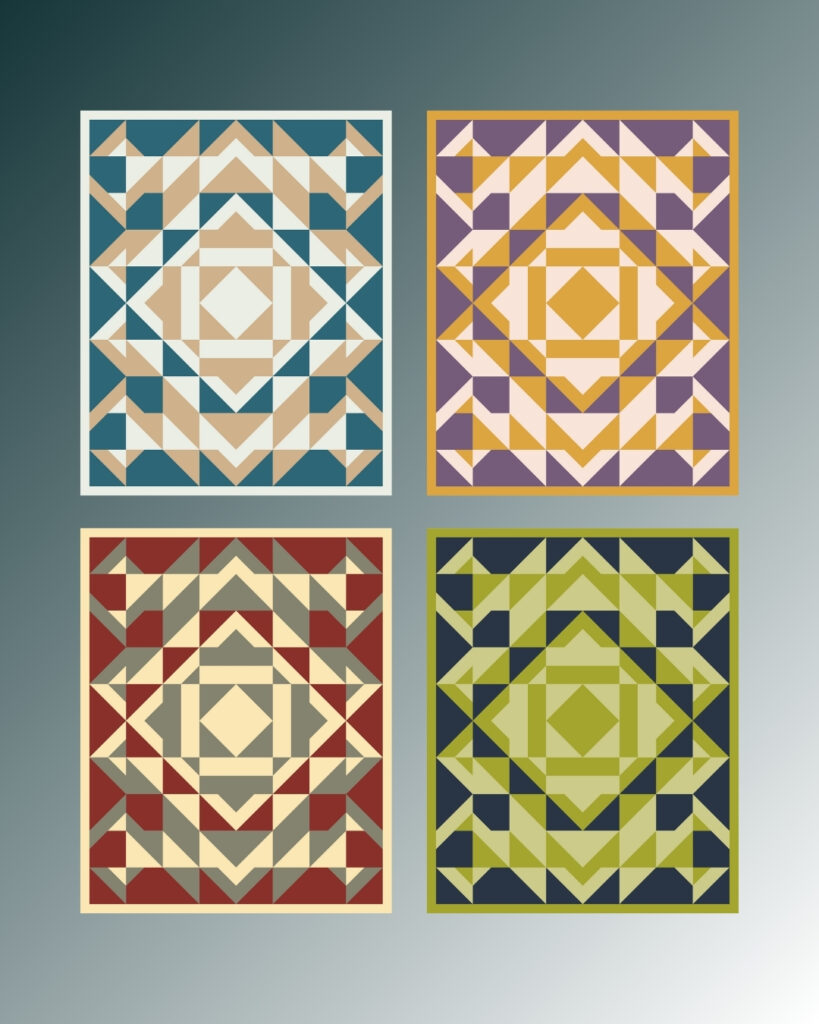
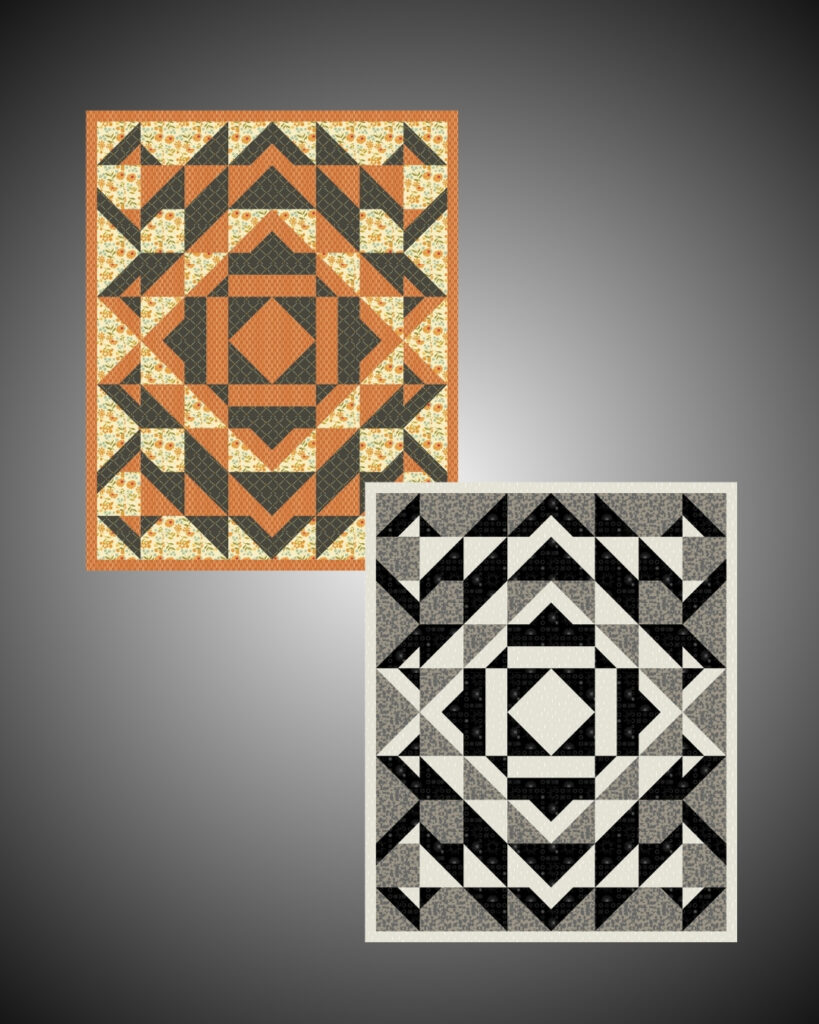
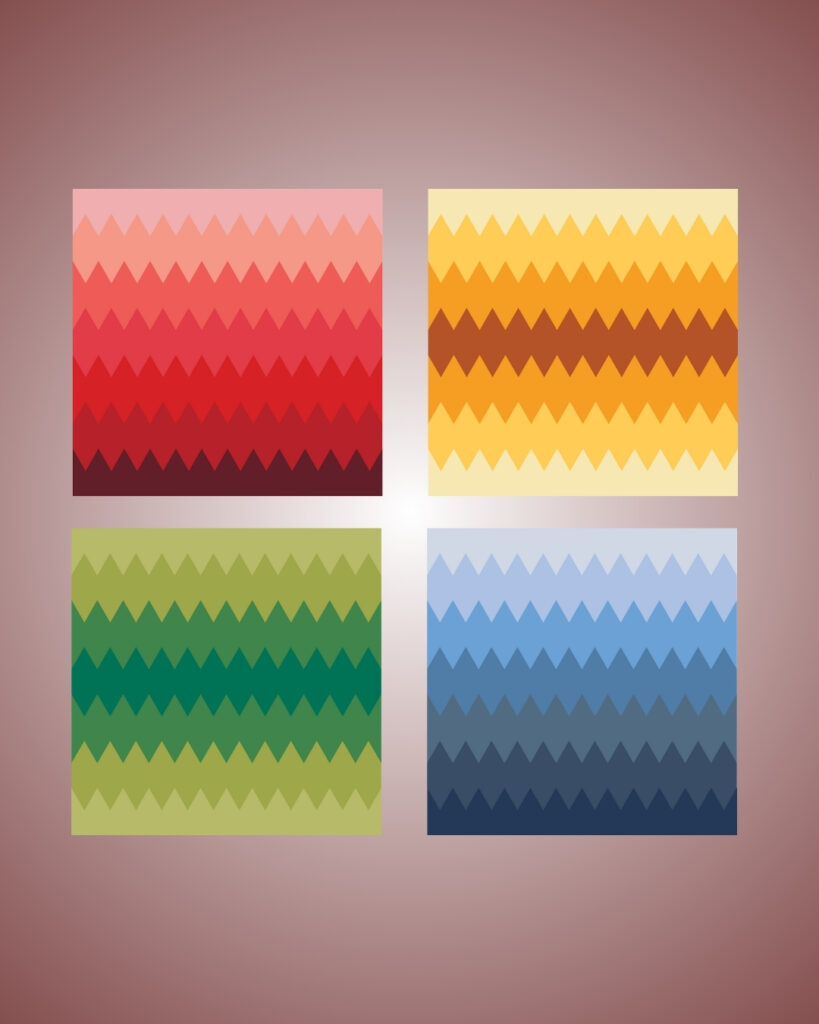
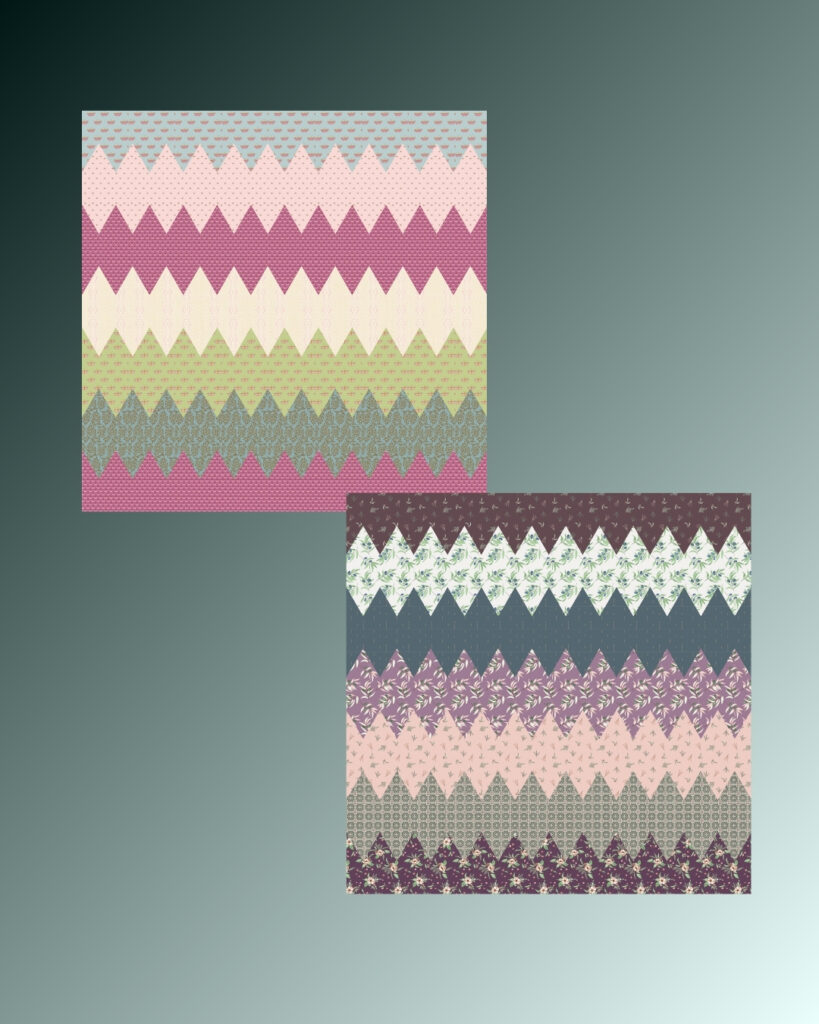
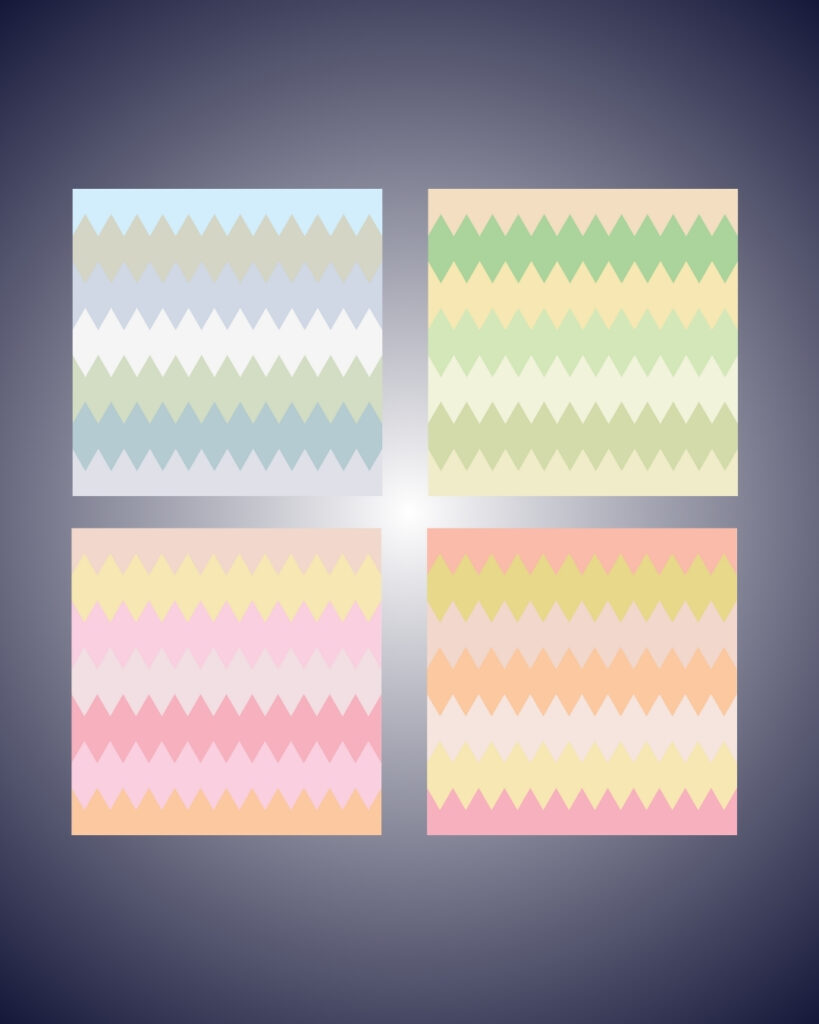
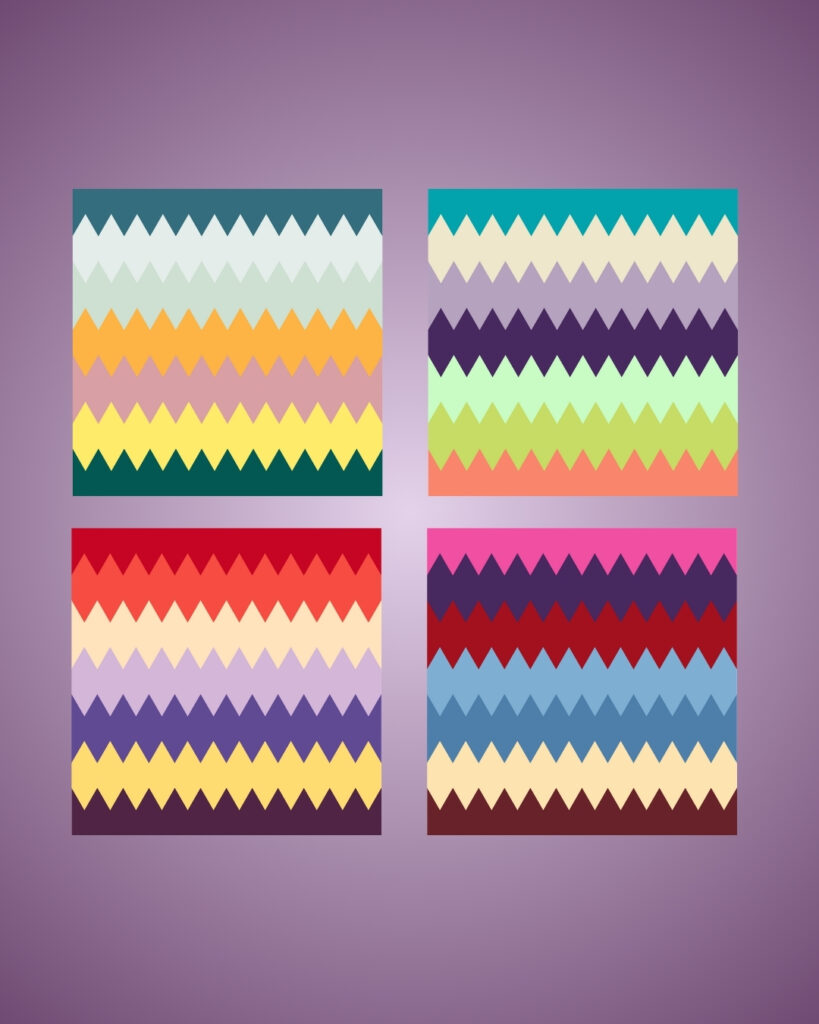
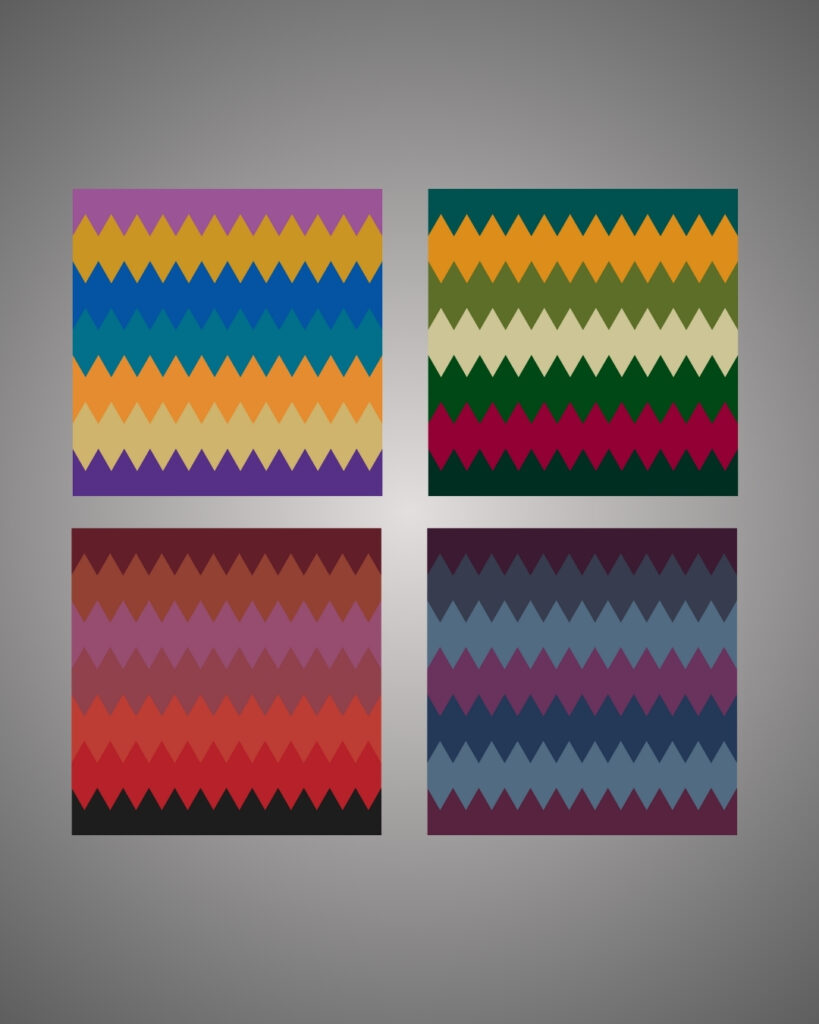
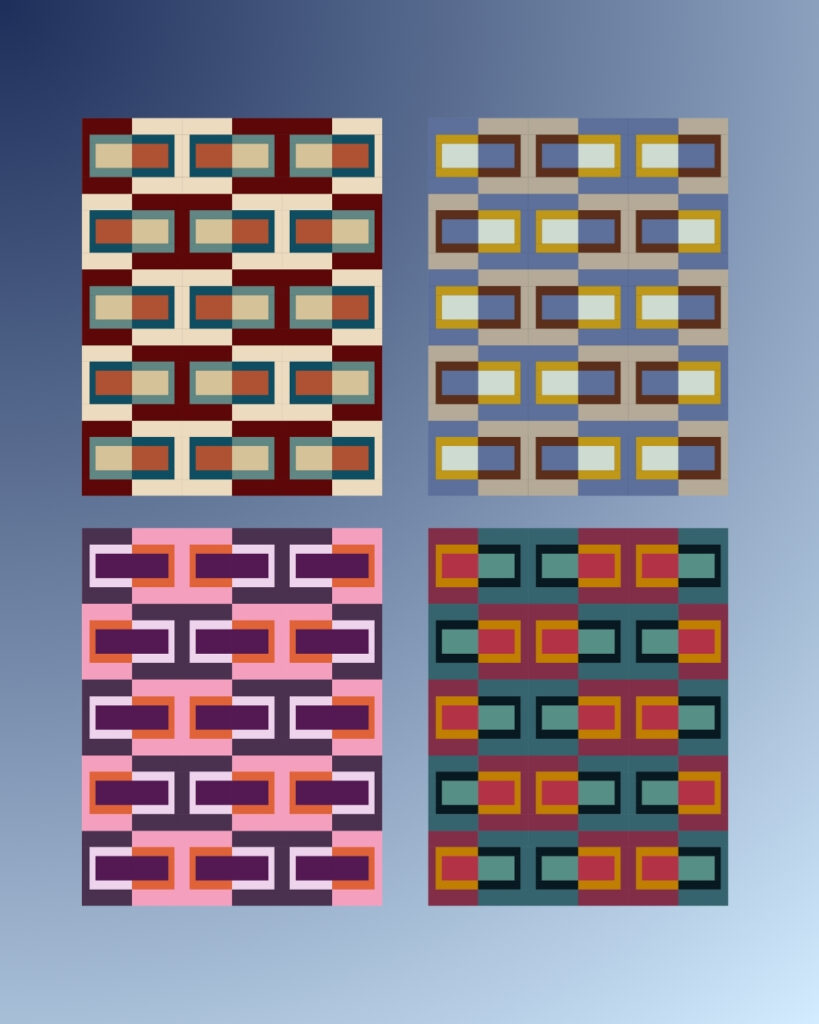
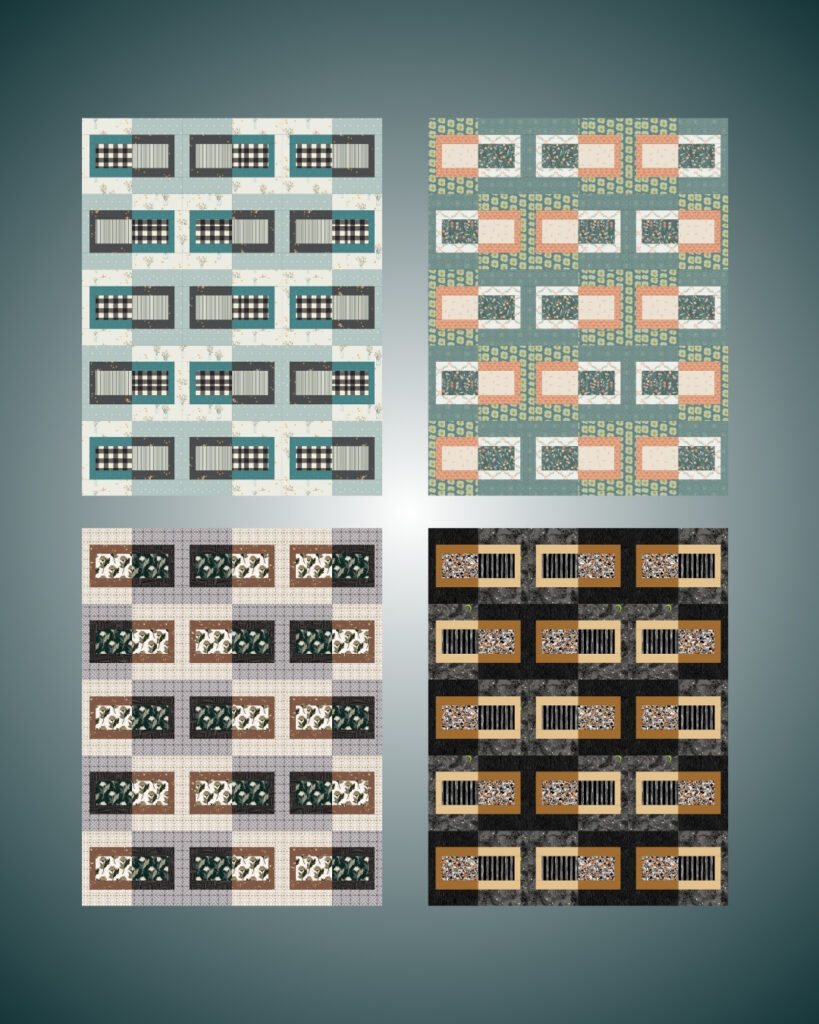
I love being able to mock up possible quilt kits and show a customer what different fabrics will do to a quilt. It is so much easier to visualize the finished product than just showing samples of fabrics.