QuiltInk 3.0 is Live!

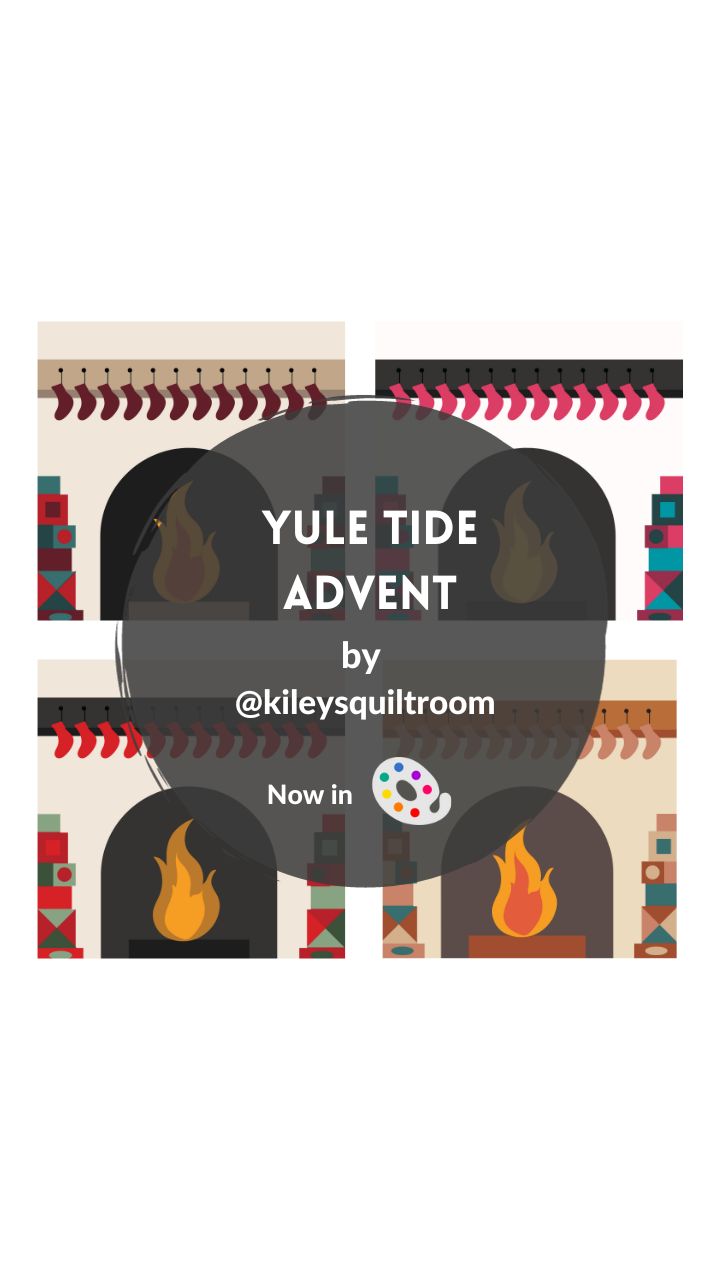
Title: YuleTide Advent Quilt
Designer: Kiley’s Quilt Room
Technique: Traditional Piecing, Appliqué, Improve, etc
Sizes: 1
Have you started thinking about your Christmas #quilting projects? Kiley is presenting today her new YuleTide Advent Quilt, a fun quilt you can use for a 12 days advent calendar. Plan it with #quiltink and start sewing to be ready for #Christmas !
The #yuletidequilt is a take on the Christmas Chaos kiley’s pattern. It combines multiple techniques such as applique, curved piecing, improv etc. Once your quilt is complete, you can add 12 buttons and mini stockings to create a 12 day advent calendar for the holidays! This wall hanging is 40″ x 40″.
Visit Kiley’s website for more info about it and get your copy of the pattern.
If you check the #quiltinkwall you will see an amazing mock-up made by Kiley with printed fabrics. You can’t miss it!


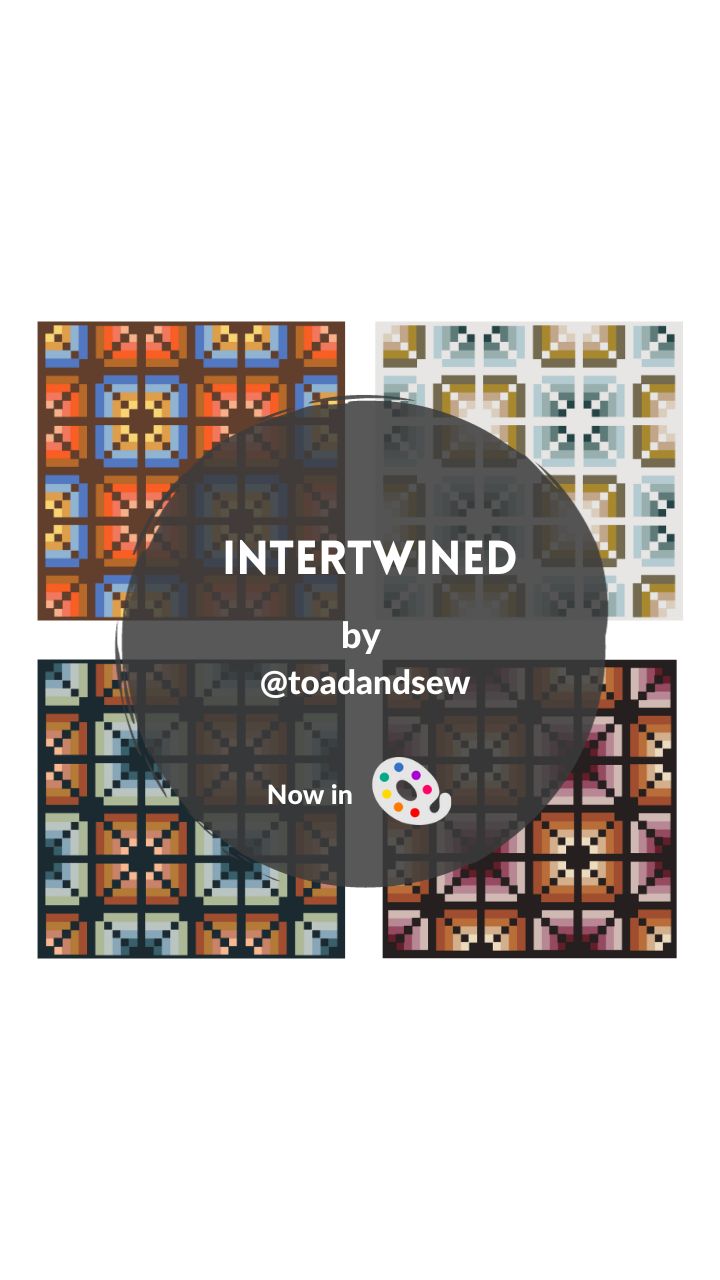
Title: Intertwined
Designer: Toad and Sew
Technique: Traditional Piecing
Sizes: 3
It’s release day for the Intertwined #quiltpattern by Taylor from Toad and Seaw. As with all her other Taylor’s patterns, you can color this gorgeous new one on #QutilInk and plan your unique version before starting cutting your fabrics.
Remember to share your #quiltinkmoscups with us! We can’t wait to see them all!
The #intertwinedquilt is a quick and easy project with a high level of personalization. It’s beginner friendly. It comes in 3 sizes: baby, throw and bed, with 2 layouts options, sashing and non-sashing. It’s a pattern full of color possibilities!
Fabrics used for the #mockups in the video are:
Cover version: #modasolids from @modafabrics
Ocean Air version: #ArtGalleryFabrics #AGFPURESolids from @artgalleryfabrics
Suzy Solids Line version: #AGFSignaturePURESolids by Suzy Quilts for
Art Gallery Fabrics
October ToadSpo version: #AGFPURESolids and #AGFSignaturePURESolids from Art Gallery Fabrics
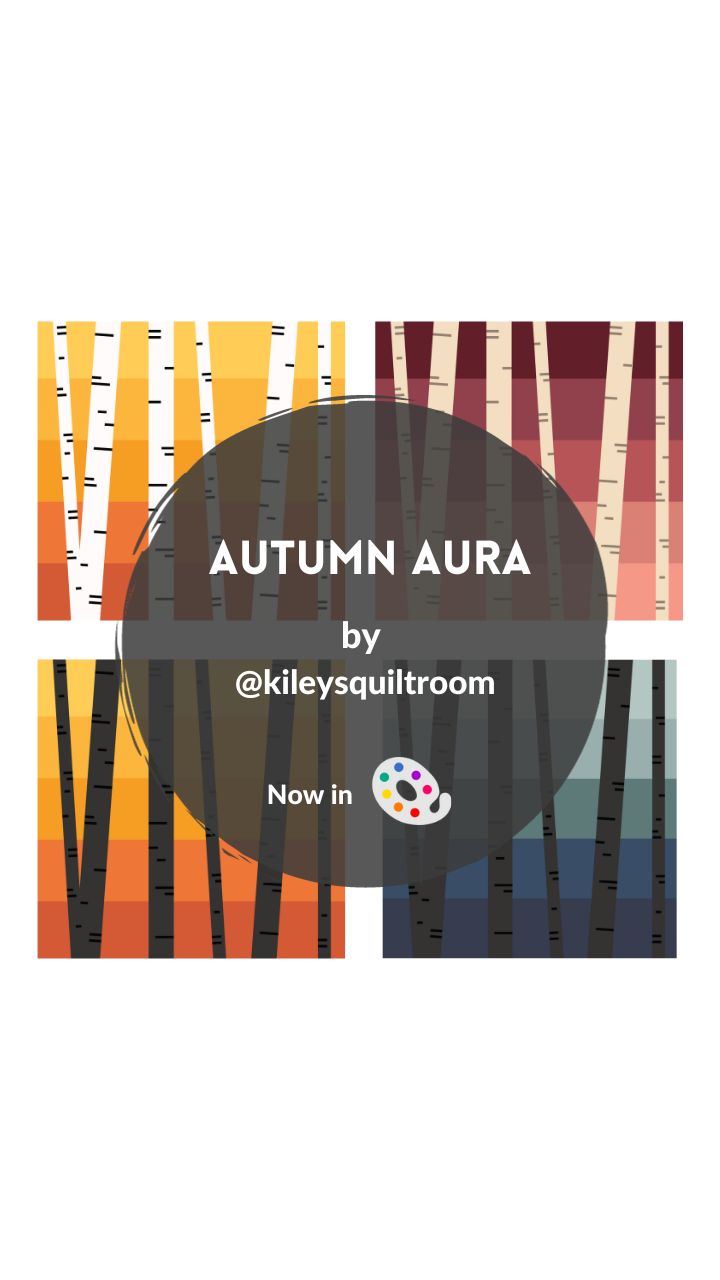
Title: Autumn Aura
Designer: Kiley’s Quilt Room
Technique: Traditional Piecing, Appliqué and Puff quilt
Sizes: 1
It’s release day for the Autumn Aura by Killey from Killey’s Quilt Room. If you are looking for a fall inspired quilt project don’t miss this one, it’s full of color possibilities. Color your #mockups with #quiltink and share it with us! We can’t wait to see them all!
The #autumnauraquilt #pattern is a mix between traditional piecing, applique and puff quilt, it makes the birch trees stand out and give off a “3D” effect creating a unique #quilt. It finishes at throw size, 50″ x 50″ and it’s beginner friendly.
Explore all the new QutilInk options that allow you color with printed fabrics! We can’t wait to see your unique colorings!

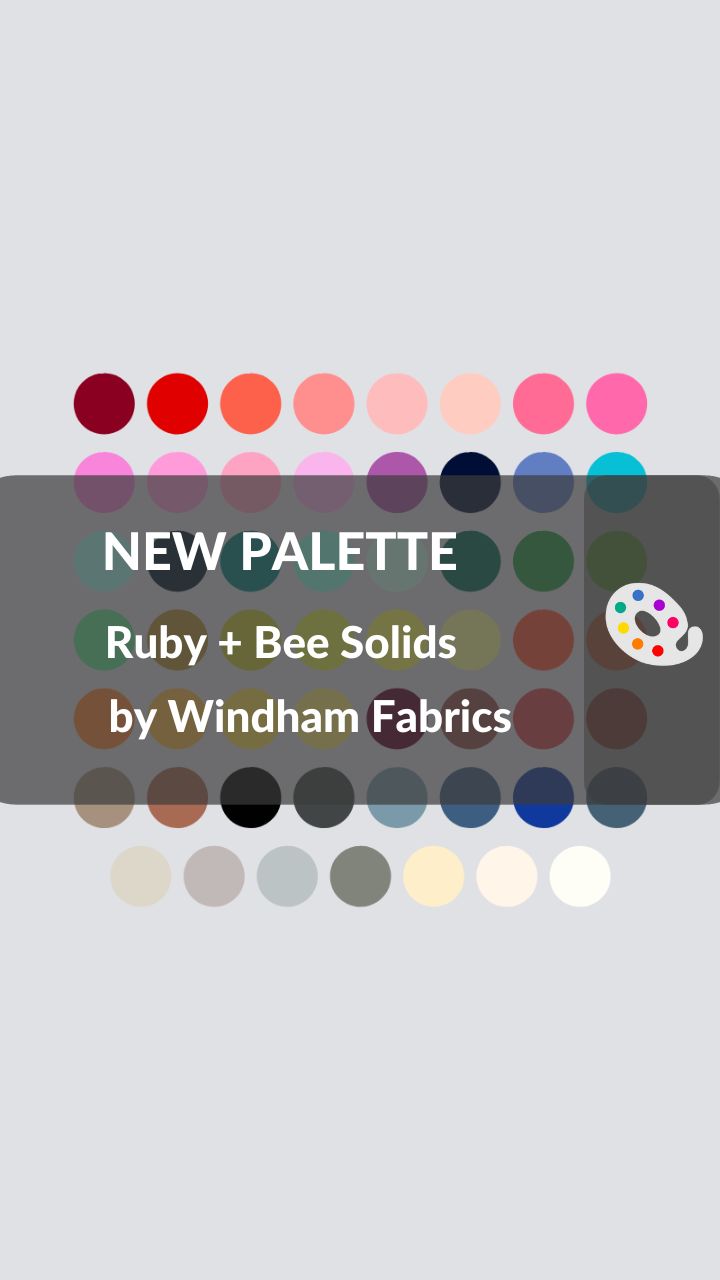
New palette in QuitlInk! Ruby + Bee Solids by Windham Fabrics are now available in #quiltink for you to digital plan your quilts. We invite you to explore it and use it to make some #mock-ups, we can’t wait to see them all!
With the new upgrade we have been able to upload several new palettes to our platform and upgrade some of the existing ones. Stay tuned and don’t miss any news!!
The #QInk_MockupMonday number 62 is exclusively dedicated to the BLOEM Along by Libs Elliot, which started yesterday. We are really excited to host this pattern in QuiltInk and see all the amazing mock-ups all the participants are creating.
Don’t miss this video with more than 100 #qultinkmockups of the #bloemquilt #pattern already published in the #quiltnkwall, it’s hypnotizing!
You can still join the Lib’s Sew Squad and be part of this amazing Sew Along. Visit Libs Elliott profile for more info and the direct link to sign up for the fun!

