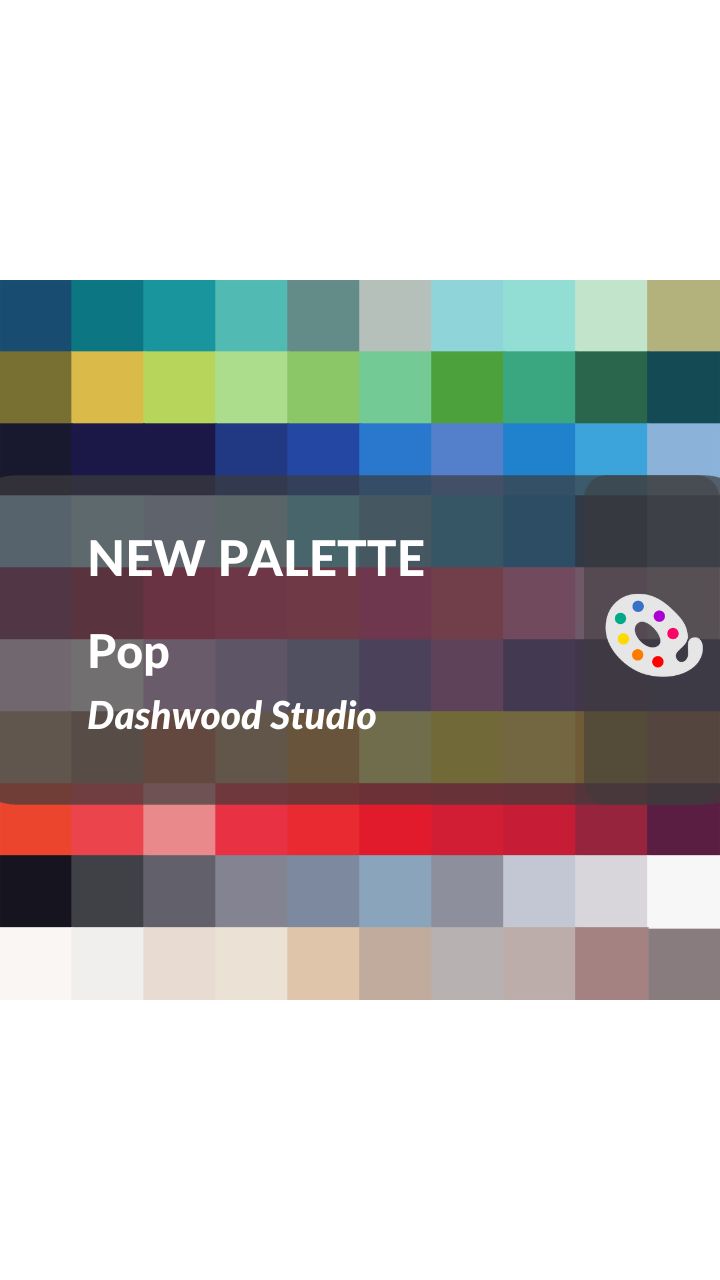
The Pop from Dashwood Studio is the last solid fabrics palette added to QutilInk!
100 new colors/fabrics to digitally color your mockups with QutilInk. Don’t miss it!
And remember you can also color now with printed fabrics from some fabric shops and designers that have uploaded their fabrics or you can upload your own! The tutorials will help you get started, and then you won’t be able to stop!
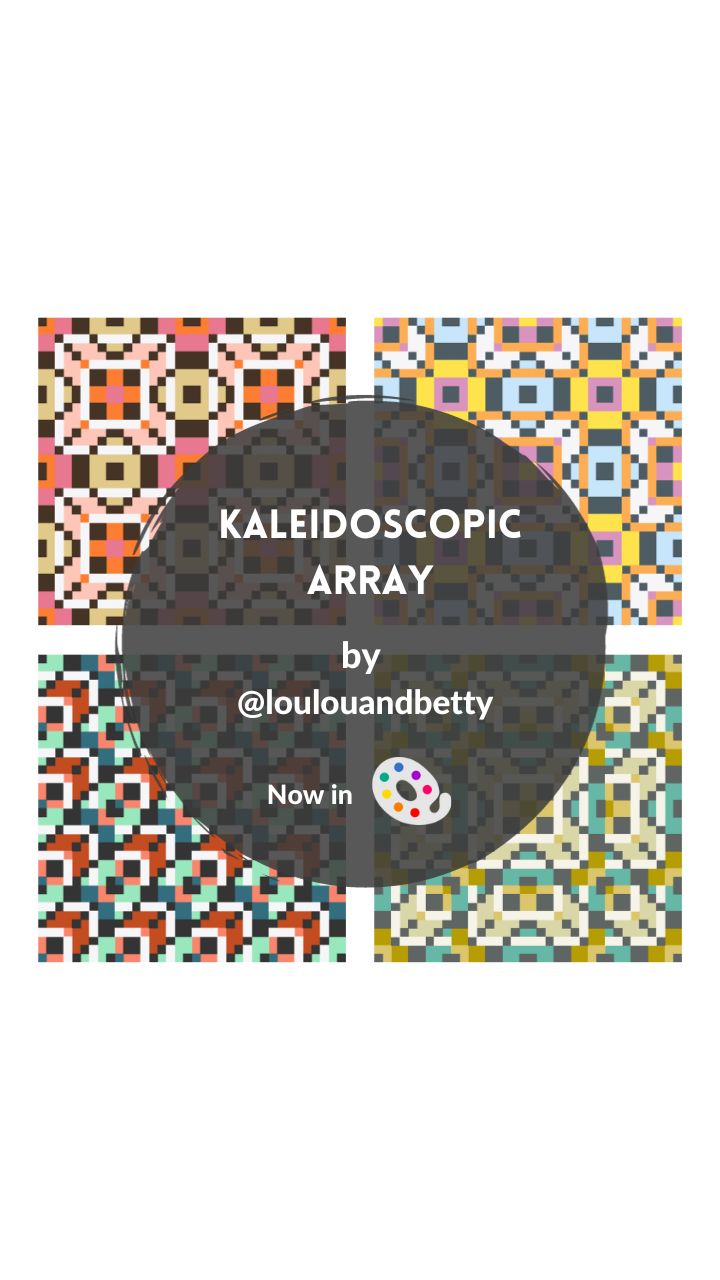
Title: Kaleidoscopic Array
Designer: Lou Lou and Betty
Technique: Traditional Piecing
Sizes: 5
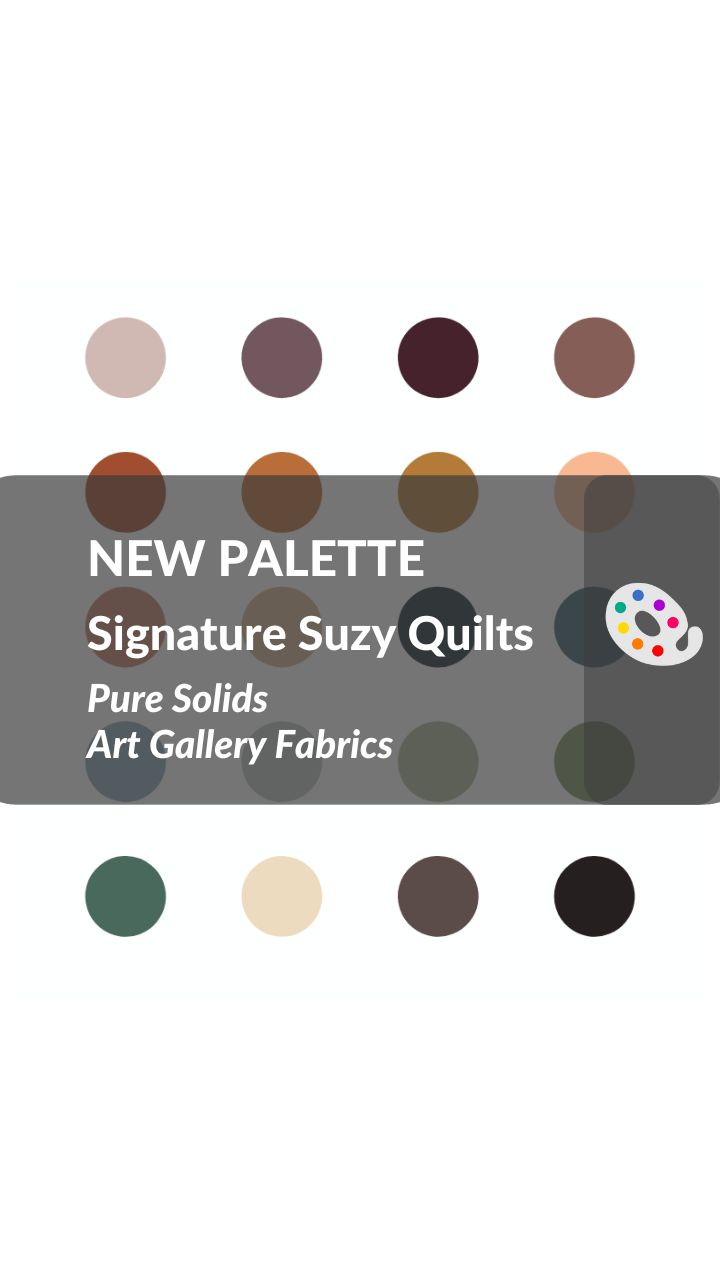
One of the new palettes in QuitlInk is the PURE Signature Solids by Suzy Quilts for Art Gallery Fabrics. An amazing selection inspired by the Civil War reproduction fabrics with a modern touch.
Now you can color the QuitlInk patterns with this amazing collection without the need to search for each color in the AGF Pure solids palette.
This palette combines perfectly with the Suzy Quilts Duval printed fabrics collection. Remember you can upload any printed fabrics at your “My Palette” section in your QuitlInk profile page, with a limit of 10 fabrics for free accounts and unlimited fabrics and palettes for less than a coffee a month!
Start planning your unique quilting project with #quilt_ink!
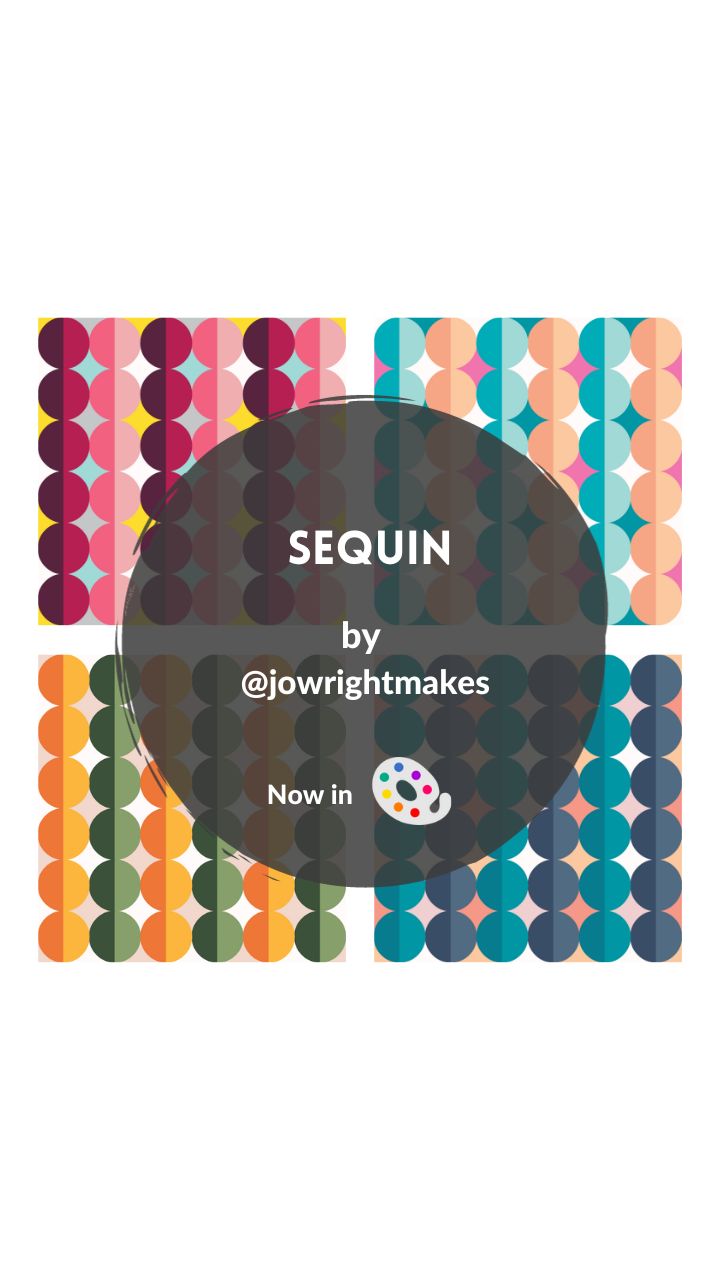
Title: Sequin
Designer: Jo Wright Makes
Technique: Curve piecing
Sizes: 3
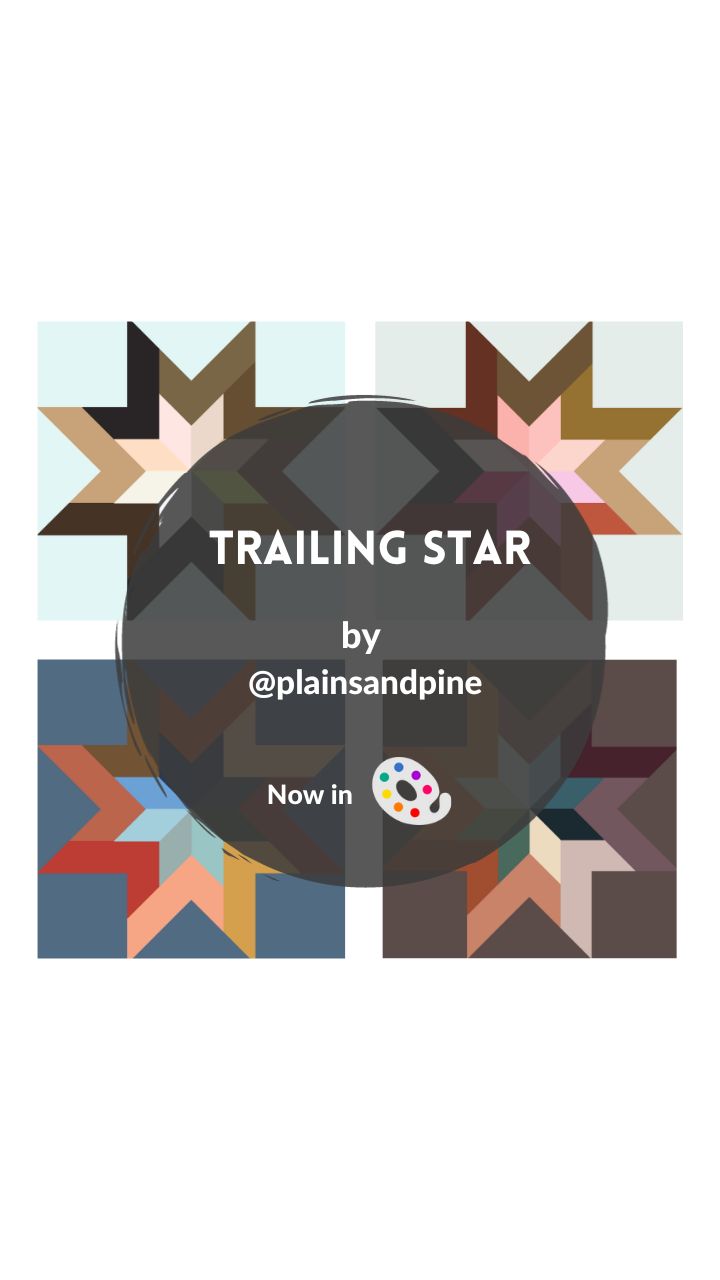
Title: Trailing Starr
Designer: Plains and Pine
Technique: Traditional piecing
Sizes: 3

Title: Aperitif
Designer: Juiia Wachs Designs
Technique: Applique
Sizes: 6
It’s launch day for the Aperitif #quiltpattern by Julia from Julia Wachs Designs. All those subscribed to her newsletter will receive this amazing pattern for free. So, if you are not yet in Julia’s community go to her profile to know more about it!
The #aperitifquilt is Inspired by a beautiful metal gate in Copenhagen. It’s a confident beginner pattern and it comes in This confident beginner appliqué pattern was inspired by a beautiful metal gate in Copenhagen. It includes full instructions on freezer paper appliqué. Aperitif comes in crib, small throw, large throw, twin, queen, and king sizes.
skill level.
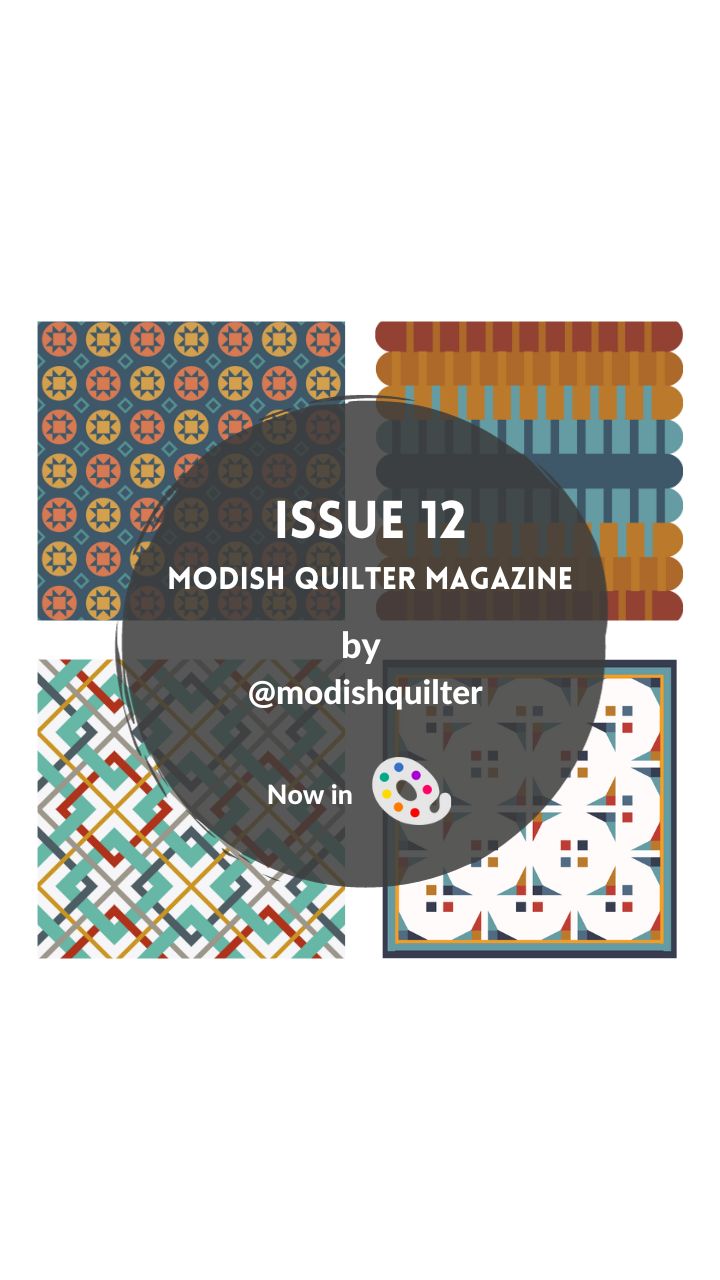
Title: Issue 112
Designer: Modish Quilter Magazine
Technique: Traditional Piecing, Pieceing with curves
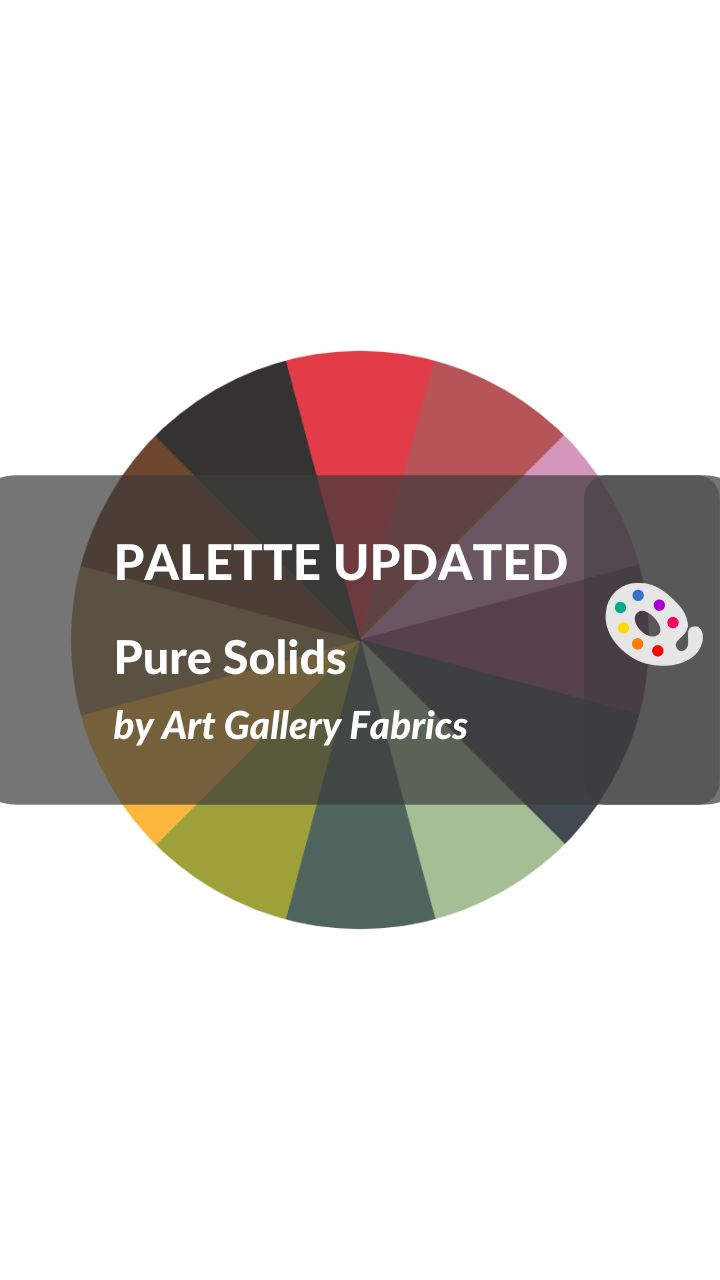
With the big QuitlInk upgrade, the Pure Solids by Art Gallery Fabric Palette in QuiltInk has been updated with the 12 new colors.
Now you can enjoy the 162 colors of the amazing palette to plan your quilt projects in QuiltInk.
Remember you can color now with printed fabrics from the Fabrics shops and Designer palettes or upload your own!
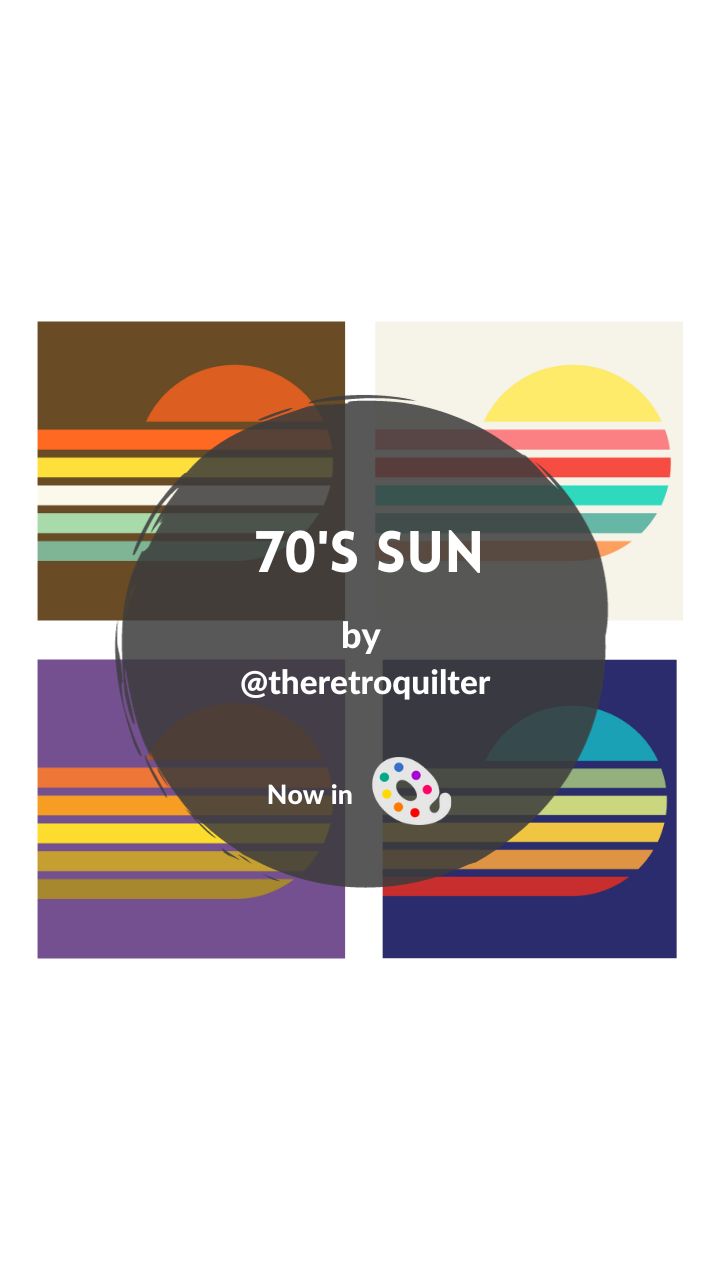
Title: 70’s Sun
Designer: The Retro Quilter
Technique: Curves Piecing
Sizes: 4
It’s release day for the 70’s Sun by Maude from The Retro Qutilter. A wonderful #quiltpattern with 70’s nostalgia vibes while it maintains a cool and modern style.
Color your version with QutilInk, and share your mock-ups with us! We can’t wait to see them all!
Remember you can now color with #printedfabrics in QuiltInk! Check the palettes from the Fabric Shops and Designers, or upload your own printed fabrics!
The #70sSunQuilt is an ultra-fast finish project, perfect for a weekend or a day. It has gentle curves, perfect for the Confident Beginner. The pattern includes templates and instructional video tutorials. And it comes in 4 sizes: Wall Hanging, Baby, Throw, and Bed.