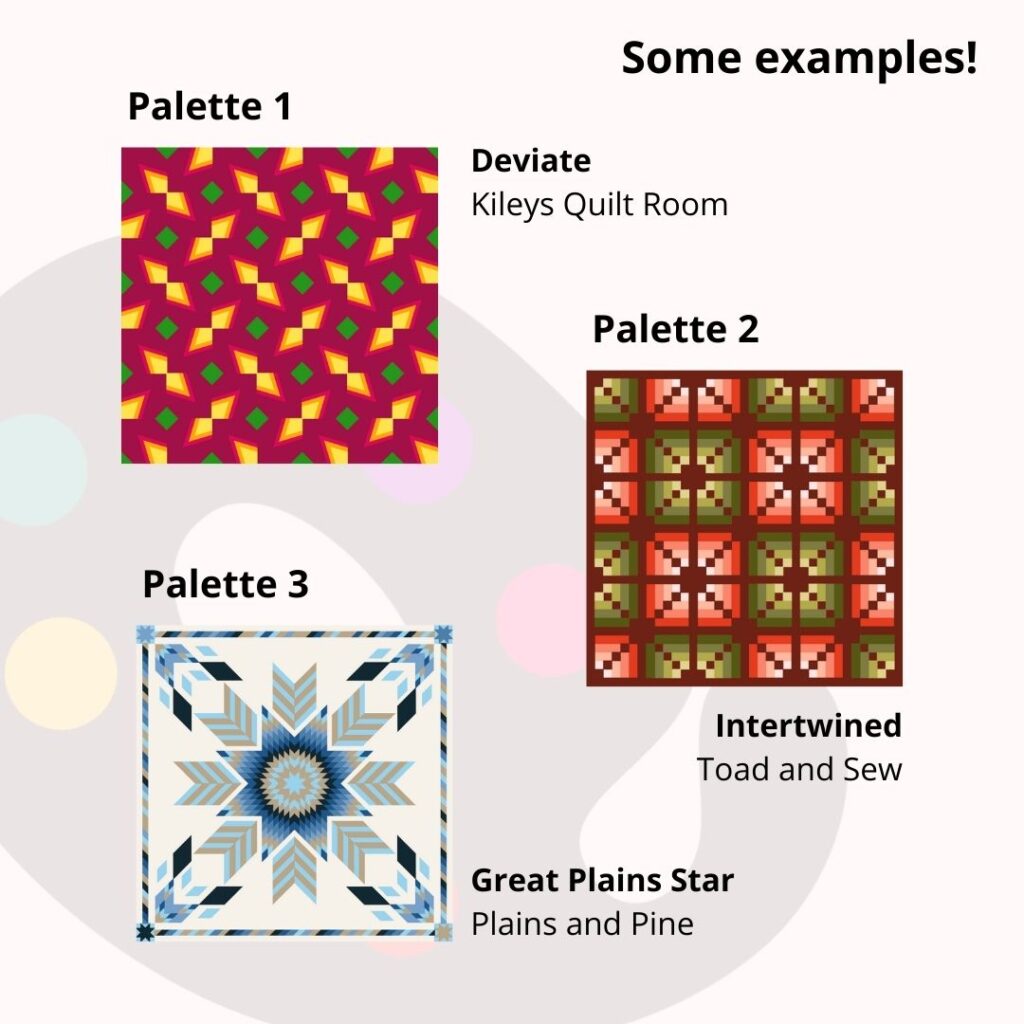


Here are some examples of quilts hosted by QuiltInk and colored-in with the QuiltInkChallenge Dec 23 palette.
If you are wondering where you can find the QuiltInkChallenge Dec 23, check the following video!
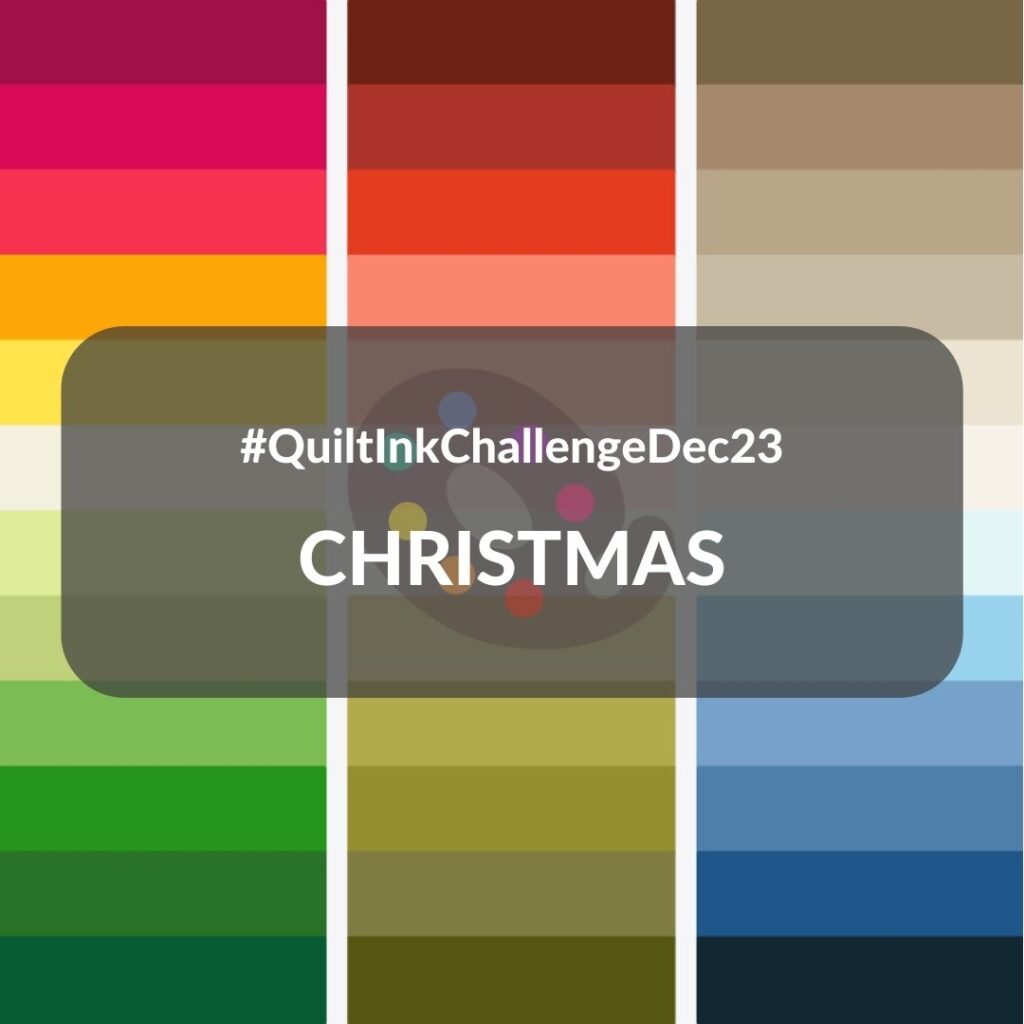
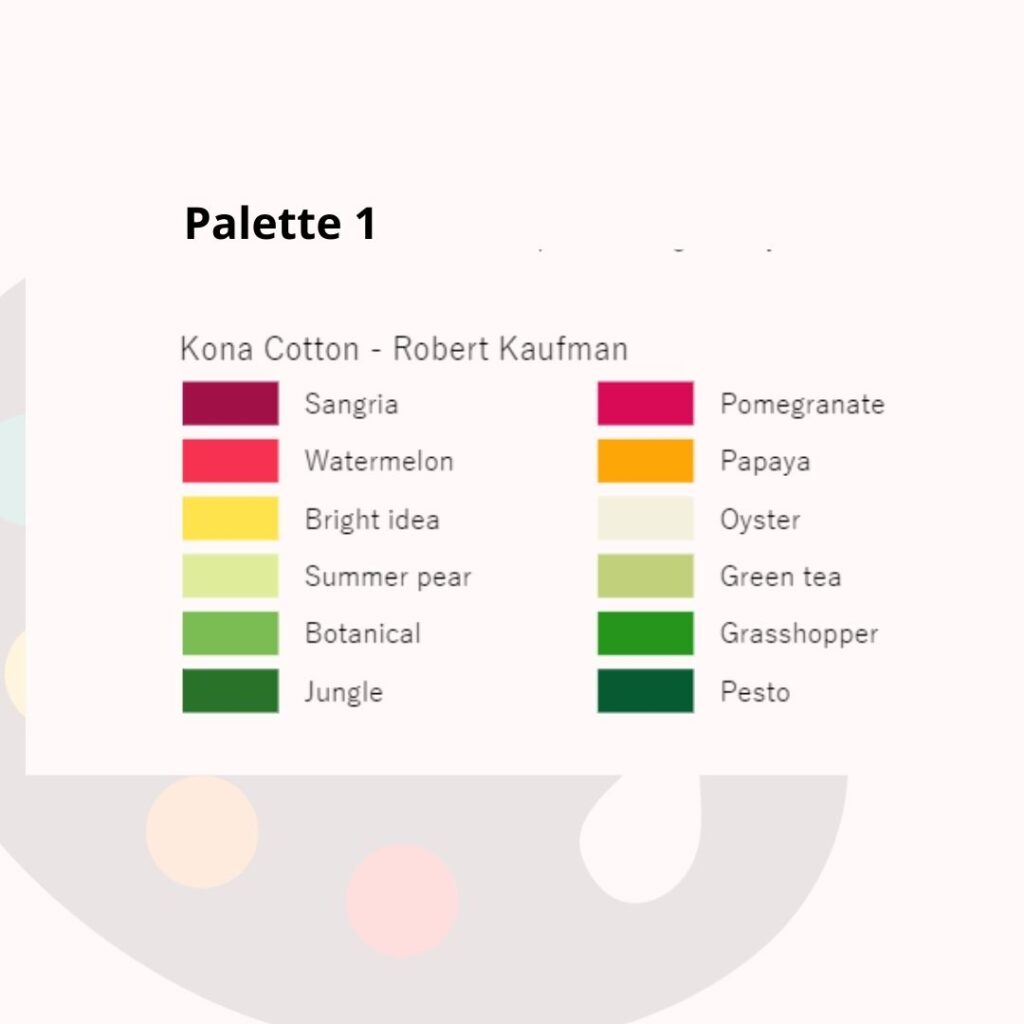
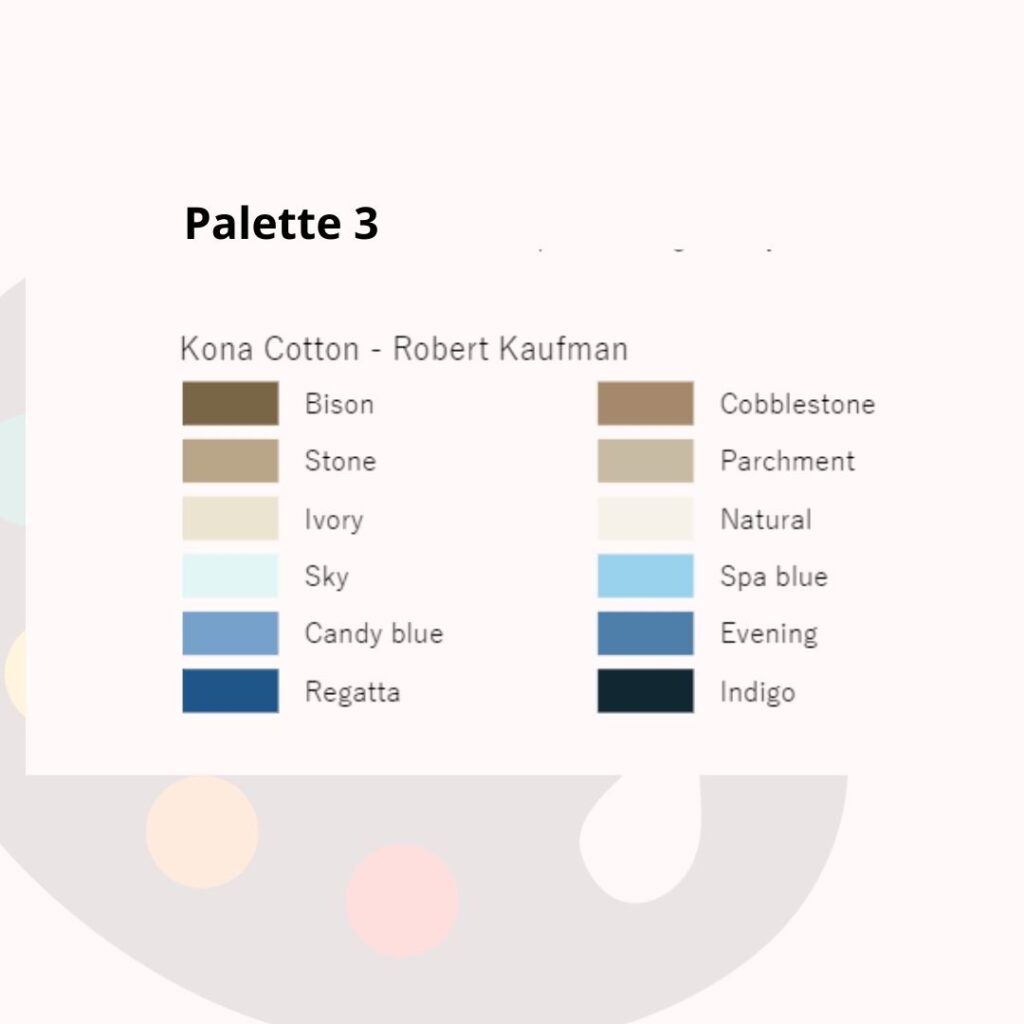
And here you can check the colors of each one of the palettes, selected from the Kona Cotton Solids QuiltInk Palette from Robert Kaufman Fabrics.
We can’t wait to see all your mock-ups! Happy coloring to you all!
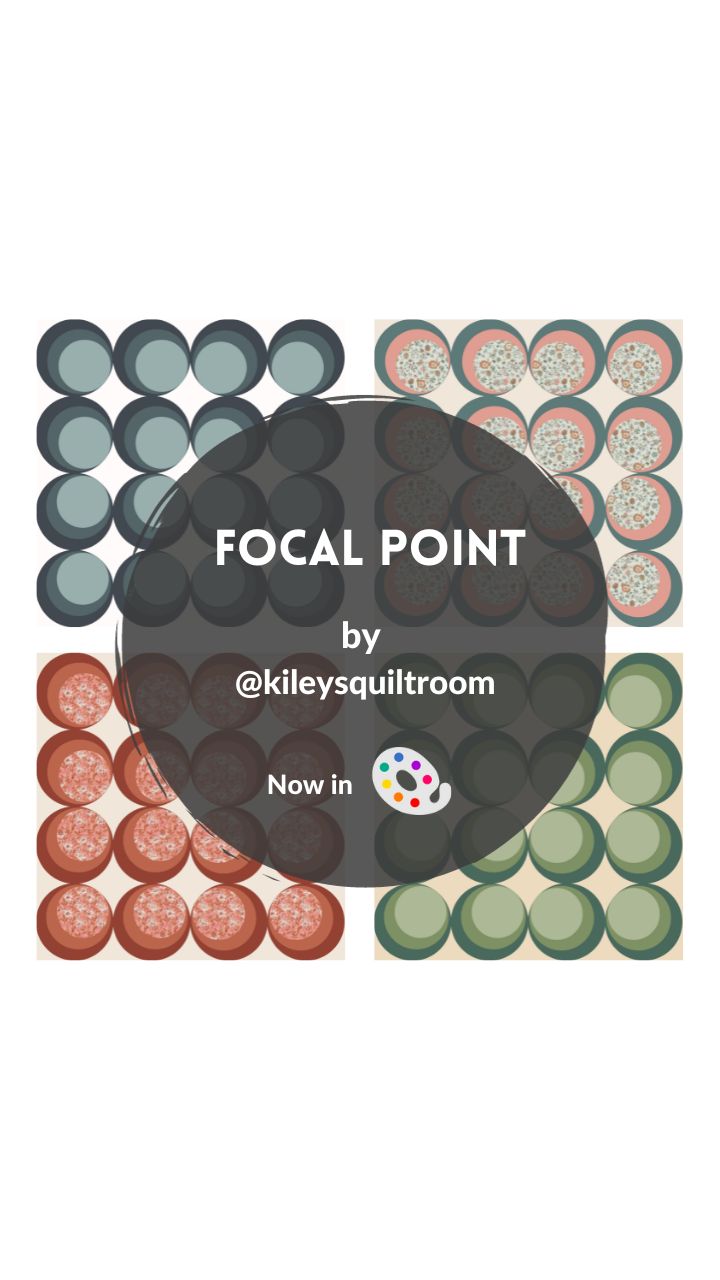
Title: Focal Point
Designer: Kiley’s Quilt Room
Technique: Traditional Piecing
Sizes: 4
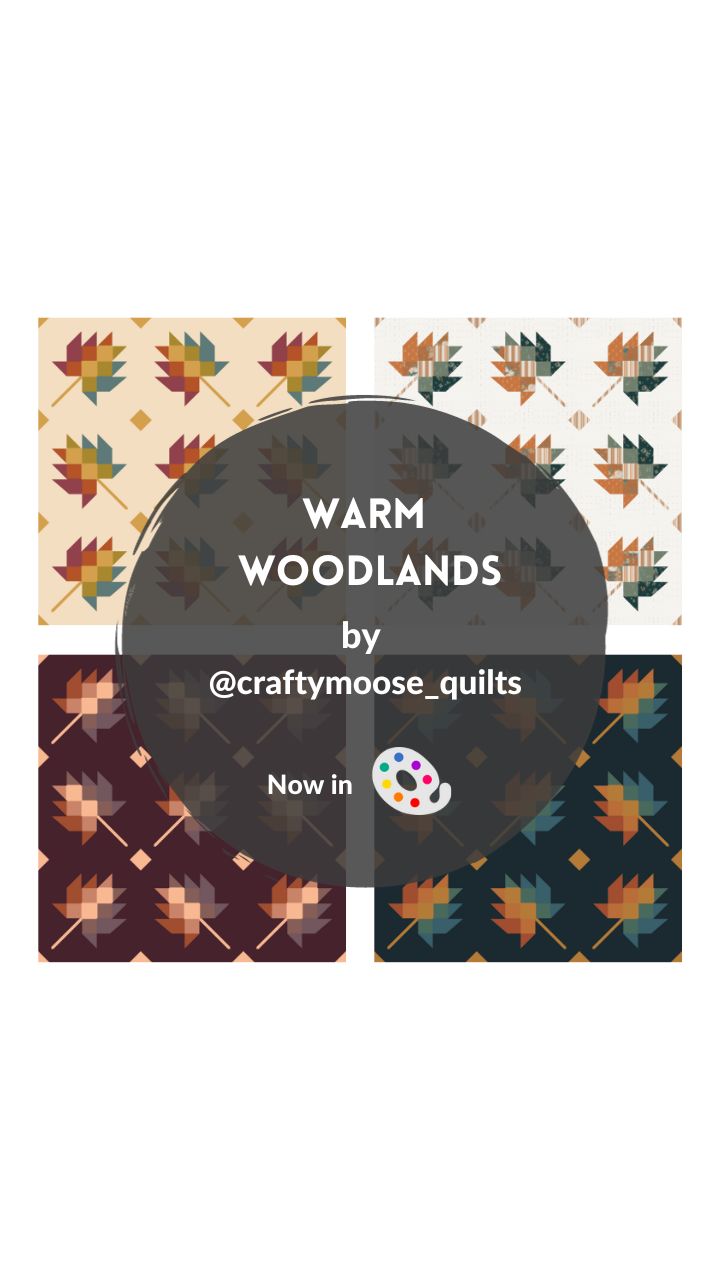
Title: Warm Woodlands
Designer: Crafty Moose Quilts
Technique: Traditional Piecing
Sizes: 1
The Warm Woodlands #quiltpattern is the last pattern released by Ann from the Crafty Moose Quilts, a great opportunity to play with gradient colors and create unique projects.
The #warmwoodlandsquilts is a fast and fun pattern. It comes in 1 size, throw 60 x 60 inch and is perfect for beginner quilters. And it includes a Bonus project made from the scraps of the Warm Woodlands.
Visit Ann’s website for more info about the pattern and to get your copy.
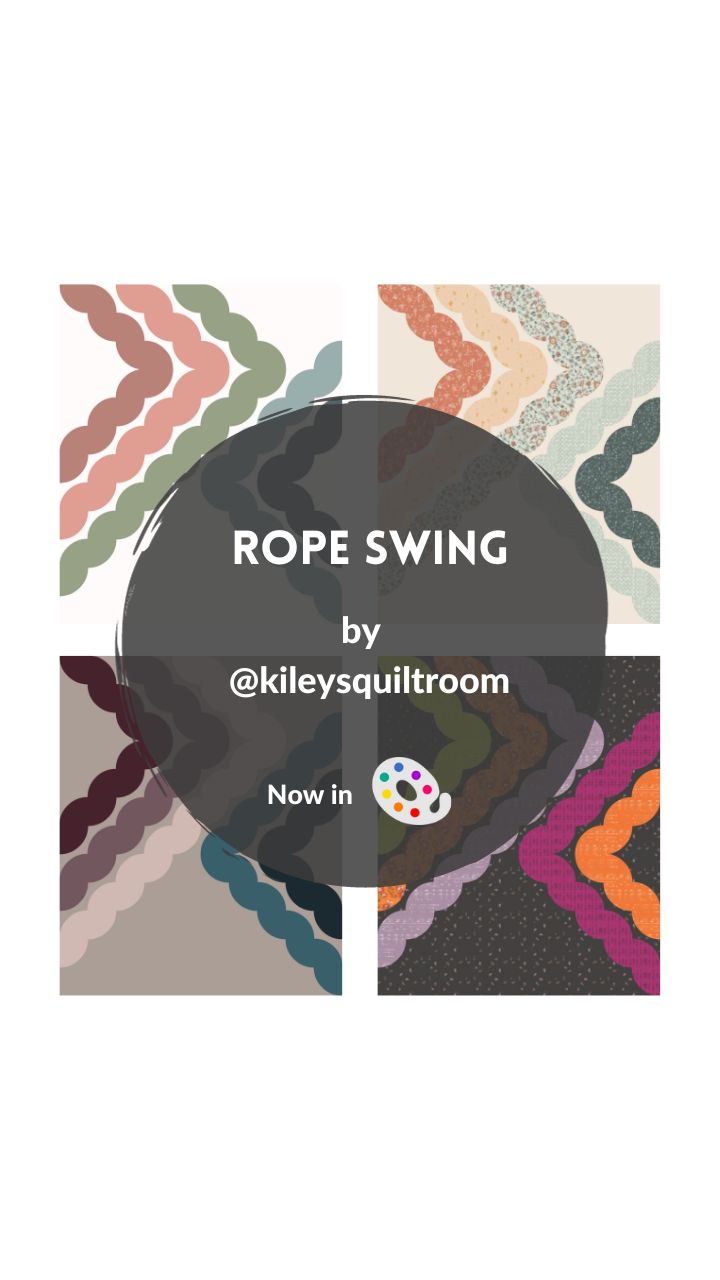
Title: Rope Swing
Designer: Kiley’s Quilt Room
Technique: Traditional Piecing
Sizes: 1

Title: Starburst
Designer: CMarie Quilts
Technique: Traditional Piecing
Sizes: 3
Some days ago, Christina Marie from CMarie Quilts released the Starburst #quiltpattern, and it’s available in QutilInk so you can plan your version digitally using solids or printed fabrics.
The #starbustquilt is a modern Asymmetrical Design with a great space for quilting. It
comes in 6 sizes: Baby, Lap, Throw, Twin, Full/Queen, King and available in 2 or 3 color versions.
Visit CMarie’s profile to see all the amazing versions made by her testers and you can also get inspired by our #quiltinkwall where she has set up several amazing mockups.
Remember to share your coloring with us! We can’t wait to see them all.
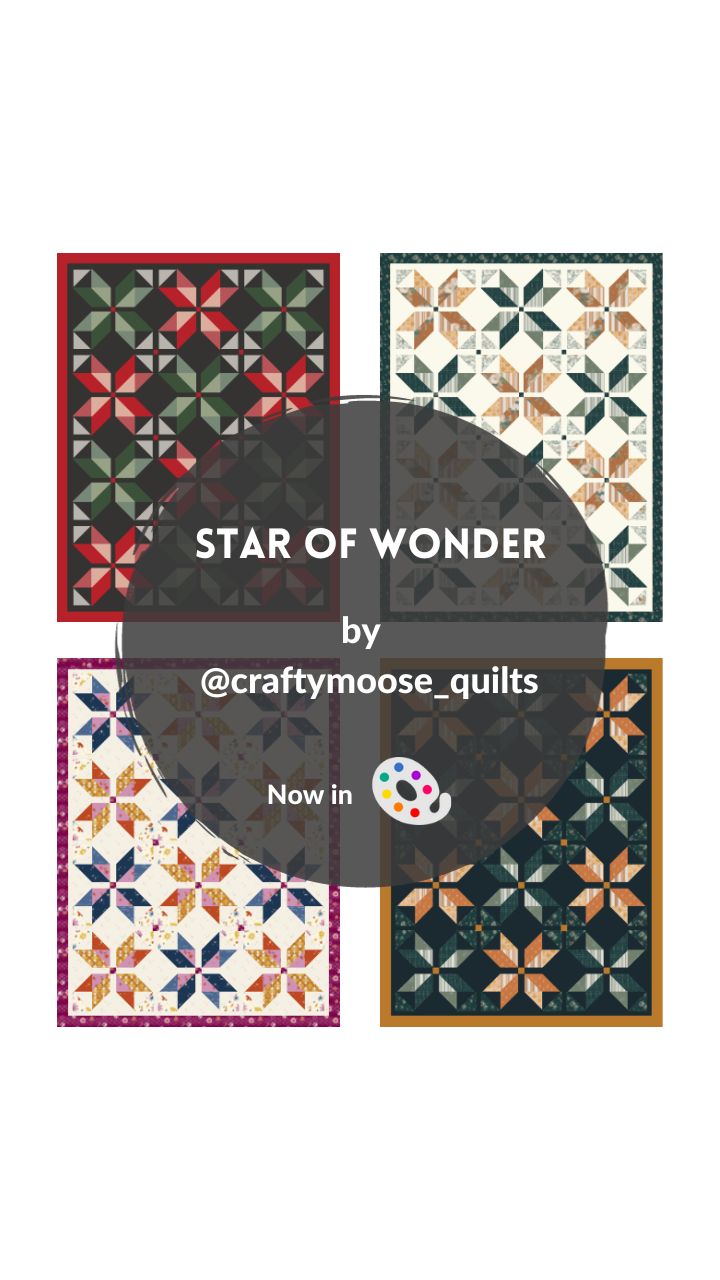
Title: Star of Wonder
Designer: Crafty Moose Quilts
Technique: Traditional Piecing
Sizes: 1
The Star of Wonder #quiltpattern was released 2 weeks ago by Ann from the Crafty Moose Quilts and now you can color it on QuiltInk creating as many mock-ups as you can imagine to make the perfect choice of color and fabrics. We want to see them all, so share them with us!
The #starofwomderquilt is a fun and easy quilt pattern, perfect for #Christmas! It is suited for beginner quilters and comes in one size, throw 53″ x 69″. Perfect pattern for Fat Quarter Bundles or scraps.
Visit Ann’s website for more info about the pattern and to get your copy.
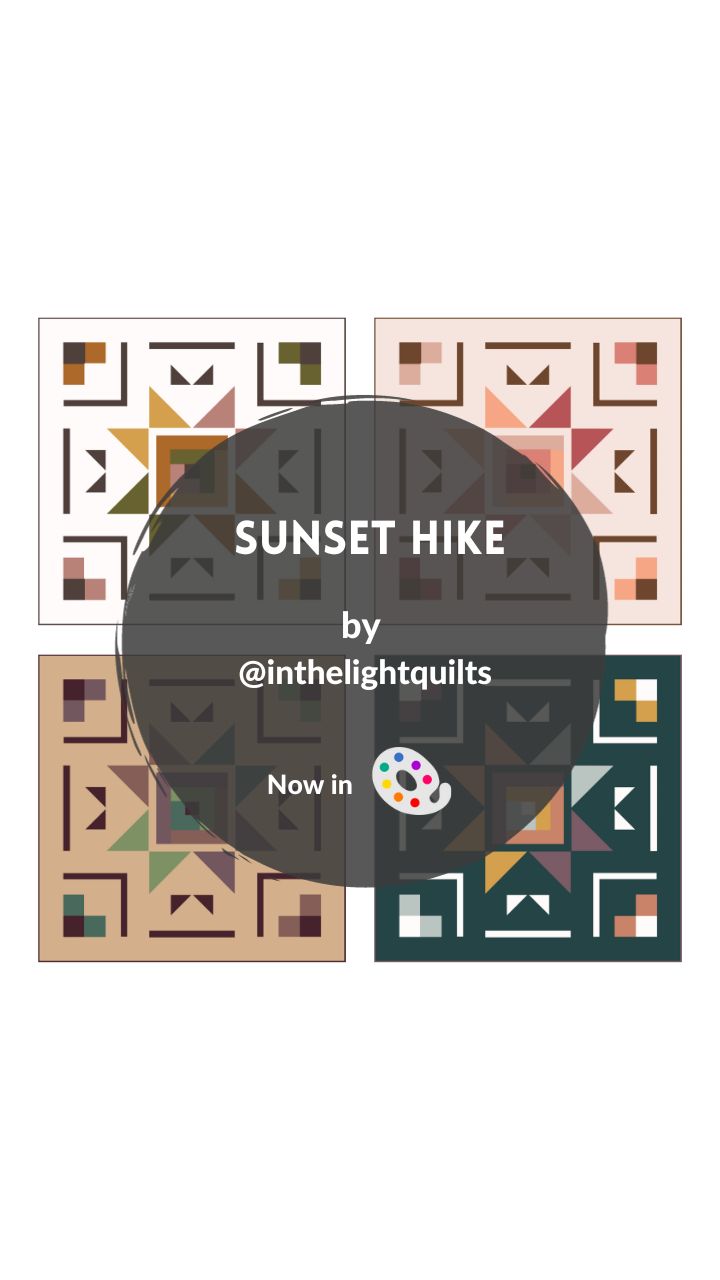
Title: Sunset Hike
Designer: Mommy & Me Quilt Co.
Technique: Traditional Piecing
Sizes: 3
New designer in #quiltink! She is Alison from @inthelightquilts , and her first pattern in our platform is the Sunset Hike, a fun and quick pattern to create a modern look quilt!
The #SunsetHikeQuilt is a perfect #quiltpattern for Confident Beginner quilters. It comes in 3 sizes: Wall Hanging (21” x 21”), Baby (42” x 42”), and Throw (63” x 63”). It’s made up of 3 different blocks. A hreat pattern to practice making flying geese blocks.
Support new designers on social media and getting their patterns. Thanks to them QuiktInk is alive and you can color nearly 250 patterns for free!
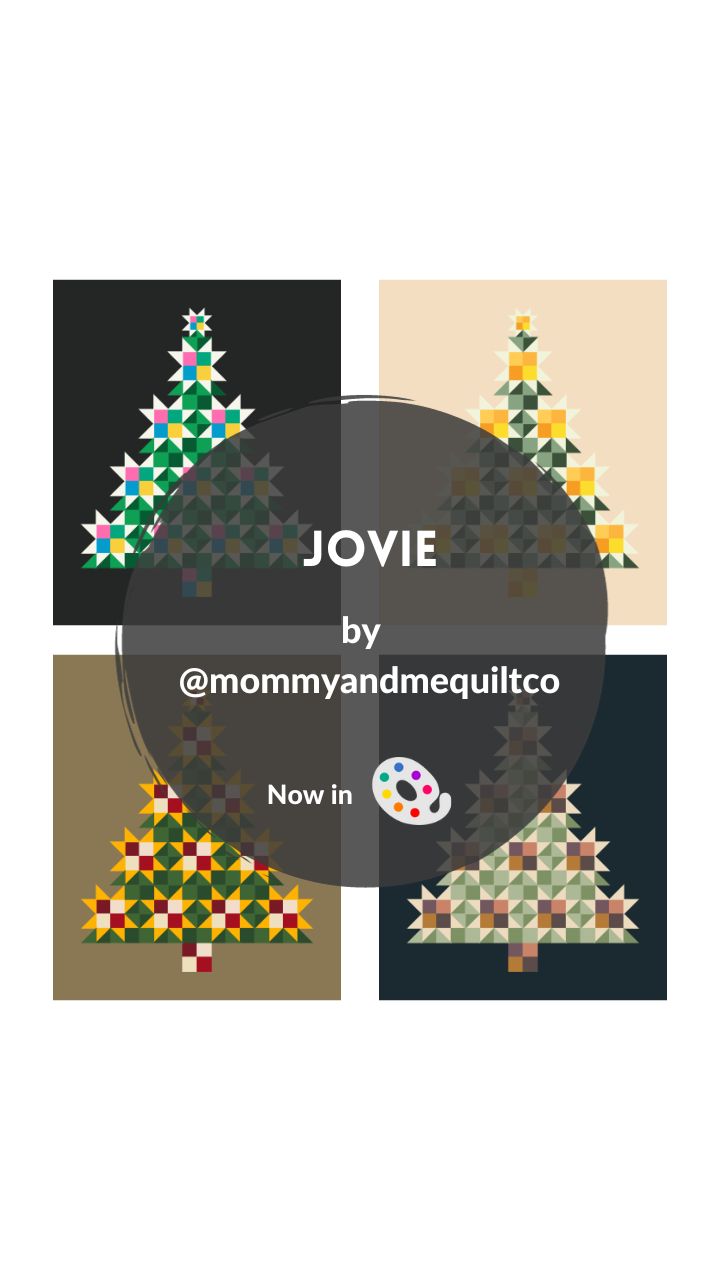
Title: Jovie
Designer: Mommy & Me Quilt Co.
Technique: Traditional Piecing
Sizes: 3
It’s release day for the Jovie #quiltpattern designed by Fiona from Mommy & Me Quilt Co. If you are looking for a #Christmas pattern don’t miss this one!
The #joviequilt is a modern Christmas tree designed to inspire the magic and wonder of Christmas Eve. Jovie comes in three sizes: Baby (32″ x 40″), Kid (48″ x 60″), and Throw (60″ x 72″) and uses the classic Sawtooth Star quilt block. The pattern is for Confident Beginners.
Start coloring your versions on the #quiltink platform and remember to share them with us!
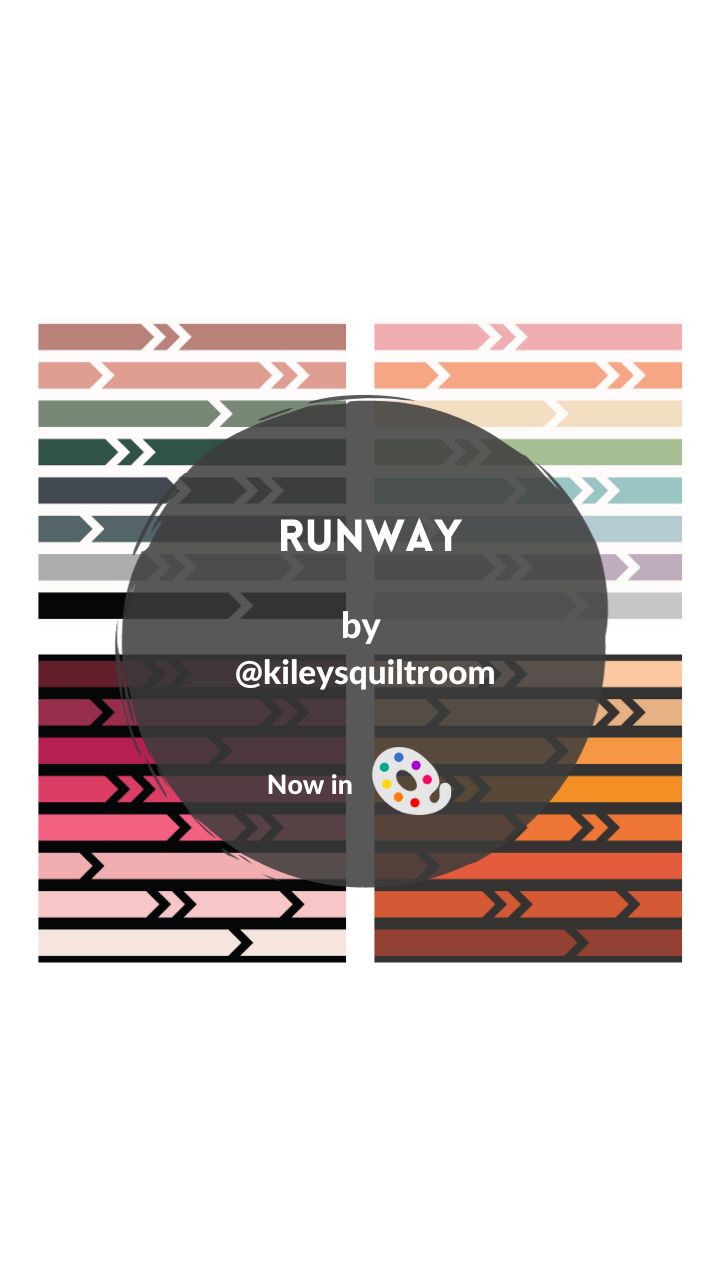
Title: Runway
Designer: Kiley’s Quilt Room
Technique: Traditional Piecing
Sizes: 3
The Runway Quilt is the third pattern in the coming book by Kiley from Kiley’s Quilt Room @kileysquiltroom , the Modern Day Quilter. A modern take on flying geese, which you can’t miss!!
The pattern comes in 3 sizes, throw 60″ x 62″, twin 66″ x 87″, queen 90″ x 96″. And it’s full of color possibilities!
Share all your mock-ups with us in the #quiltinkwall and here tagging us!
The book is already available for presale on my Kiley’s website and it will be released on December 19th!