It’s an important call. Don’t miss it!
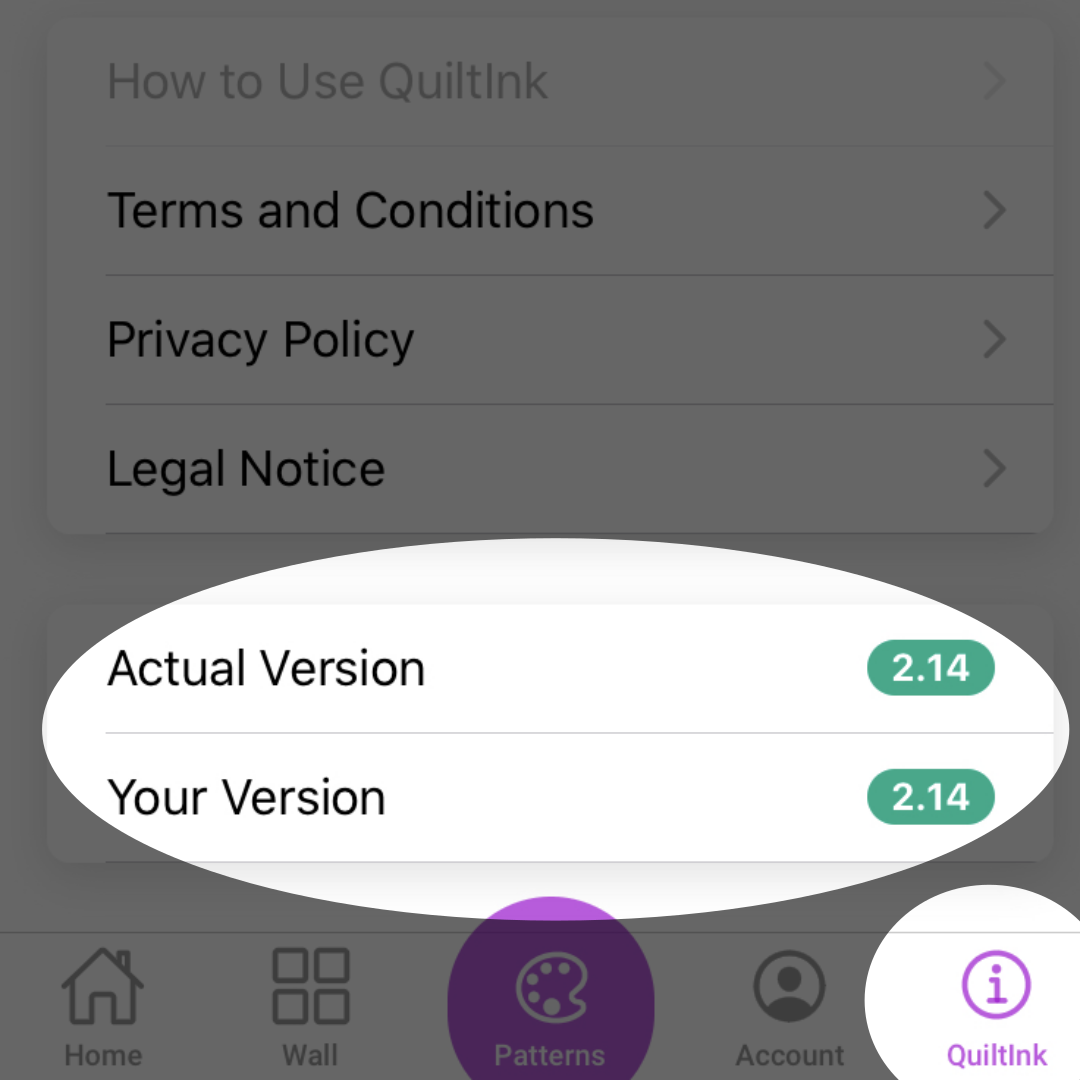
Quiltink is a live software that is continually changed. We work on it every day to improve some parts, fix others and work on new options.
Because of that, often we need to update the QuiltInk version to remind you to work with the last version of the app.
So, to avoid database inconsistencies you always should use the last version of Quiltink. The app itself reminds you when you need to update and it’s as easy as click a button when the message appears.
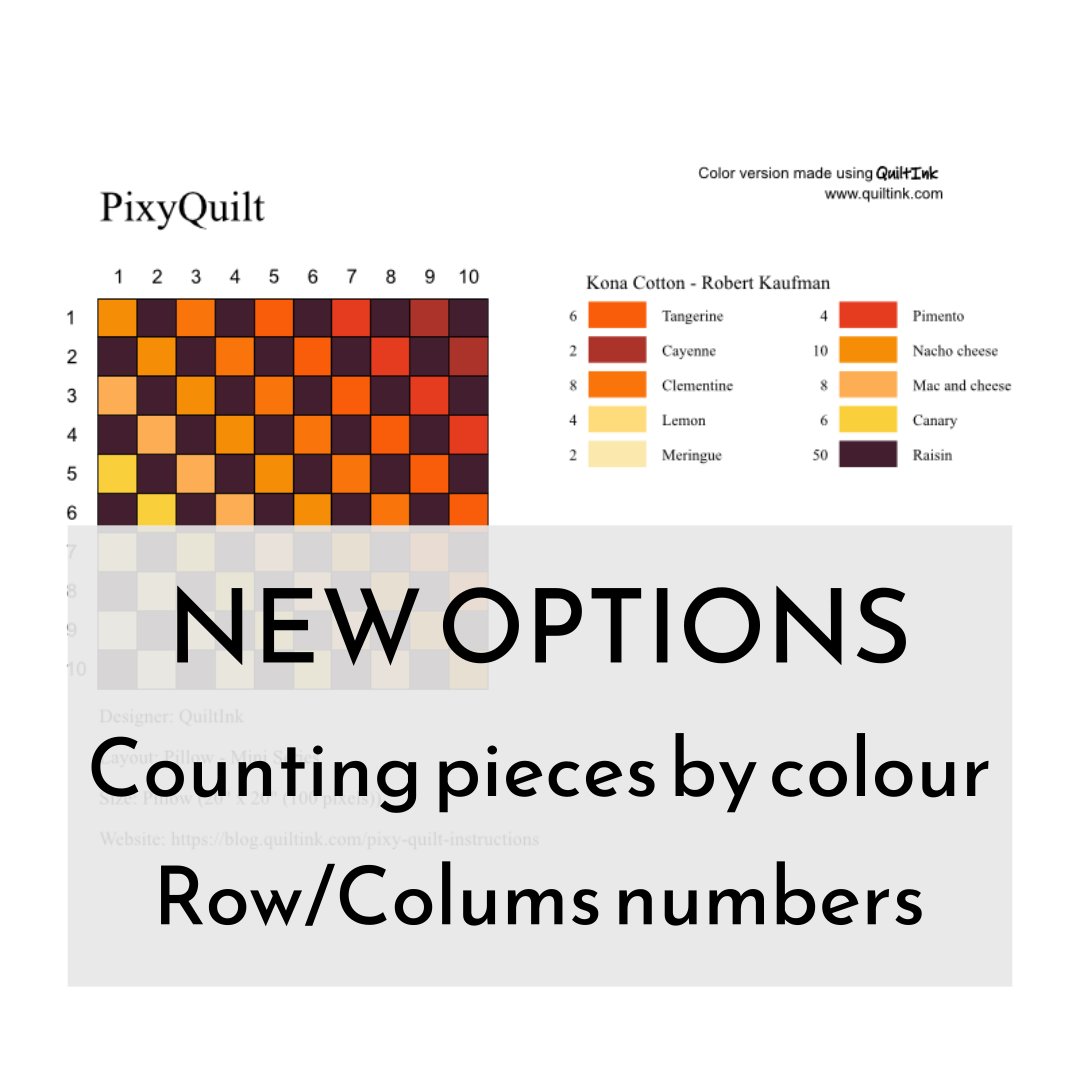
It’s important you make sure to update because since the last version, Quiltink only allow you to use the colouring page if you use the updated version.

Any questions or problems you could have with the app, please contact us at info@quiltink.com and we will help you to solve them.
Thank you so much for using QuiltInk. We really hope you enjoy it!! Share with us your colur versions in the QuiltInk Wall and inspire others with your art!