Personal Background
Meghan, as we dive into your story, could you provide a snapshot of who you are and take us on the journey that led you to where you are today?
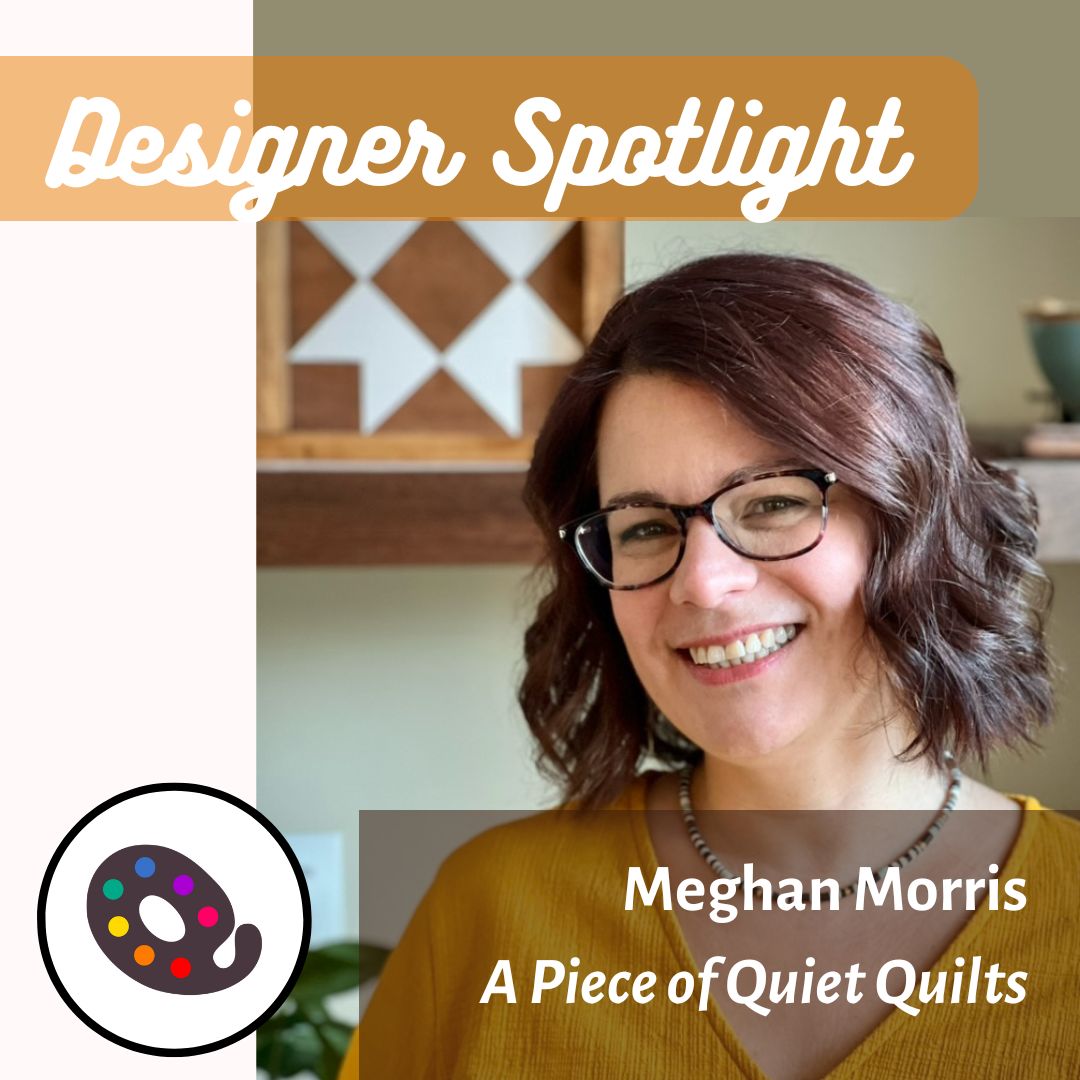
My name is Meghan Morris, and I am a longarm quilter and the designer behind A Piece of Quiet Quilts. I live in Durham, NC, but I grew up on Long Island, NY. I was a computer science major turned middle school teacher before switching careers. Now, I’m an entrepreneur, working from home to be more flexible as my kids grow. My husband is a North Carolina native, and we love the vibrant, artsy vibe of Durham.
Quilting Journey
When and how did you start quilting? What drew you to quilting as a form of expression?
I probably made my first quilt around age 10, but I didn’t start quilting regularly until my late 20s. I was really into crochet for a while, but about 10 years ago, I got back into quilting more seriously. My father, who was a carpenter, inspired my love of working with my hands. Quilting is a great fit for me because it combines mathematical precision with creative expression, allowing me to balance both sides of my personality.
Pattern Designing
What inspired you to start designing quilt patterns? How do you approach the creative process of designing a new pattern?
You know how, when you’re quilting, you start to have ideas and visions of how certain shapes can look? About three years ago, I began experimenting with these ideas, playing around with designs and figuring out how to put something together from scratch. My first pattern, “Resolutions,” was one of the earliest designs I created, but I didn’t refine and release it until January 2024. Interestingly, even though it was my first design, it became my 10th pattern release.
When I was getting started, I took two Pattern Design classes: Elizabeth Chappell’s Quilt Pattern Writing Course and the Pattern Writing Academy with Amber Elliot of Alderwood Studio. While I already had a handle on using Adobe Suite software, both courses helped give me a solid grounding in industry standards and expectations.
My creative process usually starts with playing around with shapes, particularly block-based designs that focus on repetitive shapes and movement. I love how negative space and the combination of shapes can create inverse shapes. I often mock up my ideas in EQ8 where I can easily manipulate shape combinations, and then I finalize the designs in Adobe Illustrator.
Style and Aesthetics
How would you define your pattern style? Are there specific themes or elements that consistently appear in your designs?
I love using traditional quilt blocks—the kind that might have been part of your granny’s quilts too—but I like to mix them up in new and interesting ways to give them a more modern, bold look. A lot of that modern vibe comes from the fabric choices I make. My goal is to create quilts that feel both timeless and fresh, bringing a bit of classic beauty into today’s spaces.
Color
How does color play a role in your pattern designing? Do you have a favorite color? Are there certain color combinations you find particularly appealing?
Here’s an insider peek into my design process: I’m still working on sticking to a consistent palette. I have a collection of fabrics that I love, which are cohesive and fit my brand perfectly. However, I often find myself enchanted by new fabric lines, and I have a habit of ‘going off script.’
My favorite color to work with is green, particularly of the teal variety—I’m especially fond of AGF Evergreen and Zambia Stone. My current mood board is pretty moody, with teals and plums softened by some pinks. When I go to prints, I’m usually drawn to big, bold florals that inspire new directions in my designs.
Business Activities
Apart from designing patterns, what other activities are integral to your quilting business?
(Membership, notions, courses, etc)
I’m also a longarm quilter, which takes up a significant portion of my time. Not only do I get to see so many beautiful patterns and design choices come through my studio, but working directly with quilters helps me feel deeply connected to the quilting community. It’s incredibly rewarding to help bring someone’s quilt to life and to be a part of their creative process.
Online Presence
Where can people find your work online? (Website, social media handles, online marketplaces). How do you use online platforms to connect with your audience and fellow quilters?
People can find me on Instagram @apieceofquietquilts, where I love to share sneak peeks and reveals of my quilt patterns, as well as some of the beautiful quilts I work on in my studio. I also have a regular newsletter, which you can sign up for at my website: www.apieceofquietquilts.com.
Upcoming Projects
Can you provide a sneak peek into any upcoming projects or designs you’re working on? Any exciting collaborations or events?
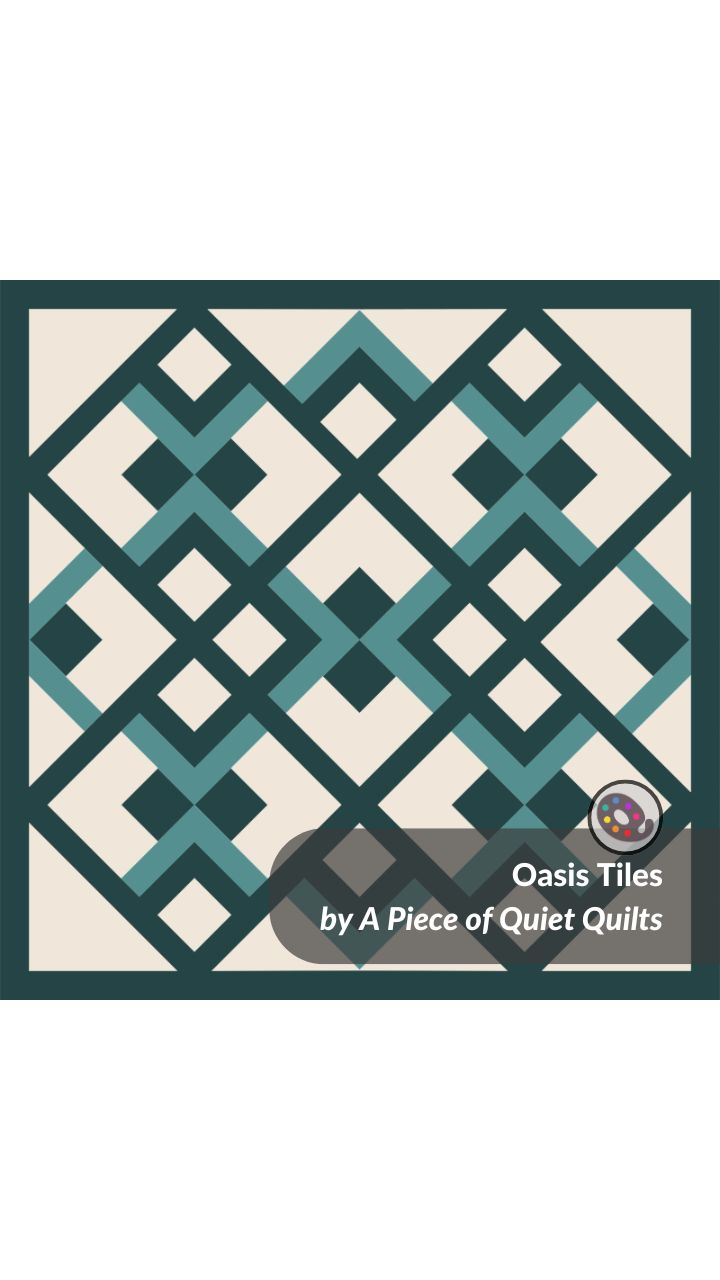
I’m already excited for my newest quilt pattern, Oasis Tiles, will be released on September 26th. It’s a bold, modern design that’s currently with testers. I also have one more pattern coming in November, which features Bear Claws as the primary block. After that, I’ll be wrapping up pattern releases for 2024! By the end of 2024, I will have released 17 patterns in just over two years. Looking ahead, I’m planning to slow things down a bit, with a goal of releasing four new patterns in 2025.
QuiltInk Experience
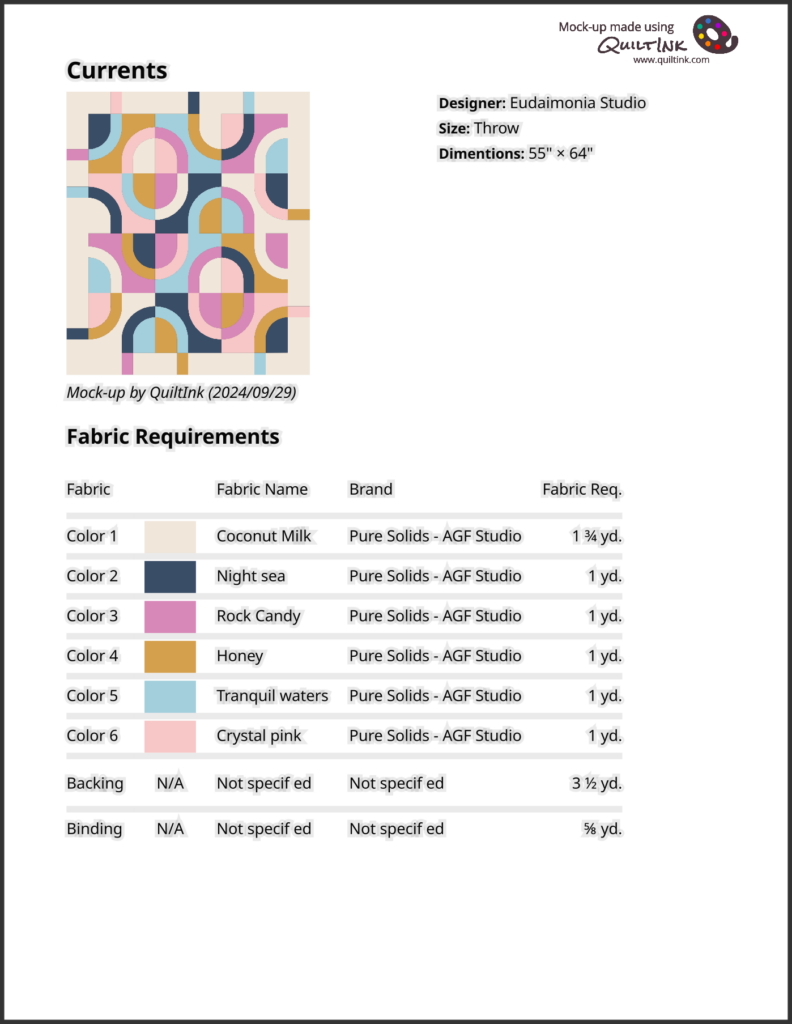
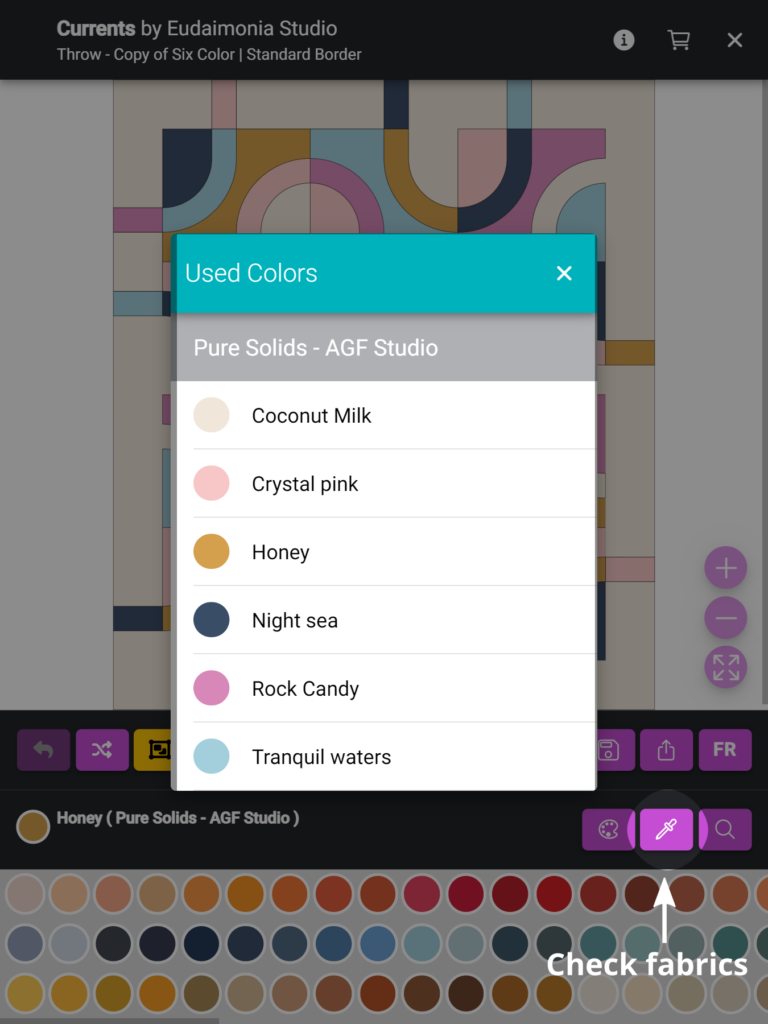
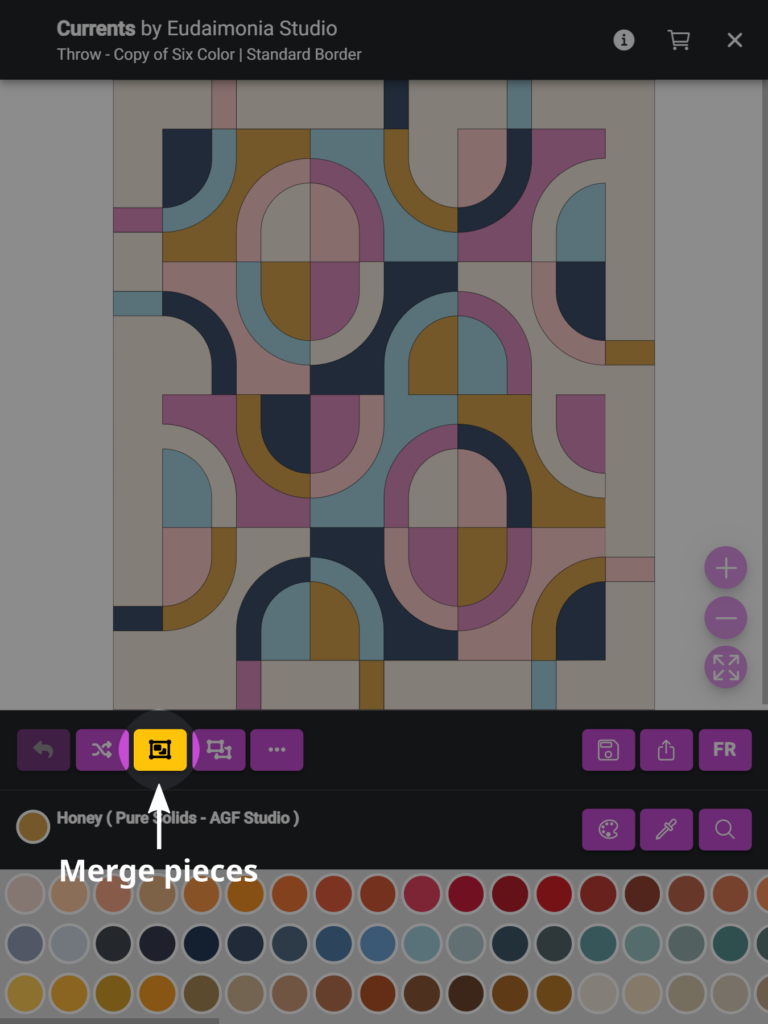
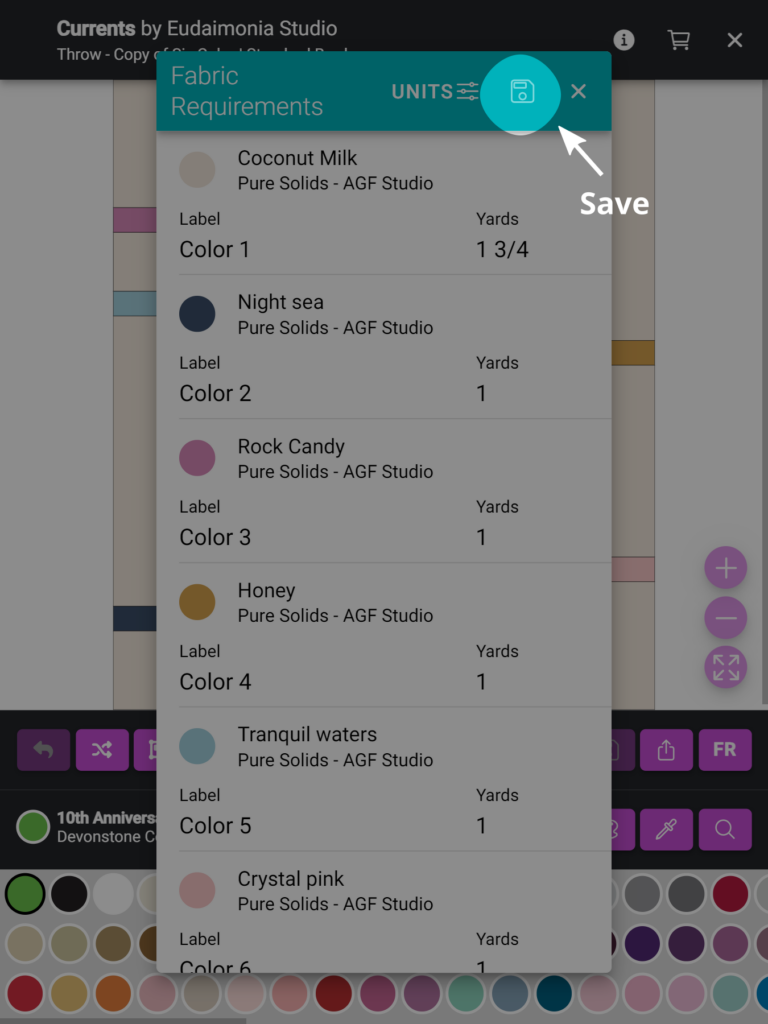
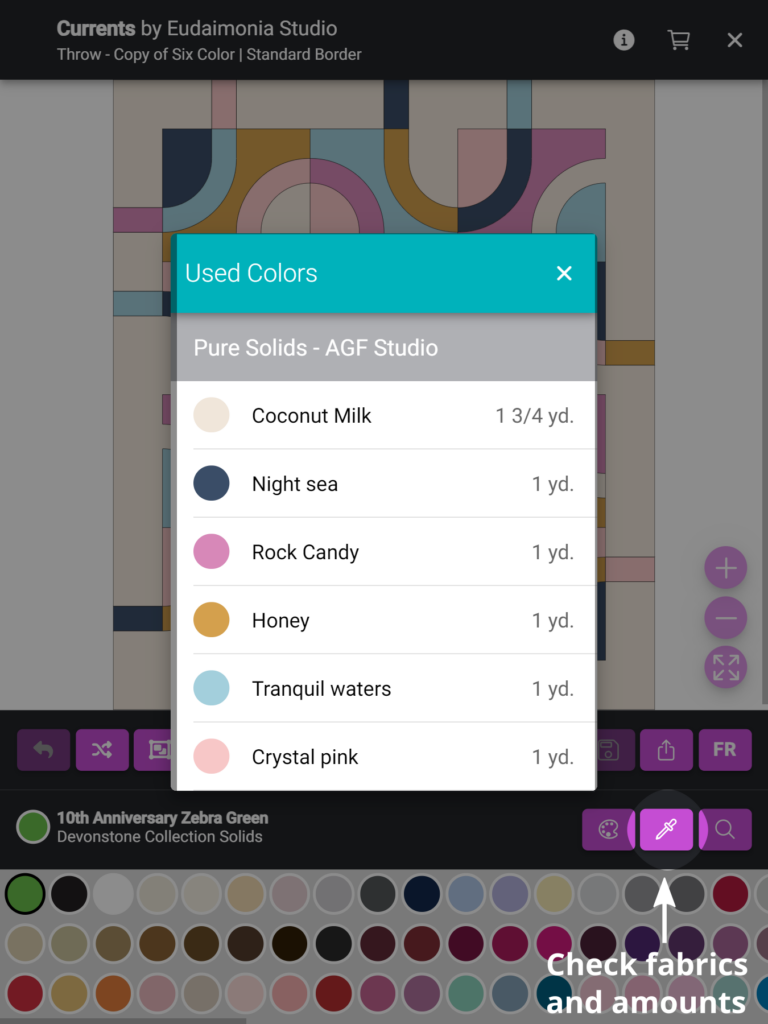
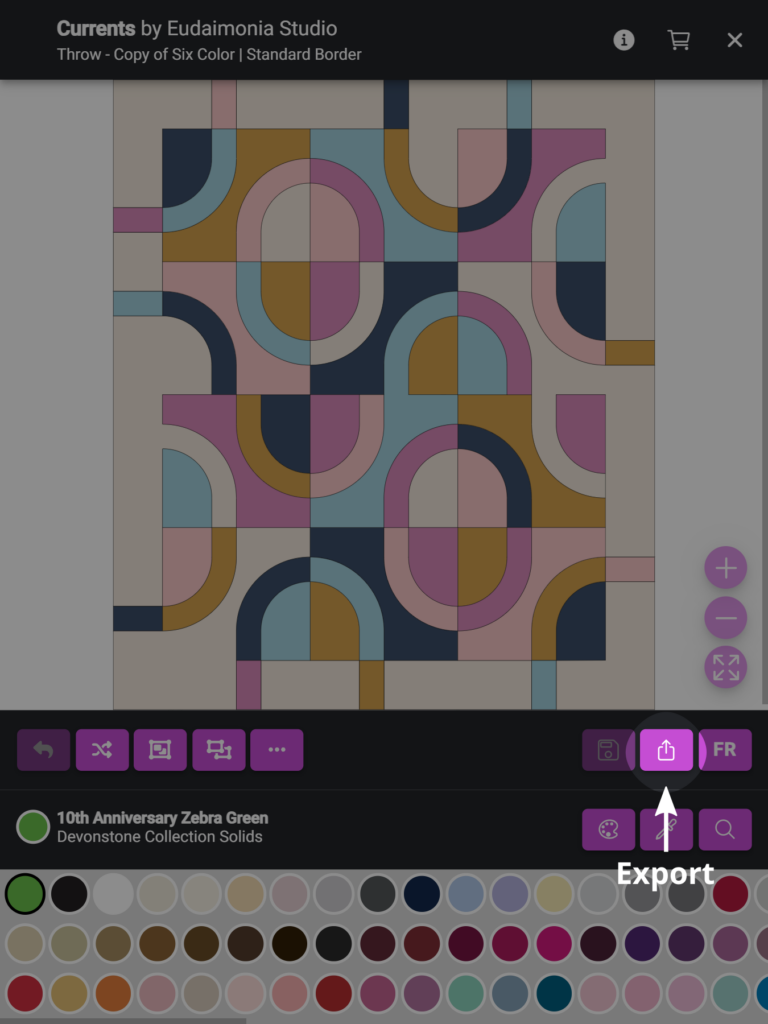
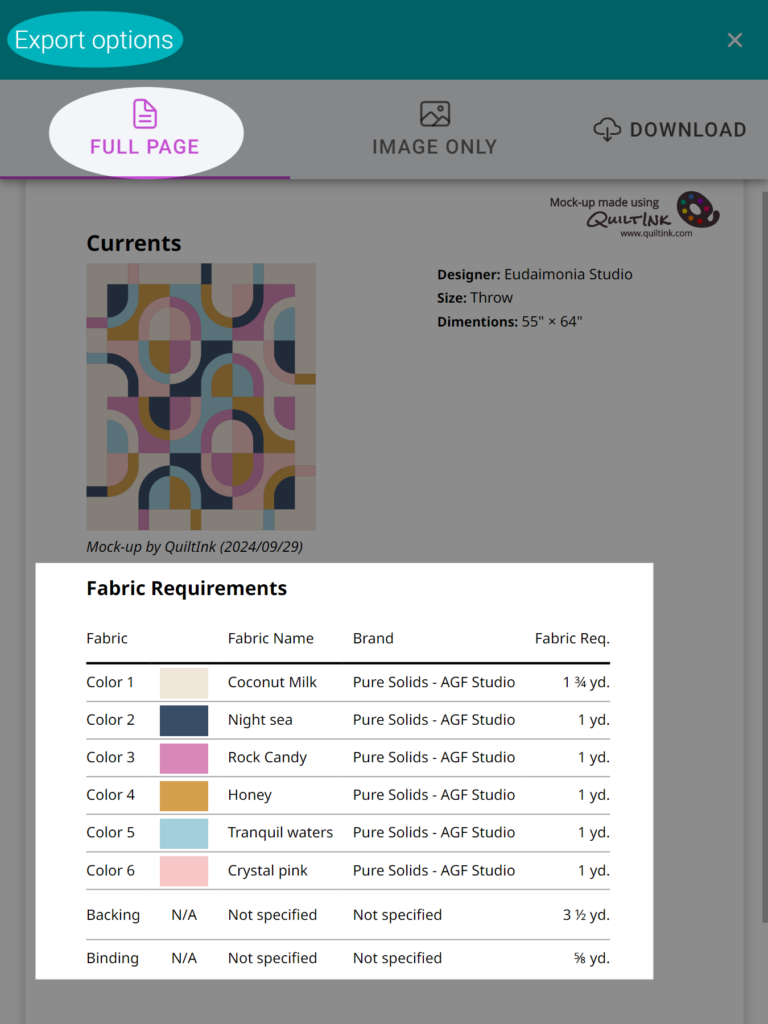
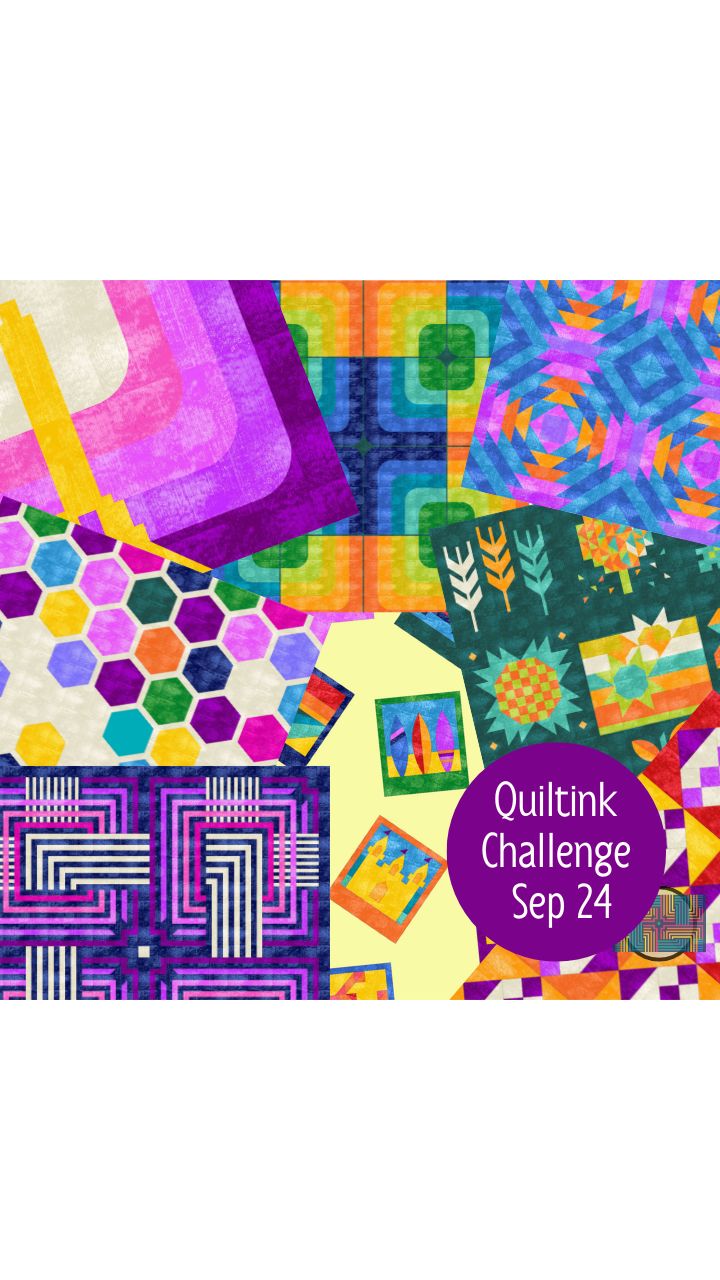
How has QuiltInk contributed to your quilt pattern design business? Could you share your experience with the platform and how it has influenced your creative process and connected you with fellow quilters?
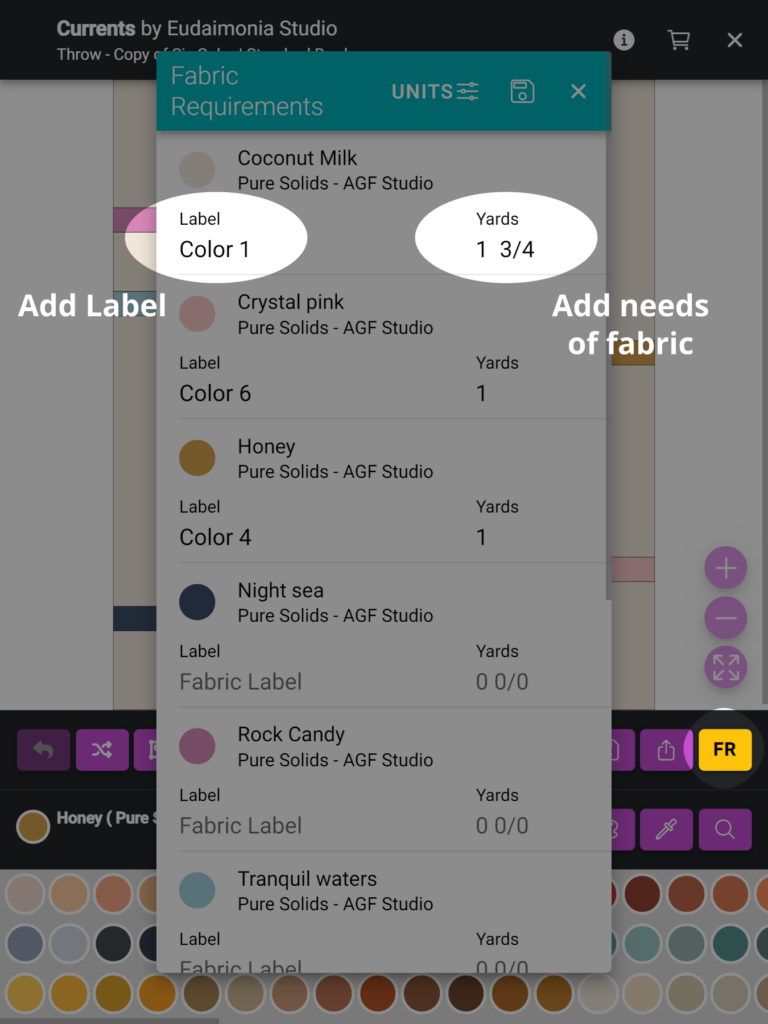
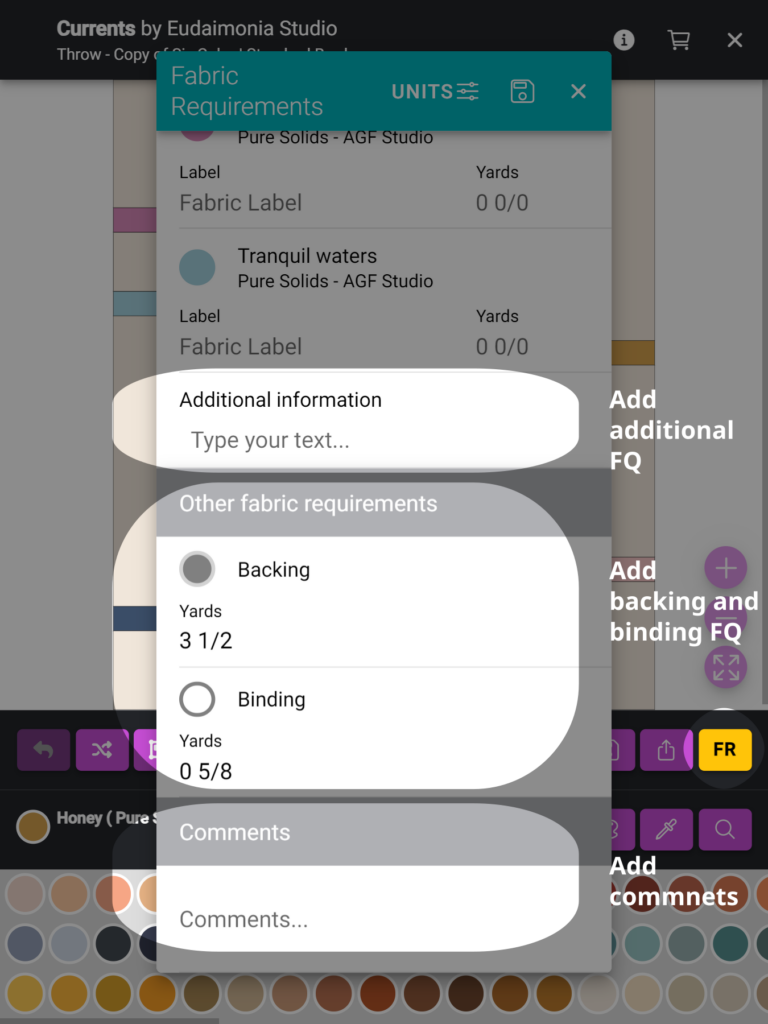
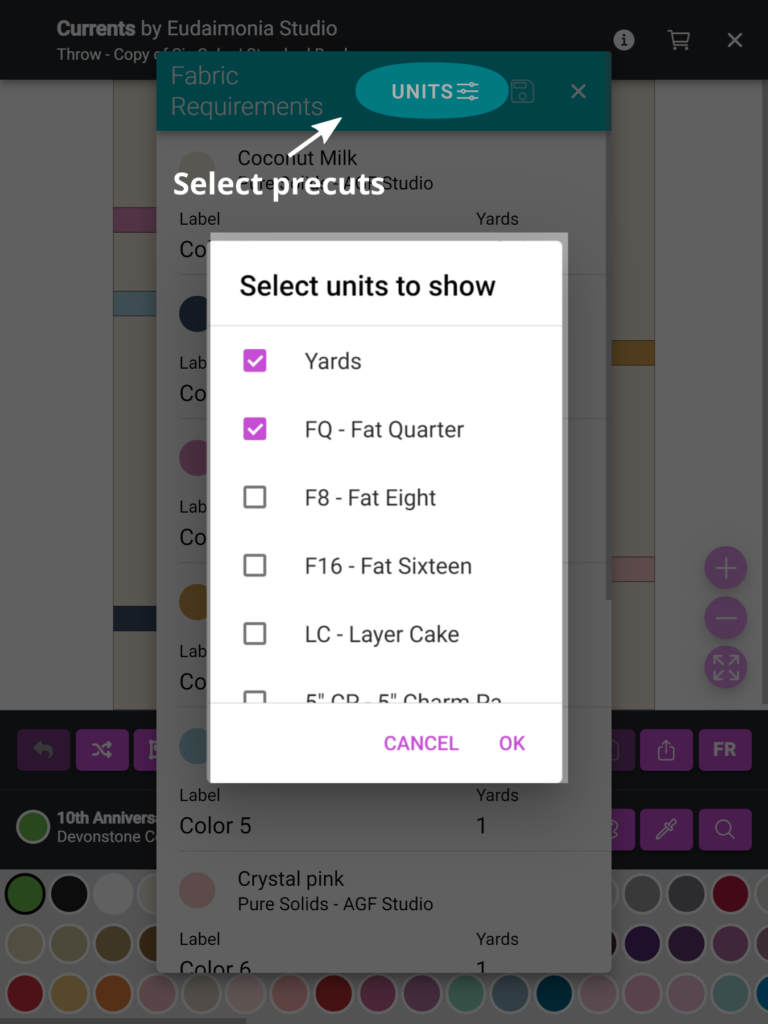
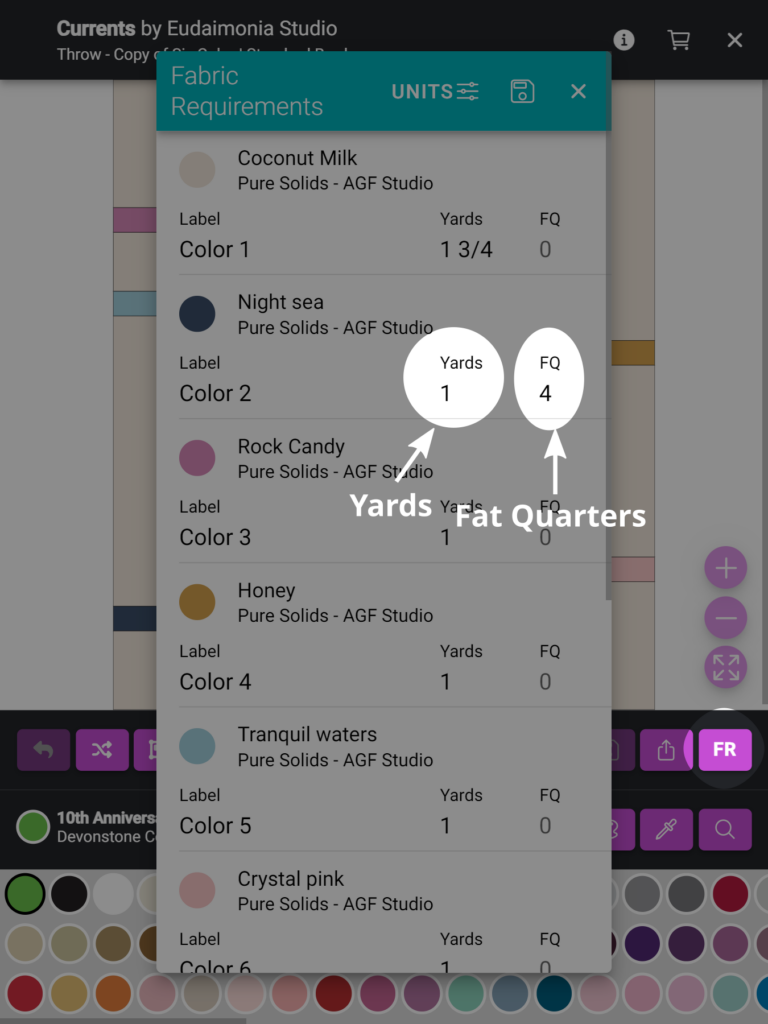
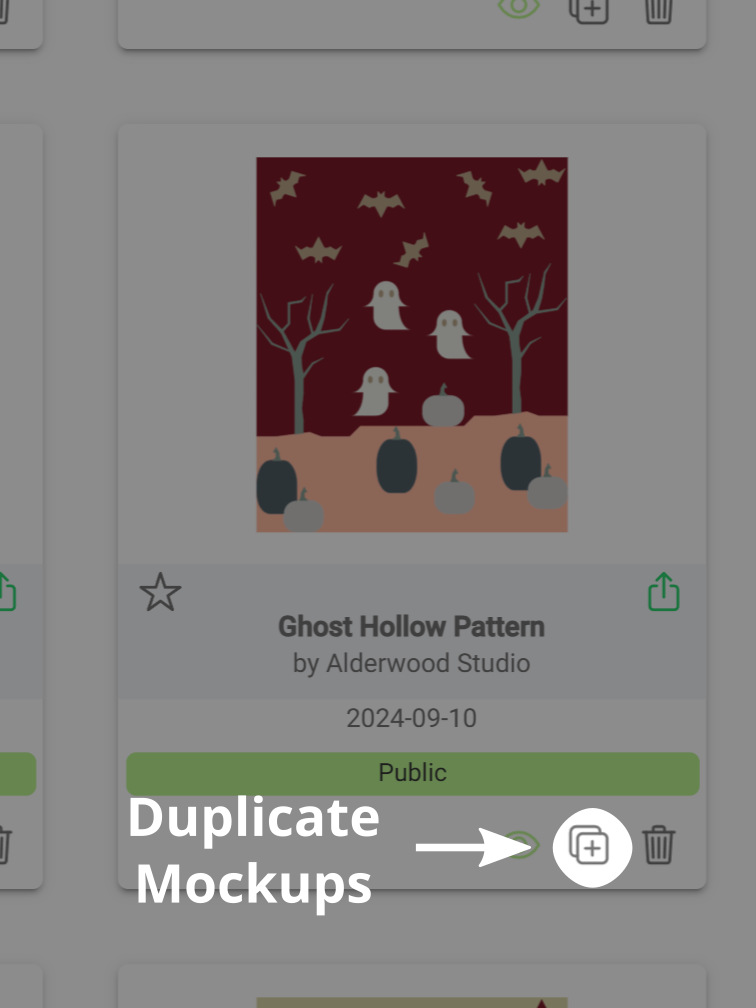
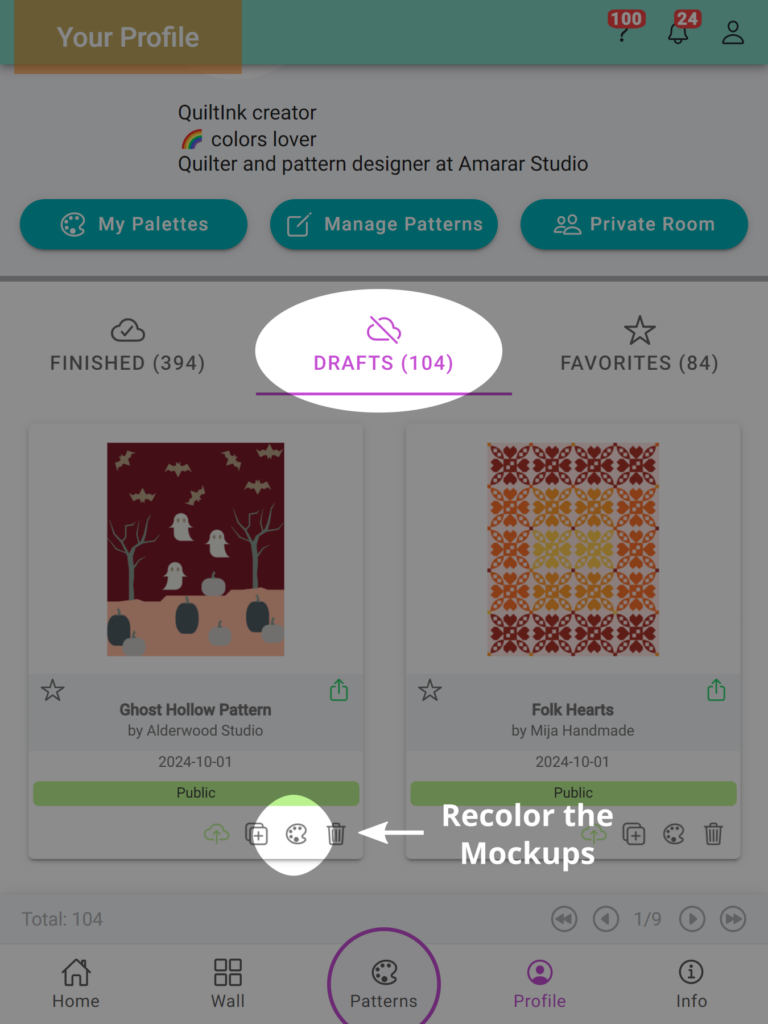
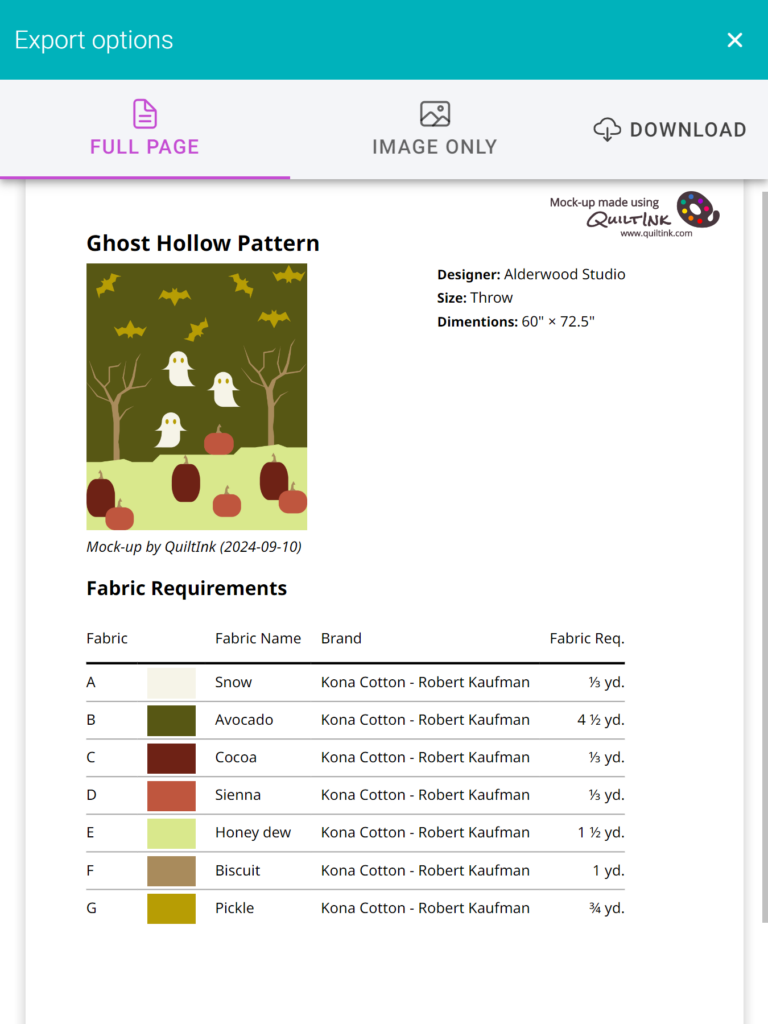
The majority of quilters want to make their own fabric decisions when they make a quilt. I love how QuiltInk gives my customers the opportunity to envision my patterns in their own style. It’s a fantastic tool that helps them bring their unique vision to life, and it has been a valuable resource in connecting with fellow quilters and enhancing their creative experience.