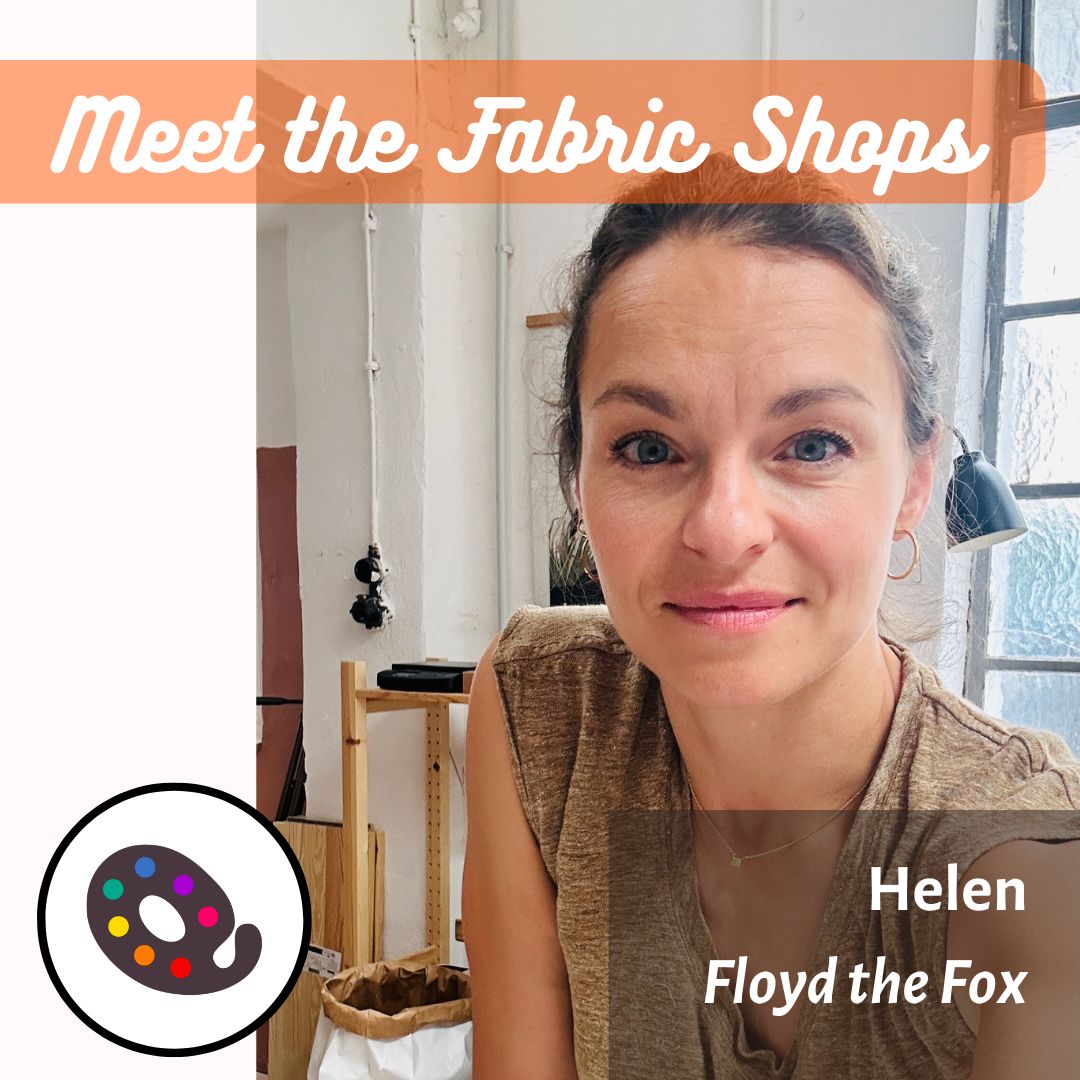
Personal Background
Helen, could you tell us a bit about yourself? (location, age, educational background, …) Who is behind Floyd the Fox?
I am Helen, 40 years old, mum of three young daughters in Stuttgart, Germany.
While being an automotive engineer with heart and soul it was in my third pregnancy that I decided to pursue a passion instead of a corporate career.
Quilting Journey
How did you first get into quilting? When did you decide to turn this passion into a business by opening your shop?
I began quilting when I realized that i had already sewn every romper, bonnet, hat, baby dress, harem pant, bunting and bed nest i would ever need. I was looking through Purl Soho’s wonderfully inspirational blog and found a first simple quilt design that sent me down the rabbit hole of color combinations, patterns and prints. I wanted to make ALL THE THINGS. and I still do to this day.
In Germany we enjoy a very generous maternity leave. I had the urge to try something new and see where it takes me before I would have to go back my career in automotive.
As a testing engineer for offroad vehicles that would have meant traveling a lot. A fact I couldn’t bring together with my understanding of being a mum for my girls.
When a haberdashery store in my neighbourhood closed, everything compacted. My initial plan to take over that shop fell through but I ended up opening an online shop. Floyd the Fox was born in May 2022.
I pursue my automotive passion with a second venture on the side. I plan and market luxury offroad adventures.
Shop Story and Style
What’s the story behind Floyd the Fox? When did it start, and how would you describe its personality, style, and size?
When my daughter found fault in the fact that none of the garments i made for her had a tag, I started looking for a name and a graphic.
I found Floyd in the window of a local coffee shop. He was created as part of a collection of watercolour drawings by a local artist. I bought the rights and made him my totem animal.
Product Offerings
What types of fabrics do you focus on? How do you offer them to customers—by the yard, as kits, or with custom options?
I have a strong presence of Art Gallery Fabrics in my shelves, because I absolutely love the quality and can rarely resist a cute print. I also like Cotton+Steel, particularly their basics. They have a firmer substrate which I particularly like for bags and projects that see more wear and tear.
Fableism marked my first memorable adventure as a shop owner when it was only available via direct import. I still have nightmares from the customs declaration forms. It is now widely available and a household name across Europe.
Occasionally I stock Ruby Star Society Fabrics – how can you not adore their aesthetics … – but have lately been less impressed with the substrate. Meanwhile I adore Figos prints and the fact that they are still a well kept secret. Don’t tell the masses about their Space Dyes!
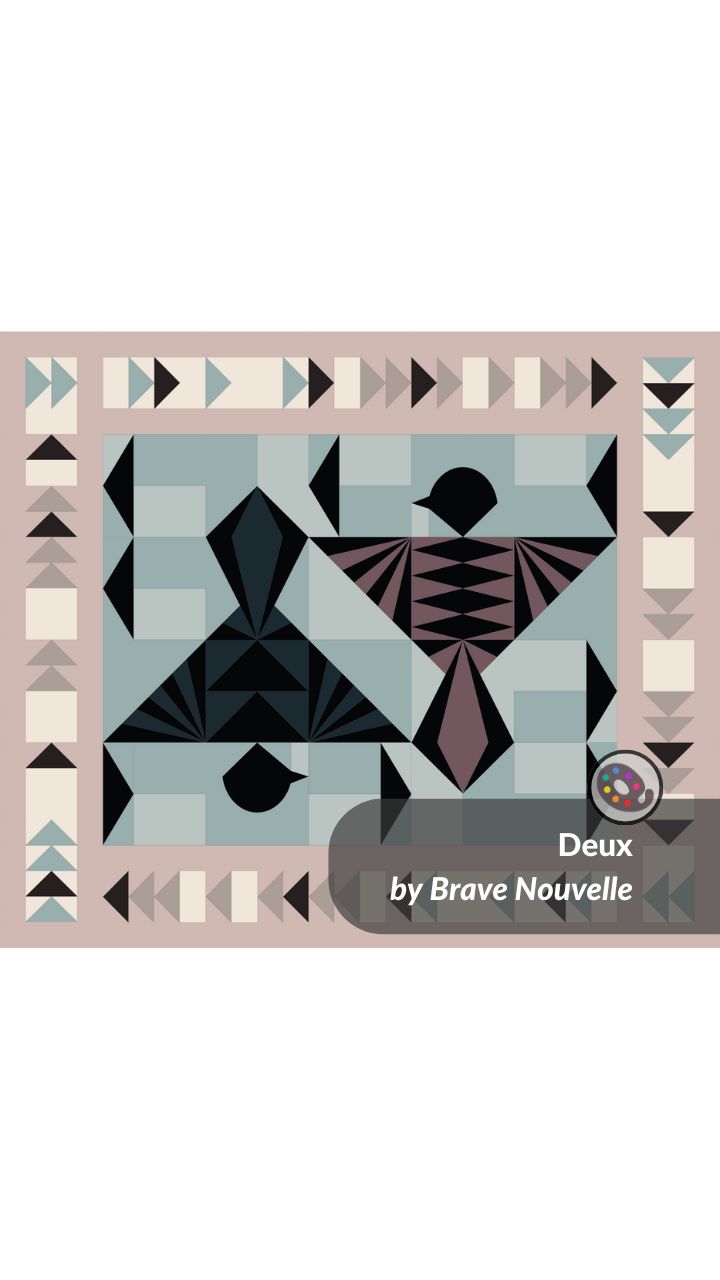
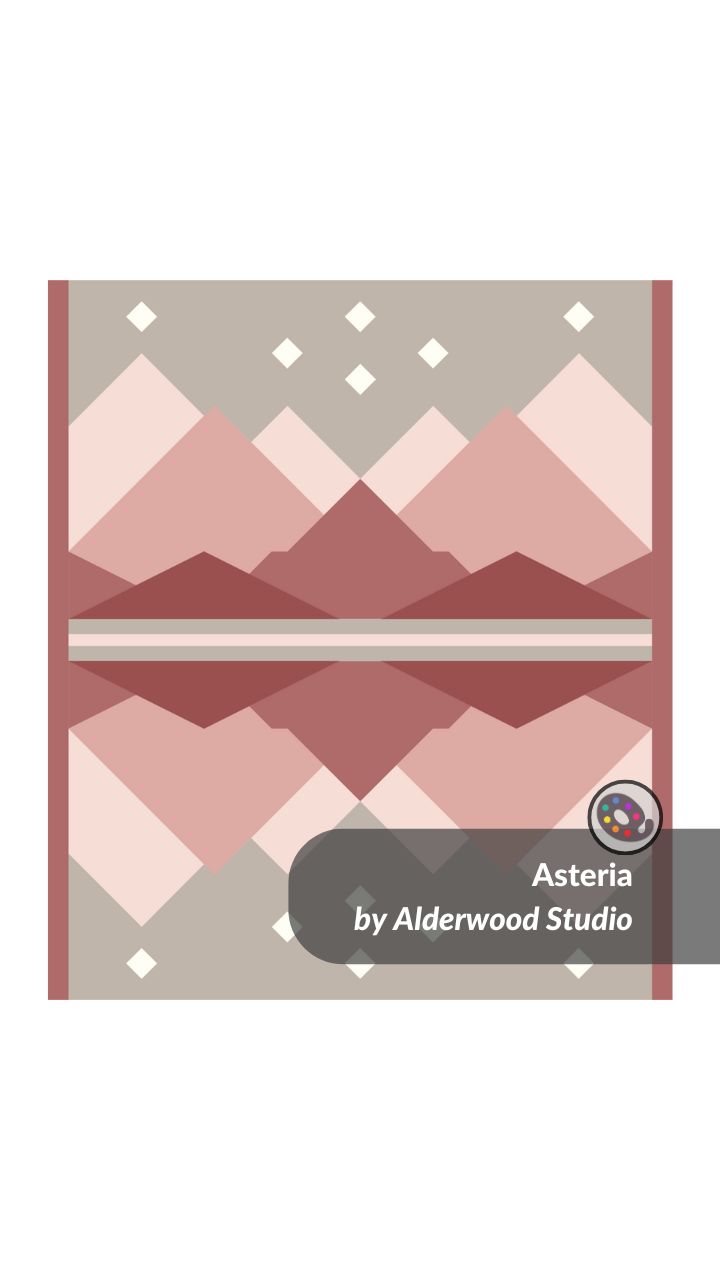
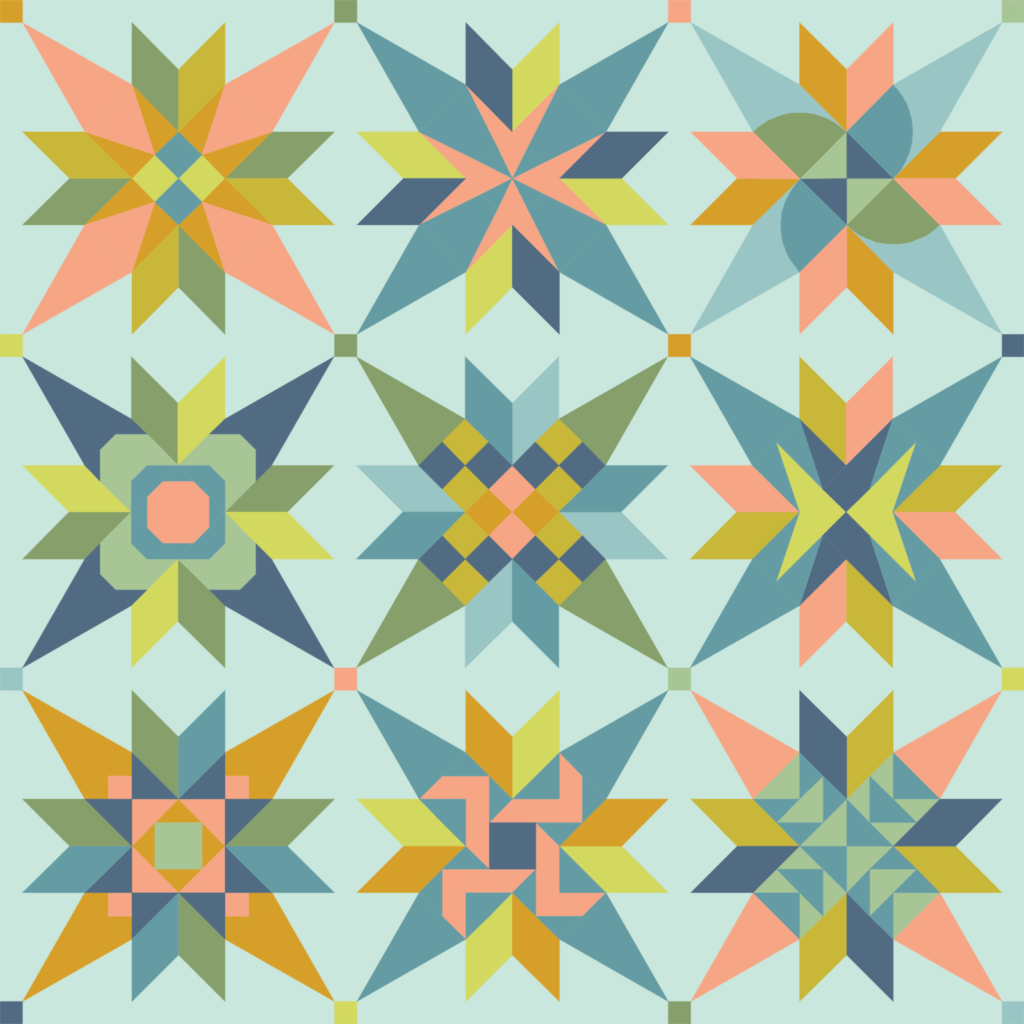
I sell fabrics by the yard or in fat quarters. I also offer ready-made bundles and quilt kits as a safe and quick option to begin a beautiful project. Quiltink plays a vital role in designing those.
Special Collections and Products
Are there any collections, brands, or unique products you’re especially proud to carry?
I love put together inspirational combinations of fabrics as a starting point for my customers.
I personally find it near impossible to combine different fabrics on a screen, so the idea is to pre-configure different bundles that can be bought as fat quarter bundles or customized to any project. I often receive special requests regarding projects and enjoy every single interaction with my customers.
Inspiration and Trends
What inspires you when choosing fabrics or products for your shop? Do you follow any specific trends or themes?
I generally try to find gems in the lines of all major and some minor fabric producers. I rely on my own taste and that way create a “handwriting” that makes it easy for customers to see wether my shop is for them. I am a small business and cannot and want not cater to all tastes.
Additional Services
Do you offer any other quilting-related services, like pattern design, long-arming, or classes?
I open my atelier to customers by appointment.
Online Presence
Where can people find your shop online? (Website, social media handles, online marketplaces). How do you use online platforms to connect with your audience and fellow quilters?
You can find and contact me on Instagram under @floyd.thefox
My webshop is floydthefox.de and my mail hi@floydthefox.de
Don’t hestitate to contact me on any of those channels. I love to connect.
Upcoming News and Projects
Are there any exciting new projects, events, or collaborations coming up that you’d like to share with the community?
Ever since i moved my shop from the downstairs storage to a light and airy atelier space, I’ve been fantasizing about workshops.
Summer 2025 will see the first workshop covering FPP beginner and advanced classes.
Another topic in the pipeline is a retreat-style Improv Quilting Class.
QuiltInk Experience
How has QuiltInk been useful for your shop or customers? Any favorite tools or ways it’s made things easier?
I use Quiltink to design and visualize most of my quiltkits. It’s a vital tool to experiment with colors and prints.
Nothing is more valuable to help a design come to life than a preview of the end result.
Favorite QuiltInk Options
What features or options in QuiltInk do you love the most? Anything that stands out to you or your customers?
I recently had a customer who wanted to realise her own quilt design with a certain fabric line.
I set up a palette for her with all the fabric in question that i had in stock. That way she was able to experiment and buy all the ingredients at once