
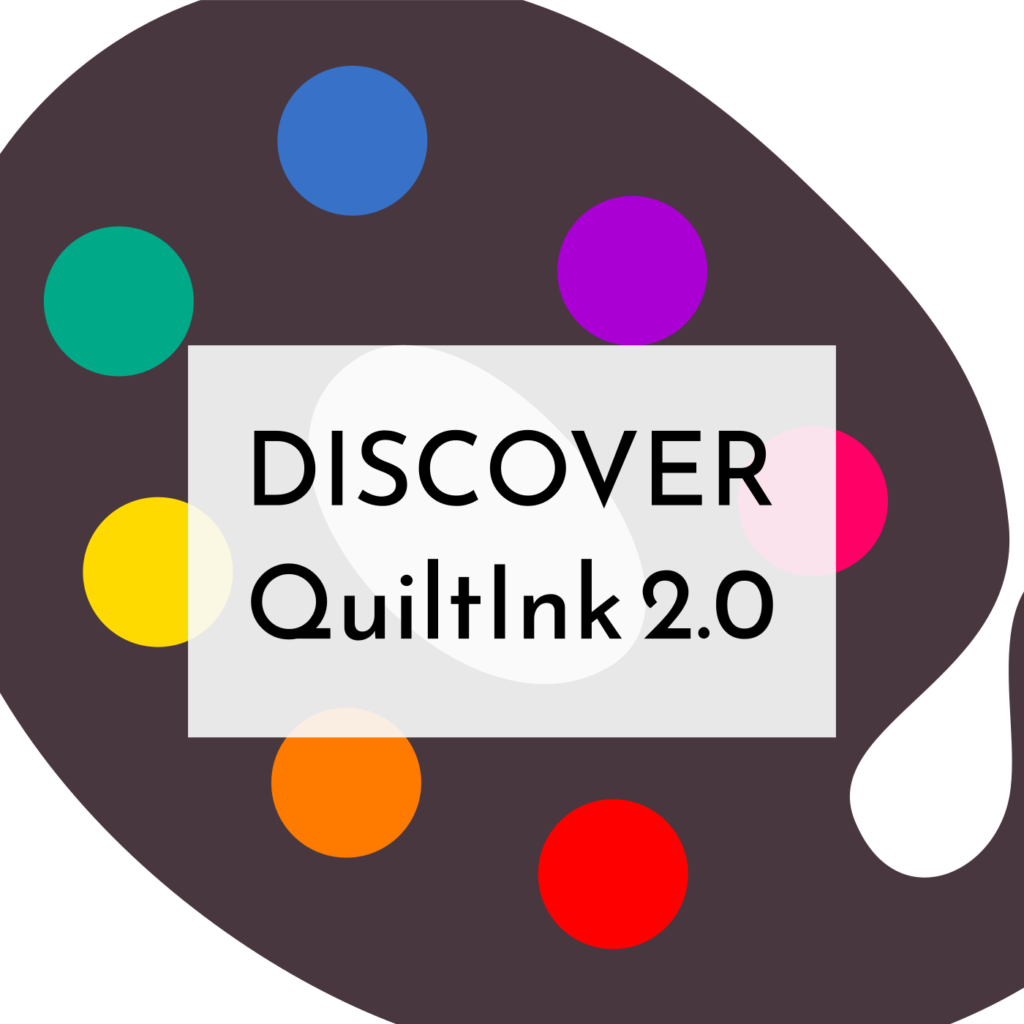
New Pattern: Palette

Title: Palette
Designer: Modish Quilter Magazine
Technique: Sewing circles
Sizes: 1
Colour Layouts: 1
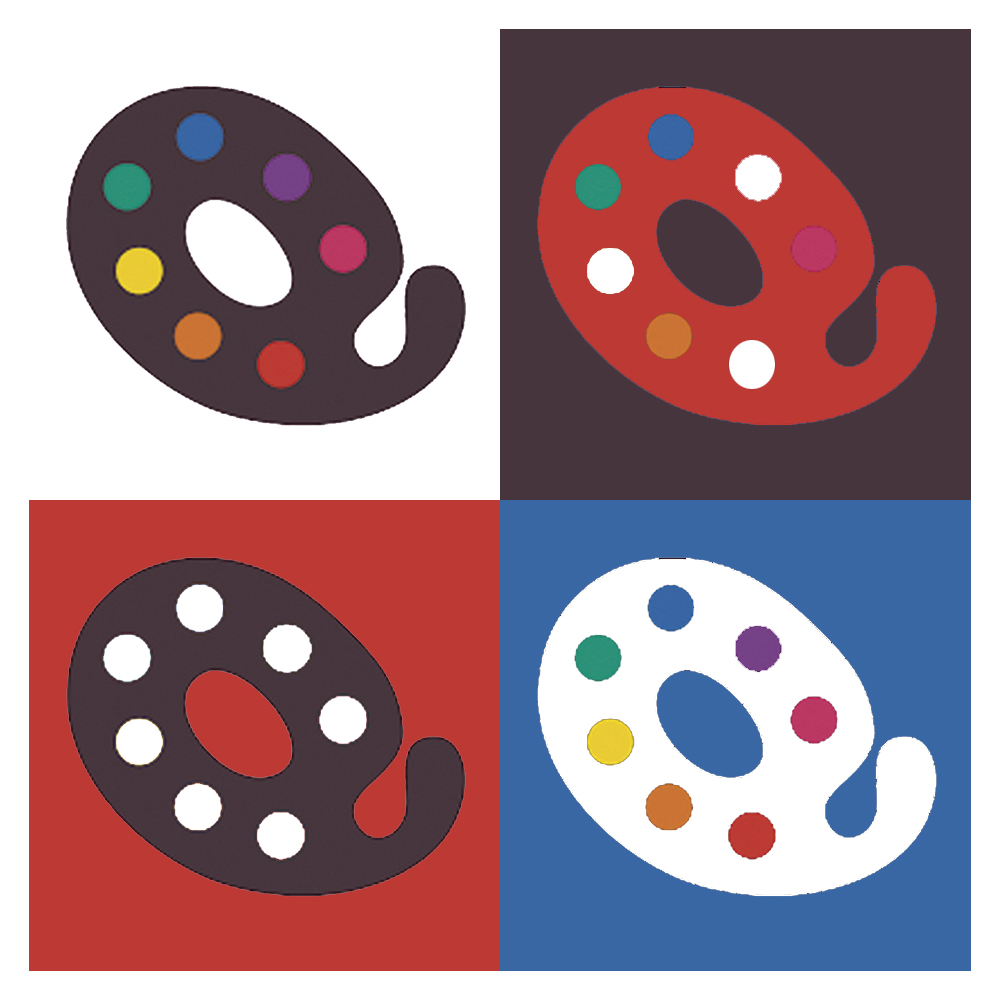
The 5th issue of the Modish Quilter Magazine is launched with the Palette Quilt pattern which is ready on QuiltInk for you to make your colour versions before sewing it.
This is an ideal pattern to learn and practice sewing inset circles, a way to sew circles with less seams and a wonderful result!
This pattern is one size, throw and it allows a lot of colour combinations.
Check on @modisquilter Instagram profile the video tutorials about this pattern and get your copy of the magazine.
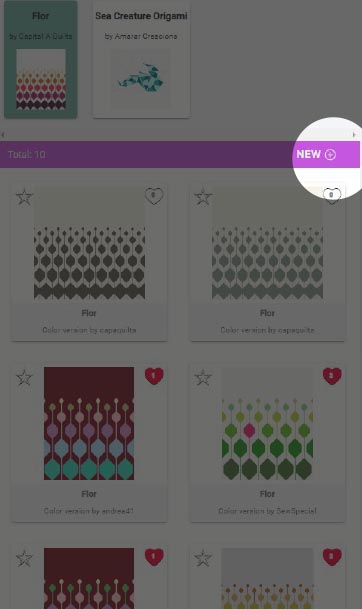
And remember to register on QuiltInk to save your colour versions, check the QuiltInk Wall to get inspired to colour your version of the #palettequilt and share your colour versions! We can’t wait to see them!

After a lot of months working on a big update for our app, we are so happy to announce to you it’s active and we hope you love it!
And what’s new??

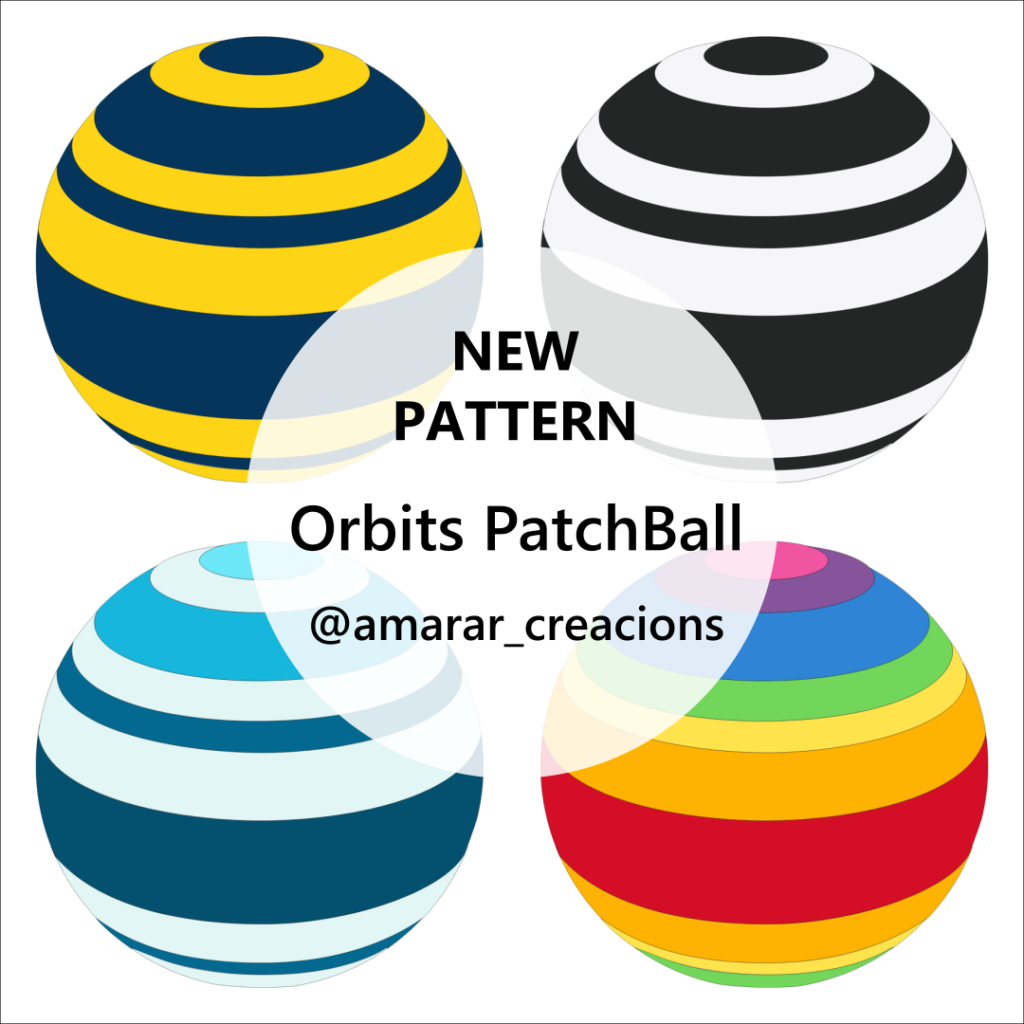
Title: Orbits PatchBall
Designer: Amarar Creacions
Technique: Foudnation Paper Piecing
Sizes: 1
Colour Layouts: 2
PatchBalls are a wonderful combination of geometry, curves and tiny piecing. They are a great way to use scraps. They are perfect for a gift for a child or decoration for your home.
The Orbits PatchBall reproduces some in 3D format. You can make it in 2 colours or customised as you wish.
Skill Level is Advanced. The Foundation Paper piecing part is easy. The hard part is closing the Ball, which you can make by hand.
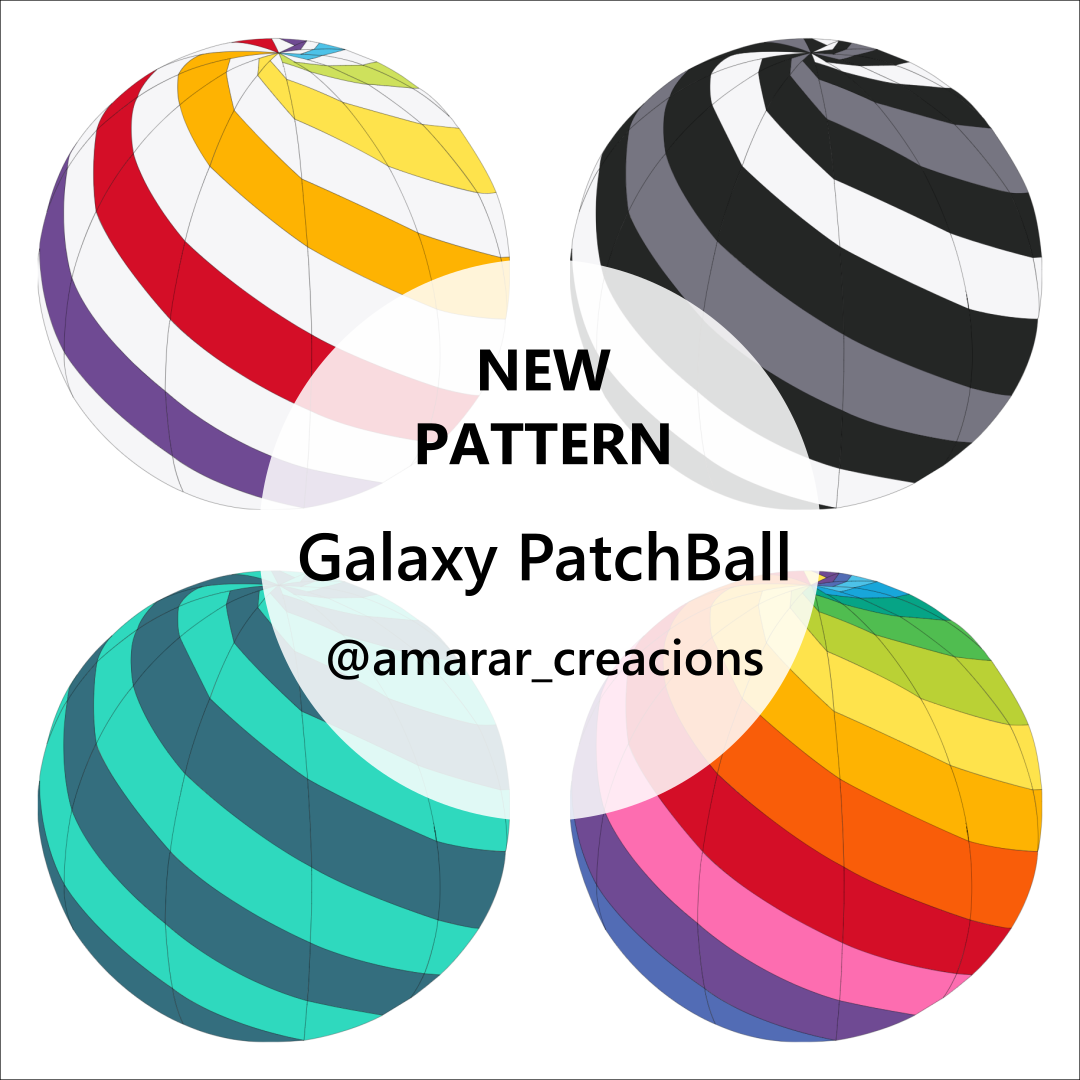
Title: Galaxy PatchBall
Designer: Amarar Creacions
Technique: Foudnation Paper Piecing
Sizes: 1
Colour Layouts: 2
PatchBalls are a wonderful combination of geometry, curves and tiny piecing. They are a great way to use scraps. They are perfect for a gift for a child or decoration for your home.
The Galaxy PatchBall reproduces a spiral in 3D format. You can make it in 7 colours or customised as you wish.
Skill Level is Advanced. The Foundation Paper piecing part is easy. The hard part is closing the Ball, which you can make by hand.

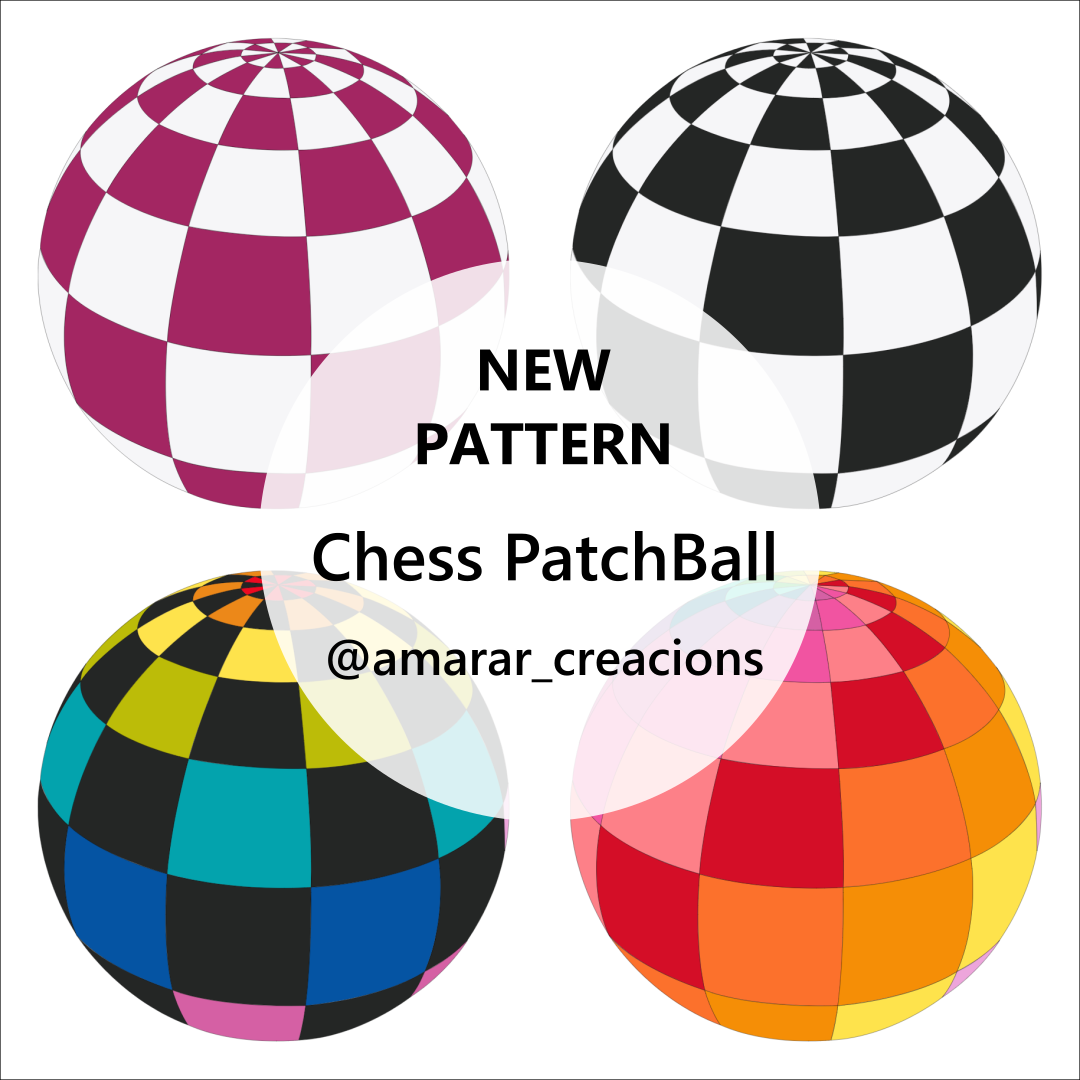
Title: Chess PatchBall
Designer: Amarar Creacions
Technique: Foudnation Paper Piecing
Sizes: 1
Colour Layouts: 2
PatchBalls are a wonderful combination of geometry, curves and tiny piecing. They are a great way to use scraps. They are perfect for a gift for a child or decoration for your home.
The Chess PatchBall reproduces a Chess board in 3D format. You can make it in 2 colours or customised as you wish.
Skill Level is Advanced. The Foundation Paper piecing part is easy. The hard part is closing the Ball, which you can make by hand.


Before placing your patterns on QuiltInk you need to subscribe to a plan.
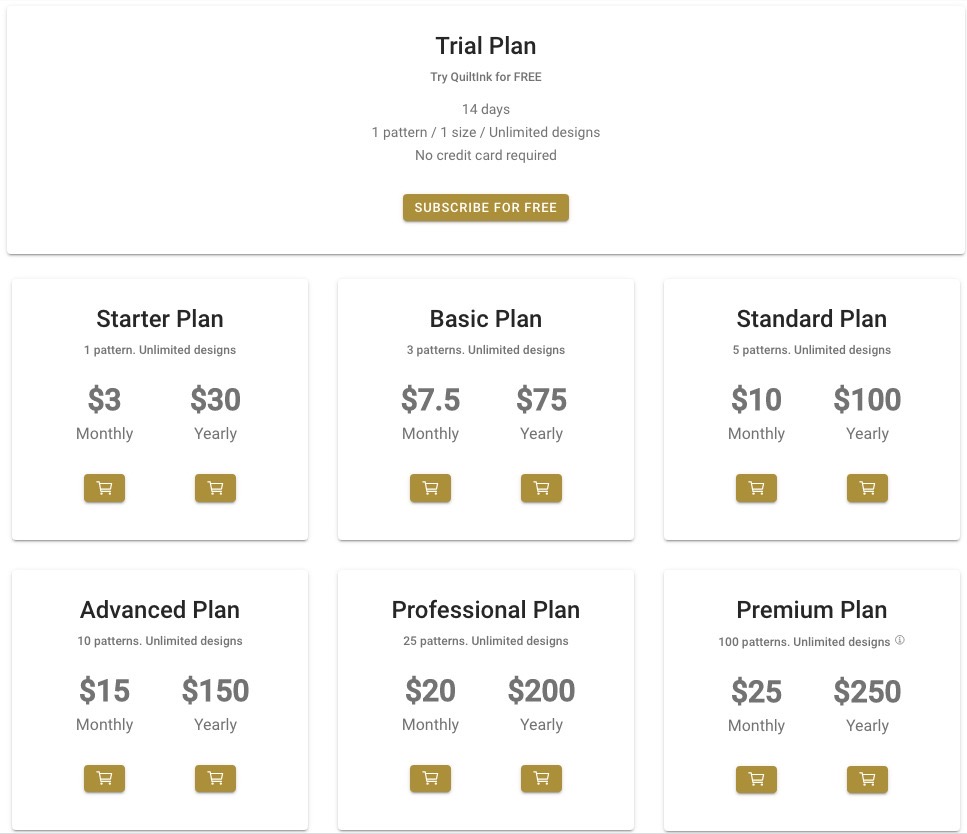
You can see all the plans available at the “Subscribe to a Plan” button in your Designer Page.
As new designer on QuiltInk, you have two options to start placing your patterns on the web app:
Trial Plan
A time where you can see and learn how the app works. You can also check the response of your followers by being able to color your pattern on QuiltInk. Terms of this plan:
Paid Plans
These paid plans are always available on QuiltInk and allow you to place patterns in the app. You can subscribe to one of these plans and skip the trial period. Terms of these plan:
Before sending a design to Quiltink, please prepare the files using this guide. We need to receive the files in a properly edited way, otherwise we will have to edit it by ourselves, involving some extra work.
Whichever is the designing software you use to create your pattern designs, please follow these simple steps:
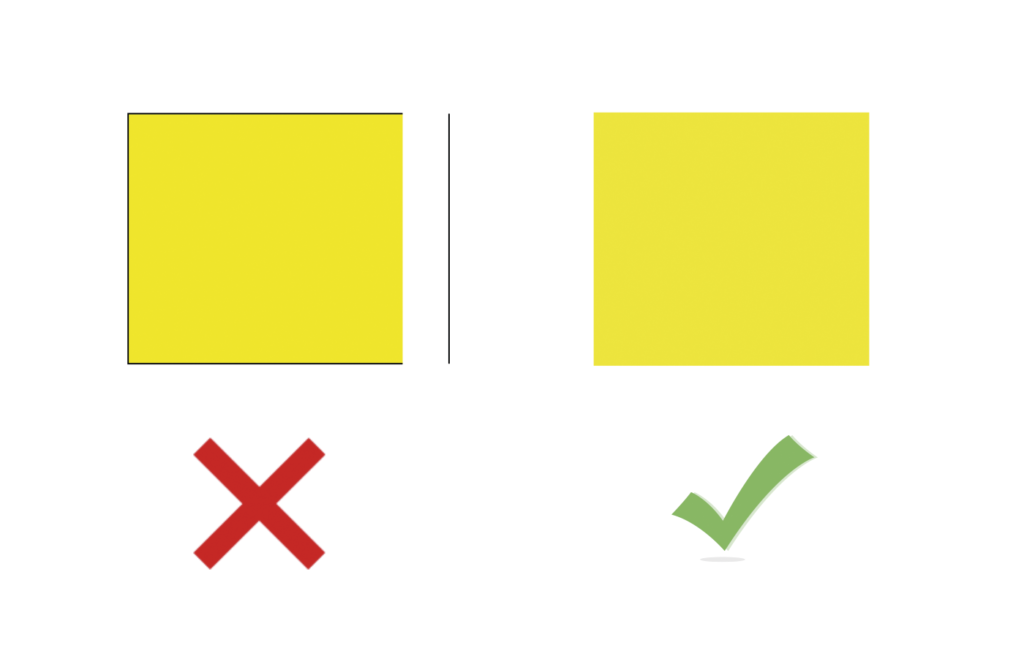
Files must be in .svg vector format . Please don’t send img formats like jpg, png, tiff… Here you have some instructions on how to export your files in .svg format, depending on the designing software you use. If you use a different one, export it in pdf format.
Inkscape is a Freeware tool that already works in svg format. So there is no need to export it. You may send the file.
To save your artwork as SVG, choose File > Export > SVG (svg). Check “Use Artboards” to export the contents of your artboards as individual SVG files. Make sure that the name of each artboard is the quilt size of the layout in it.
InDesign does not export to SVG directly. Export your shapes to PDF, open that in Illustrator and save your SVG from there.
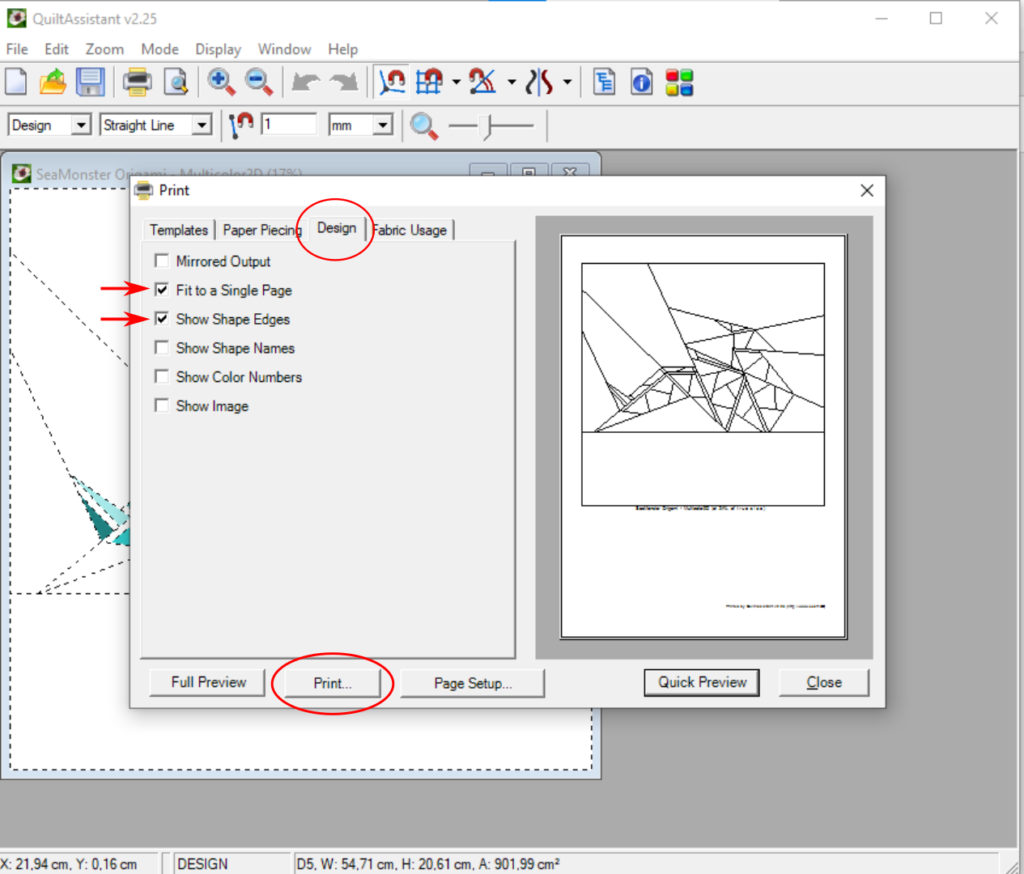
You only need to print a pdf from the “quilt worktable”. Click “print & export”, then “block” on the right side.
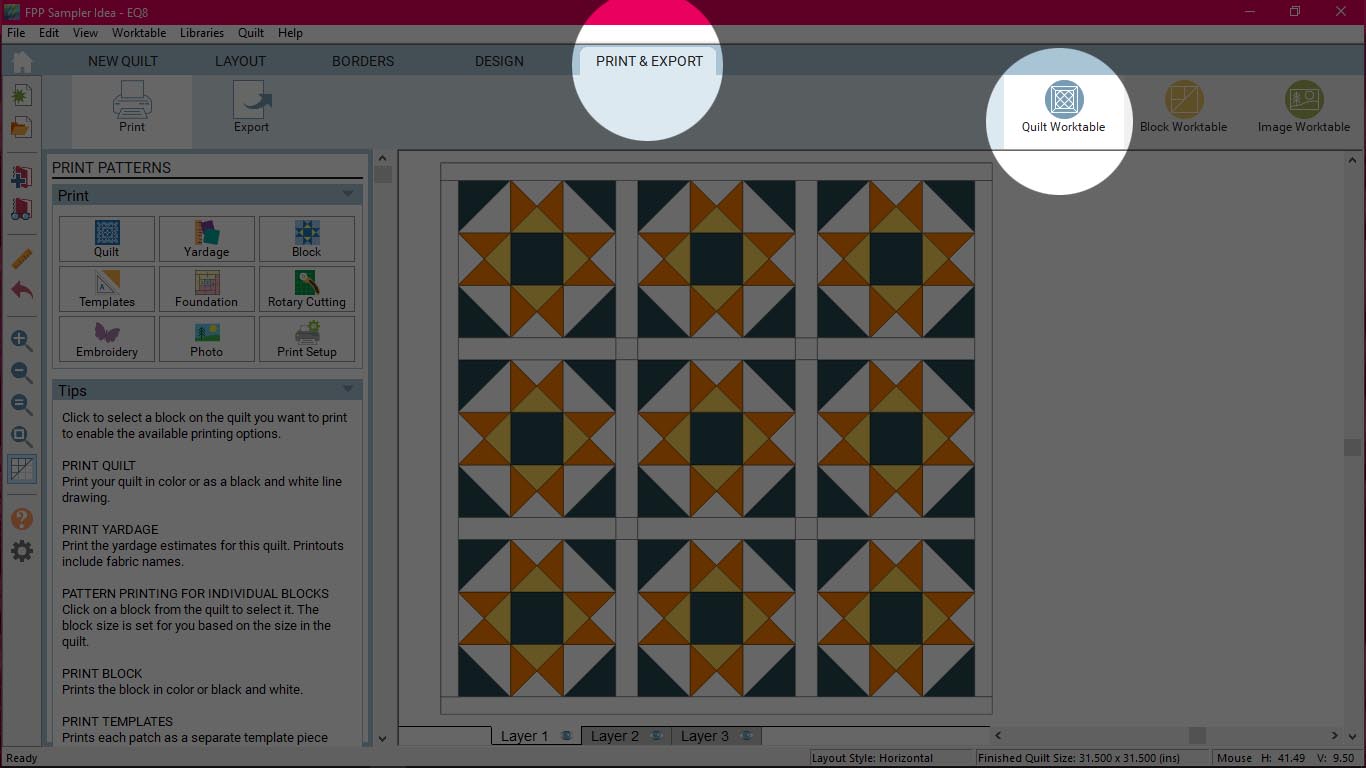
This dialog box pops up. On page set up change the measurements of the page to the quilt size. Select “outline drawing” and the settings shown here.
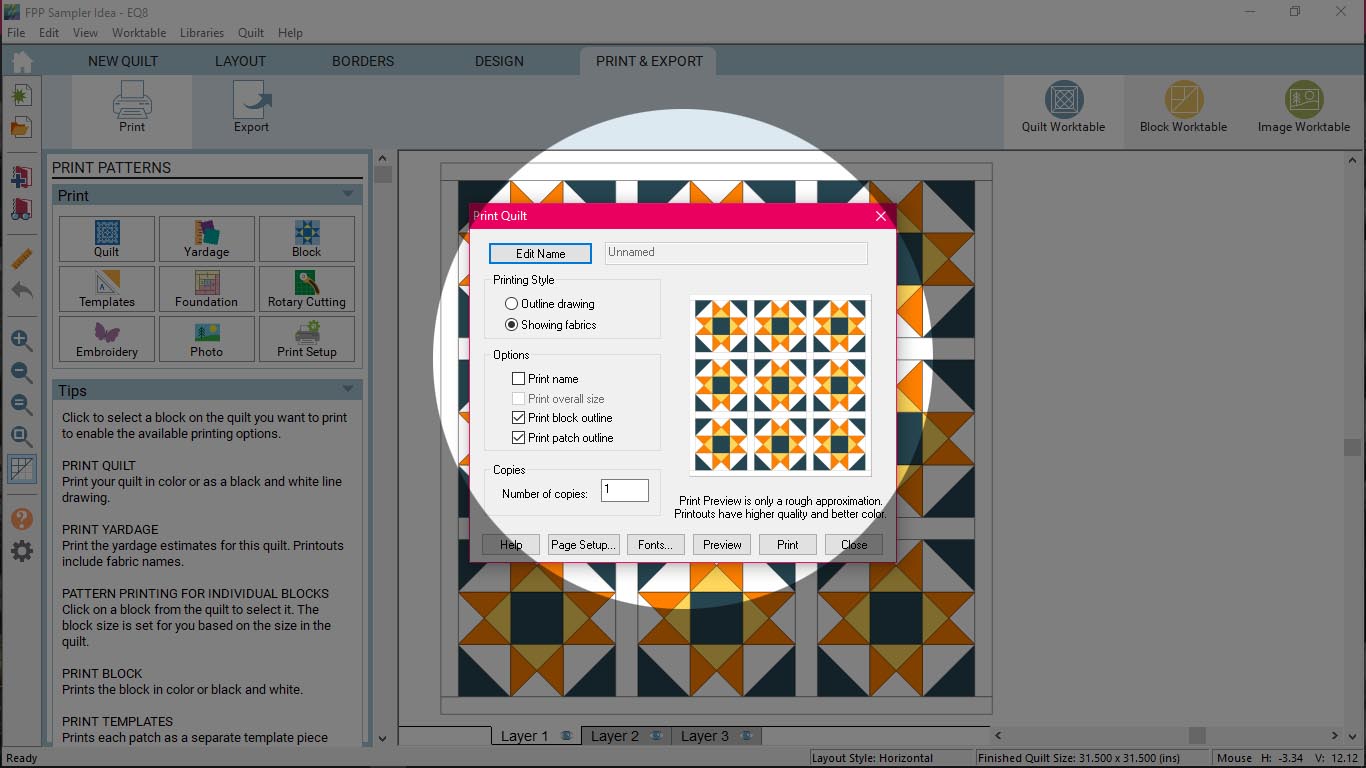
The rest of the process is exactly like any other pdf printing. You just need to select PDF as the printer.
Once you have your files ready, it’s time to submit them! It is quite simple to do. Here is a step by step explanation:
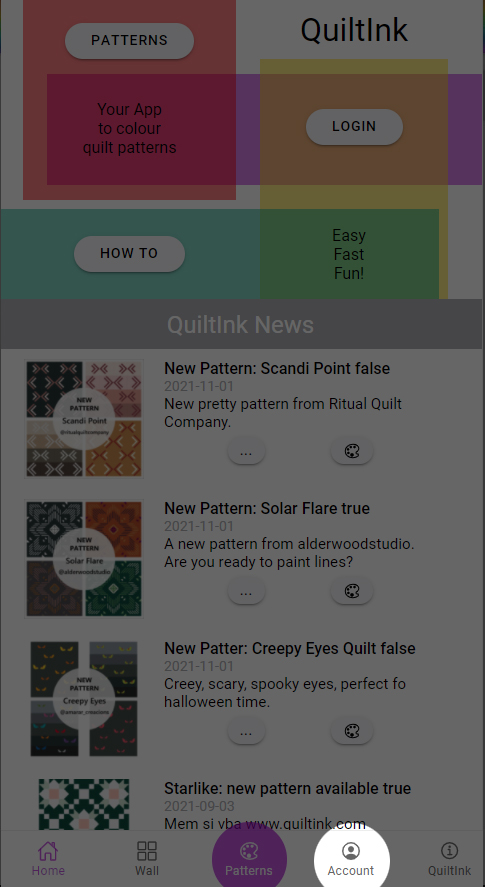
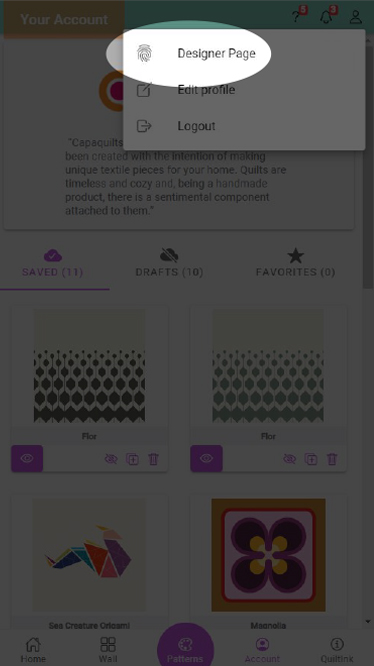
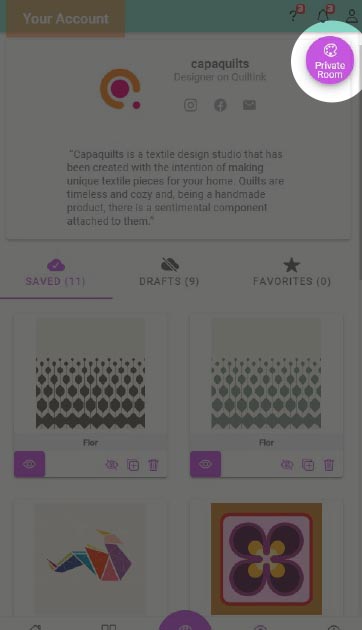
On the main page, go to your account.
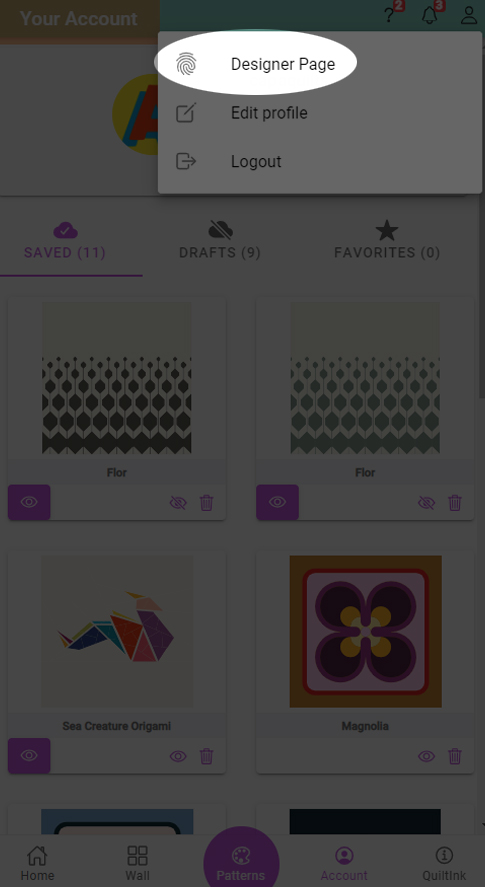
On the top right account icon, click on designer page.
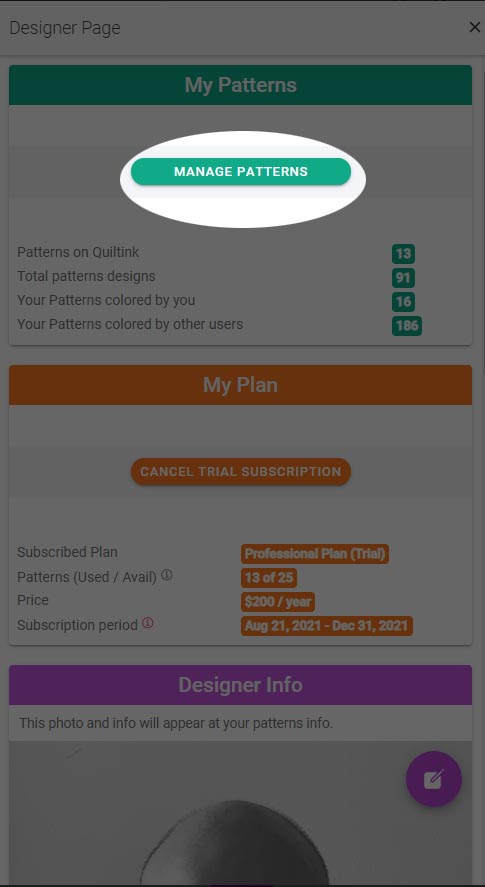
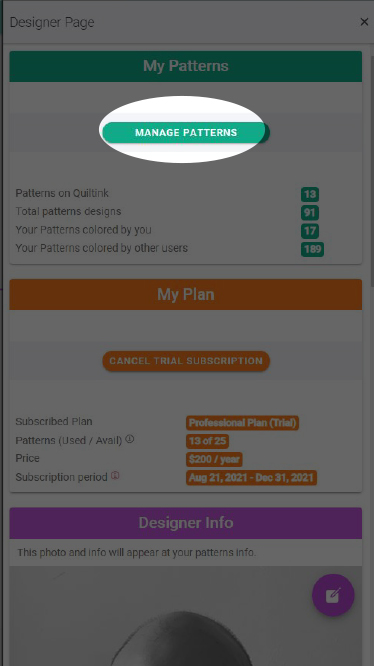
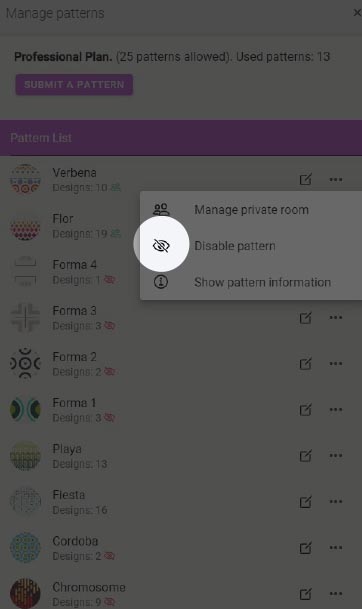
Click on Manage Patterns
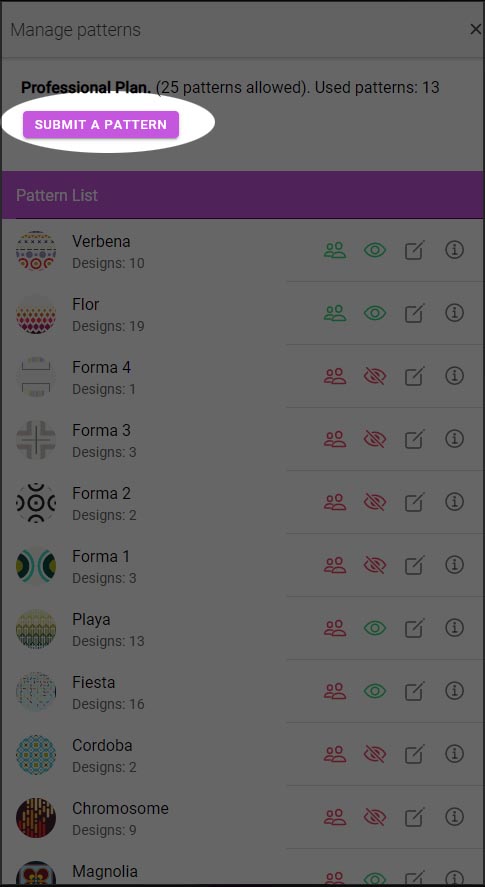
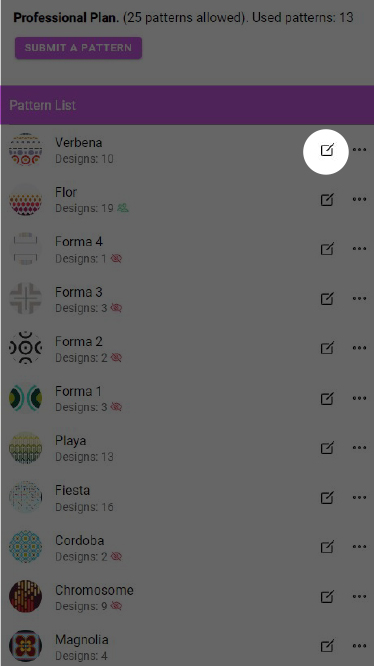
Click on submit a pattern.
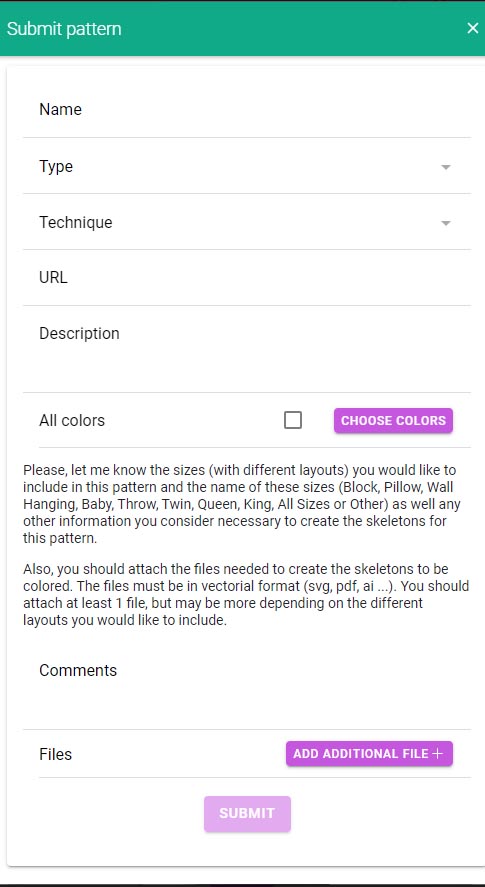
Fill in the form with the information requested:
Once you have finished, upload the files. We need to receive one file per size. Please name the files with the size.
After submitting a pattern to Quiltink, we will create one skeleton per size of the quilt. These skeletons are not coloured yet and you’ll need to make the different colour layouts depending on the ones available in your pattern. Let’s see how to create them:
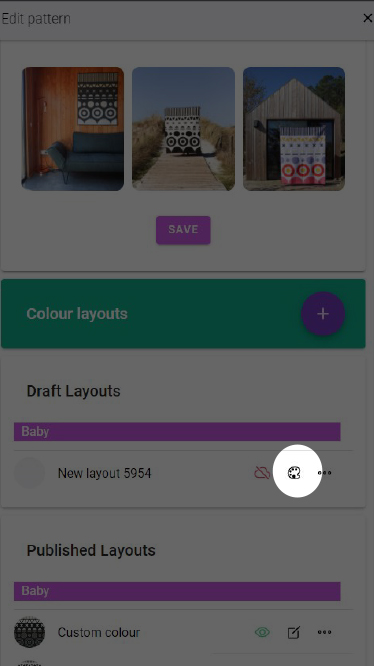
First of all you need to create a draft. In your account icon, go to designer page, then click manage patterns and click on the pen icon next to the pattern you need to create a colour layout for.
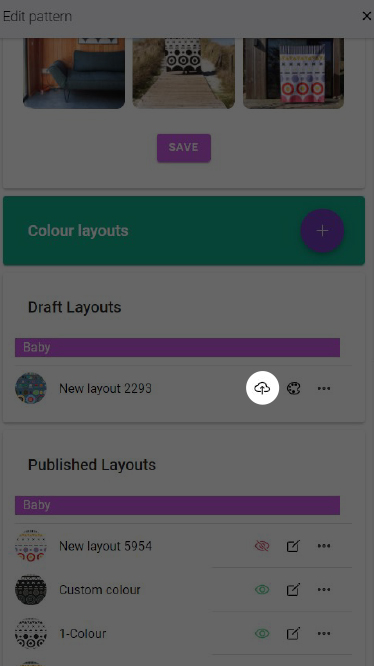
In the edit pattern page, click on the purple plus sign to create a colour layout. Then select the size you want to create the colour layout for, by clicking on the plus sign.
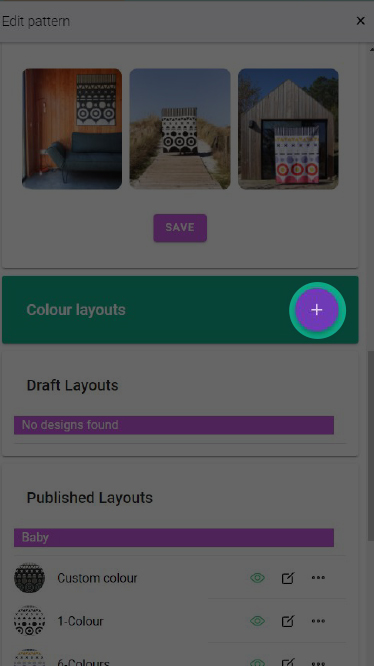

A new draft layout will be created automatically with the name “New Layout xxxx”. You’ll change this name later. First, click on the colour palette next to this new layout.
A new window will pop up where you can colour your layout.
You may find further info about how to colour your layout here.
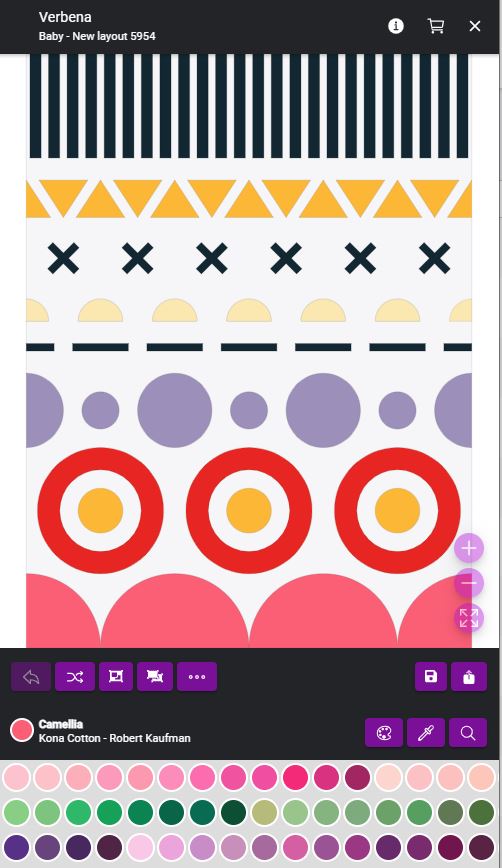
One of the new features in QuiltInk is the possibility of merging pieces of the same colour. You might group or ungroup the pieces of the same colour at any moment.
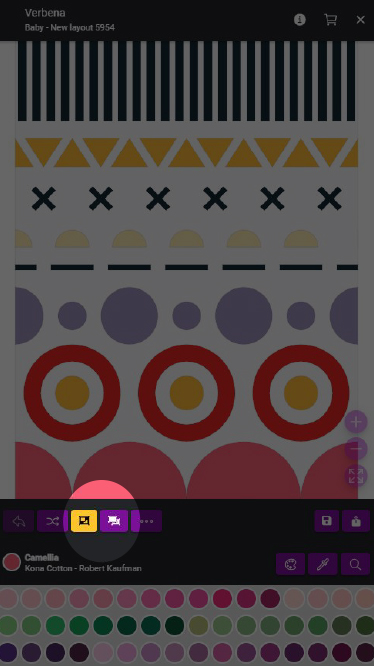
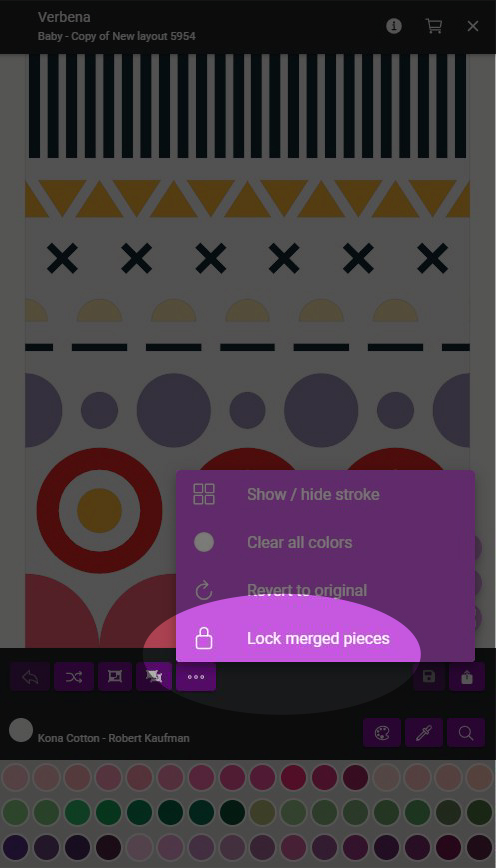
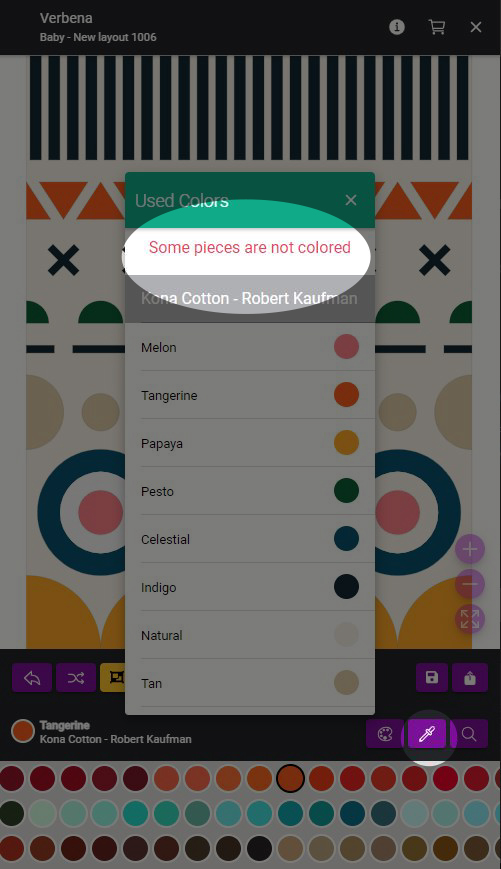
Please note that a colour layout can only be published if all the pieces have a colour asigned. To check you have painted every piece, you can click on the dropper and a window will pop up showing the list of colours included in the colour layout. If there is any piece missing, a message in red will show up on top of the list.
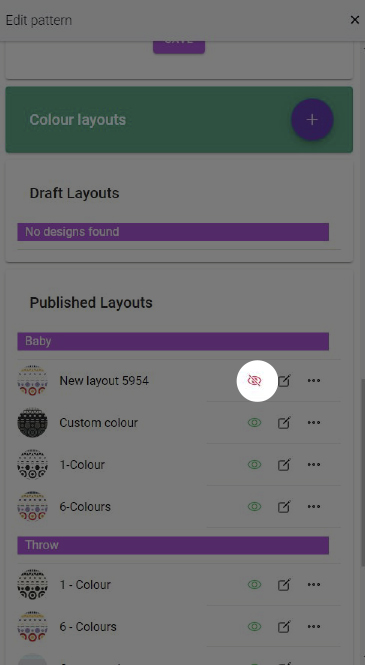
Also, the publication of the colour layout will be locked. You’ll see a crossed out cloud in red next to the layout draft in the edit pattern menu.
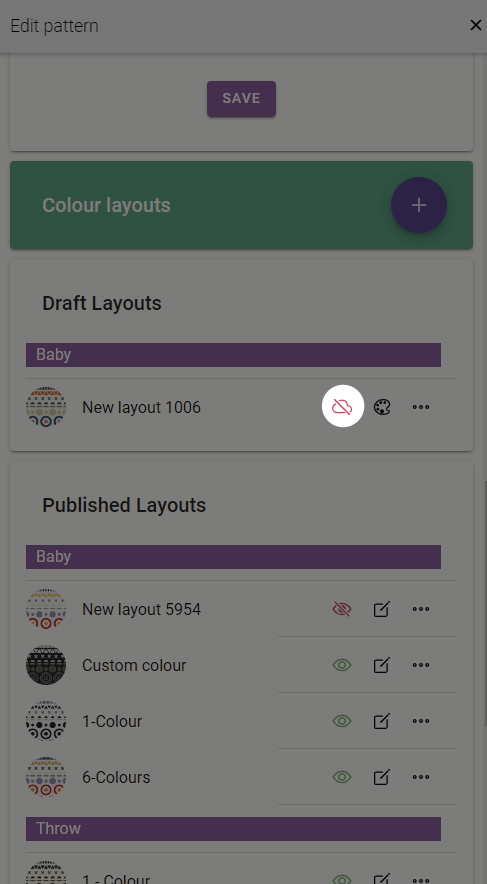
When you are finished, click on the floppy disk icon to save your draft. This action will not publish the colour layout yet. You might come back and edit it again.
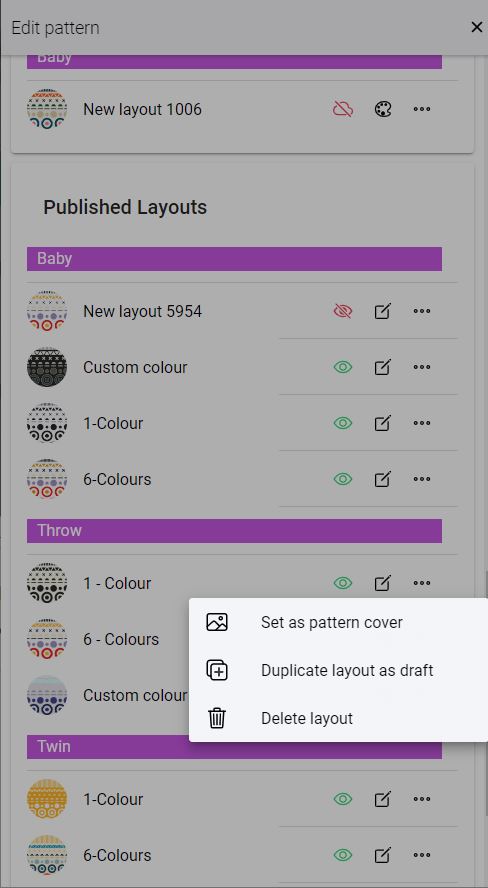
Once you have the colour layout ready, you can edit the properties. Go back to Edit pattern and click on the “···” icon of the layout you need to edit. You’ll find three options there:
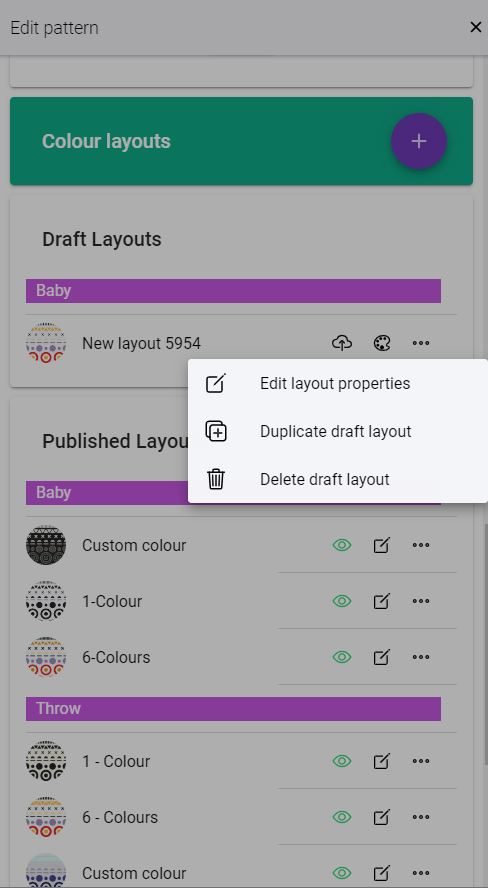
1. Layout properties
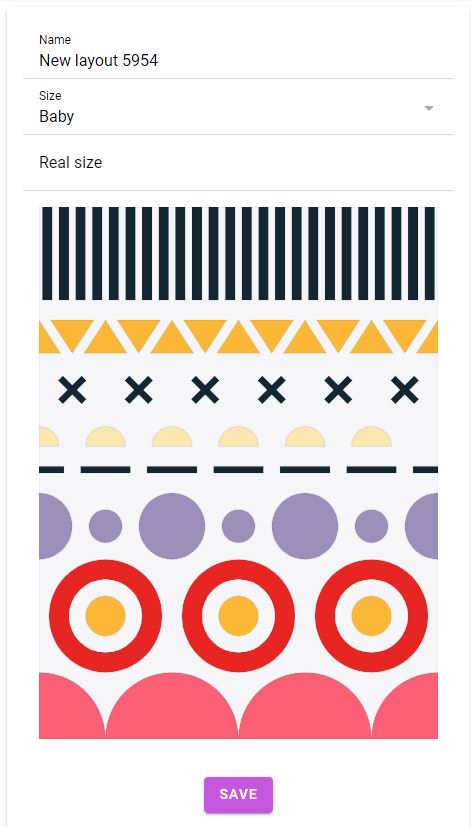
If you click on edit layout properties, a new window will pop up showing you the properties:
When you are finished, click save.
2. Duplicate the colour layout.
This is very useful if you want to change/amend a published colour layout.
It will create a new draft based on this colour layout. Then follow these steps:
3. Delete de colour layout
This action will remove the colour layout. If the colour layout you need to delete has been already used by any user, it’s not possible to be removed, but you may deactivate it clicking on the eye icon.
When you are ready with all the settings, click on the cloud icon to publish the colour layout. This colour layout won’t be public after publishing. If you want to make it public, click on the eye icon. You can deactivate it at any moment.
Once you have ready all the colour layouts, you need to set a cover of your pattern before it’s published.
To set it, select the layout you want to be the cover of the pattern, click on the “…” icon and “set as pattern cover”.

As QuiltInk Designer, you have the possibility to embed your QuiltInk pattern colouring pages onto your website.
For those of you that don’t own a website, there is the possibility of a link, which can be opened with a browser and redirect the customers directly to your pattern colouring pages on Quiltink. This link can be placed on Etsy or your Instagram profile, for example, or where ever you want.
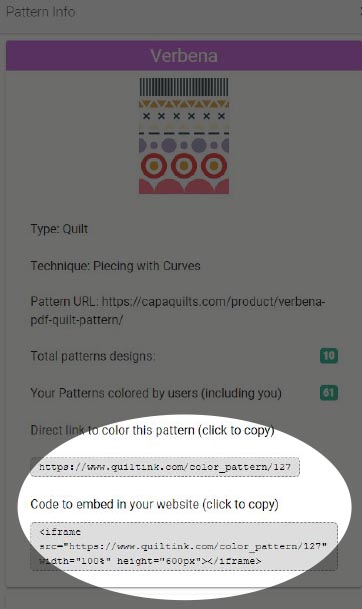
Here you will see some info about your pattern plus the code and link for two different ways to embed the colouring pages of your pattern:
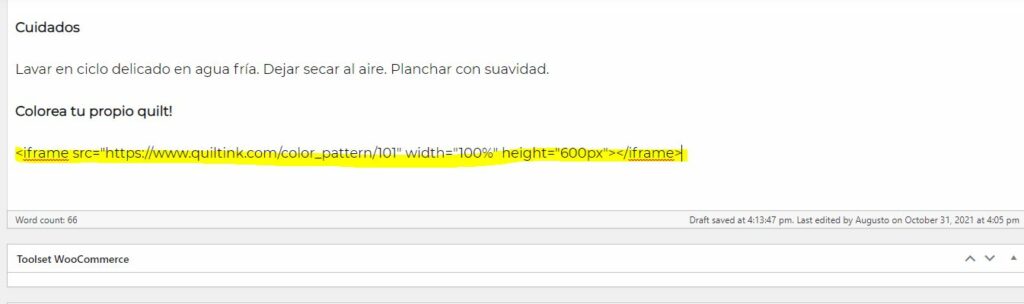
Alternatively, you can share the link to your pattern / Colour Layout, where you want. The link can be pasted in any place from where people can copy it and paste in a browser, or you can add a hyperlink to it and redirect customers directly to your colouring page by clicking at it. For example: a pdf file, Etsy, Instagram profile, etc.
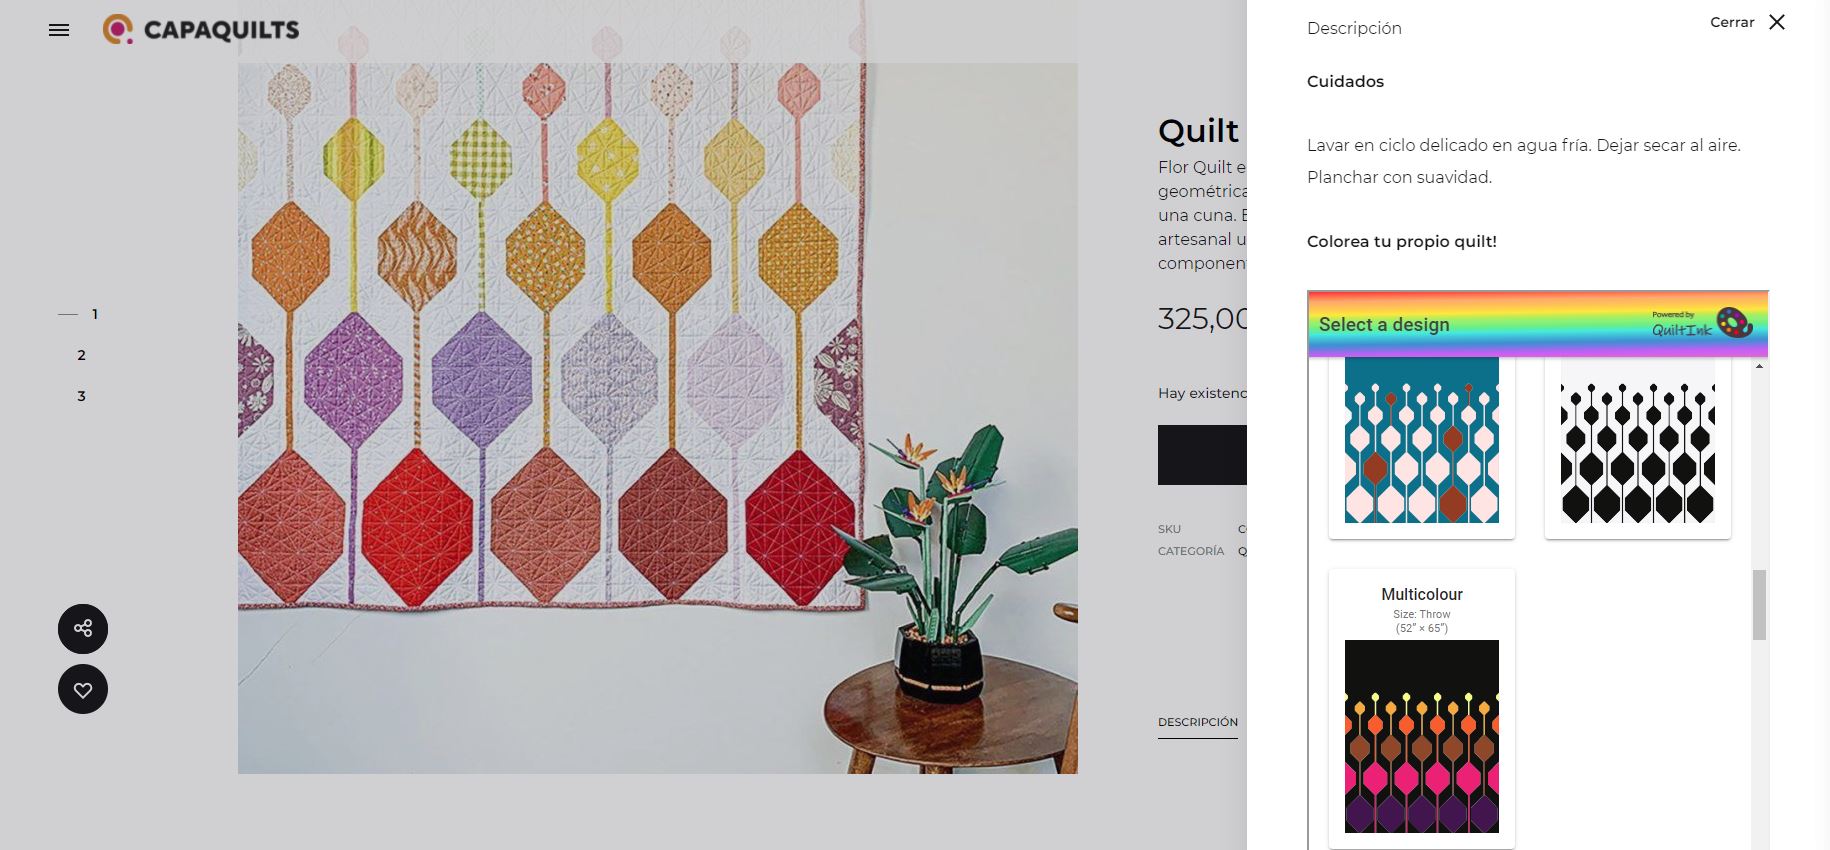
The result is that people will be able to color your pattern directly in your website or, if you share the link, in any browser window.
The embed allows you to offer the colouring QuiltInk service to your customers in a more direct way. They can color the pattern in the product
page and then buy the pattern directly, they don’t have to return to your website from QuiltInk. If customers don’t leave your website, they don’t
have to come back, so there are more chances they will buy the pattern.

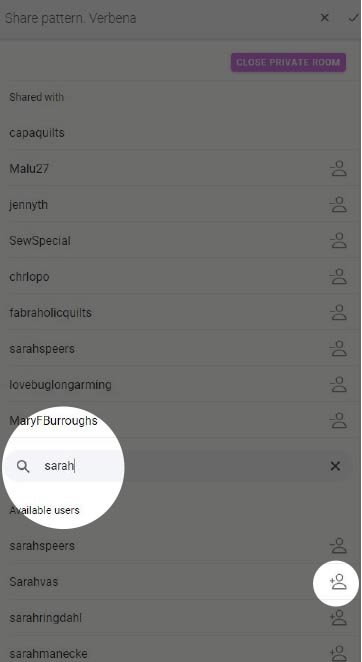
Private Rooms allow you to offer the possibility to colour a pattern to a selected group of QuiltInk users.
This option is thought to be used by Designers when:
You can create one Private Room per pattern. For that:
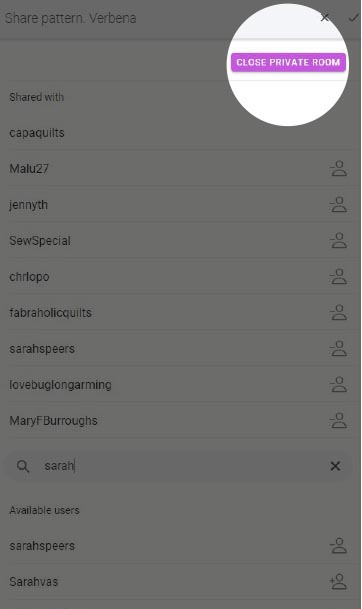
When you finish using the Private Room you can close it by clicking the “CLOSE THE PRIVATE ROOM” button.
When a Private Room is closed, the Colour Versions made in that private room will turn into Colour Versions made from an active pattern in the main page.
There is no possibility to reopen a Private Room closed. If you close a Private Room and open it again with the same users included, it will look as if it was new.
Notes:
To access the Private Room you, and all the users invited, will see a purple floating button in the top right of your account profile box. Click it and you will access to the Private Rooms page.
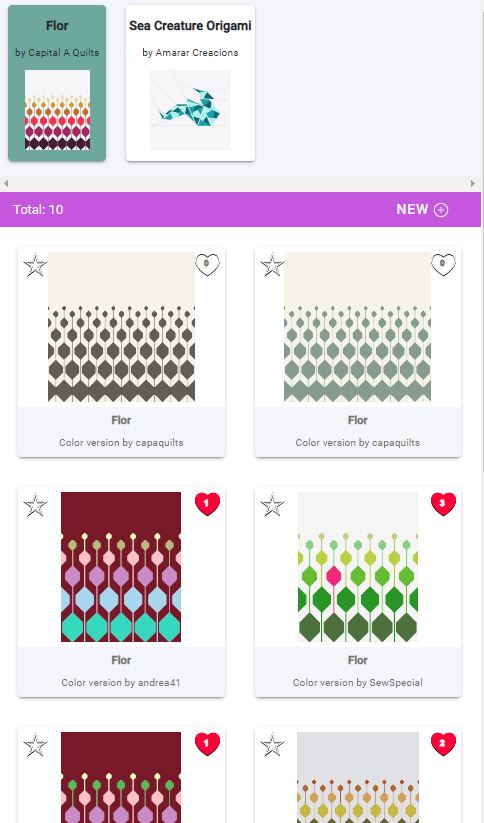
The Private Rooms page is a mix between the QuiltInk Wall and a “Colour Layouts” main page for a pattern. So:
IMPORTANT: When you create a Colour version in a Private Room it won’t be published in the public Wall regardless the pattern is activated or not, and the “Eye” icon to share in the public Wall will be crossed. So, REMEMBER when the designer activates the pattern to appear as a public pattern in the main QuiltInk page, to click the “Eye” icon for your Colour Version appears in the public Wall (The “Eye” icon which is not in a purple box).
When a Private Room is closed, the Colour Versions made in that private room will turn into Colour Versions made from an active pattern in the main page.
There is no possibility to reopen a Private Room closed. If you close a Private Room and open it again with the same users included, it will look as it was new.