Private Patterns

Due to the high number of requests we have received from users who wanted to upload patterns to QuiltInk that were not already available from the designers, we have introduced the option to upload private patterns to QuiltInk. With private patterns, you can upload the diagrams of those patterns and color them in a completely private mode.


It’s important to note that private patterns will never be made public, and you won’t be able to share the coloring pages with anyone. Private patterns in QuiltInk function similarly to coloring patterns in graphic software like Illustrator, Inkscape, or precolor. The advantage is that you already have your fabrics uploaded in QuiltInk, making it easy to use. You can create as many mock-ups as you want and compare them in a private Wall to choose the ones you like the most.


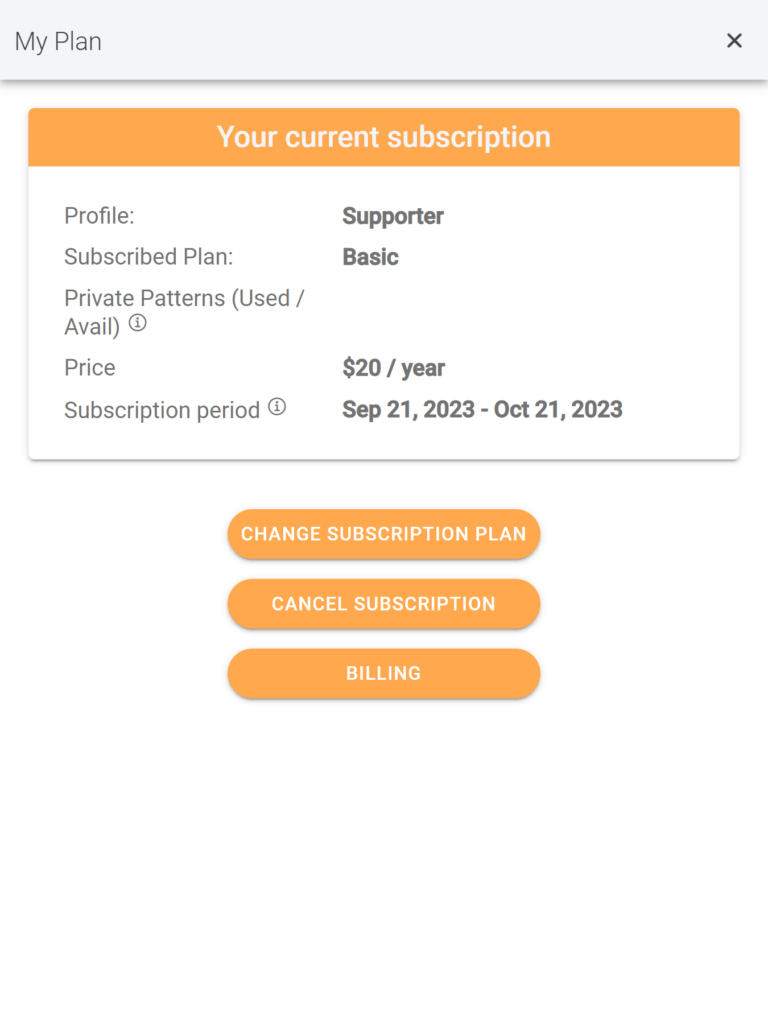
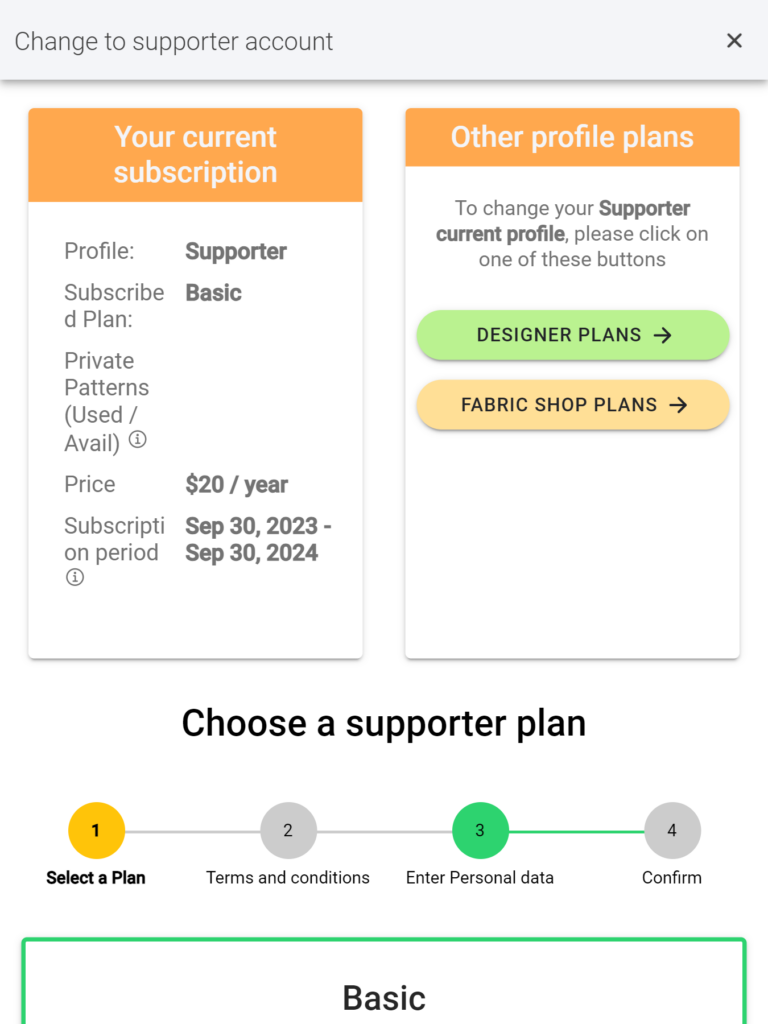
To upload a new private pattern to QuiltInk, you need to be subscribed to a plan that allows uploading private patterns. If you initially subscribed to the “Basic Supporter” plan and now wish to upload private patterns, you can change your plan and start enjoying this feature in QuiltInk.


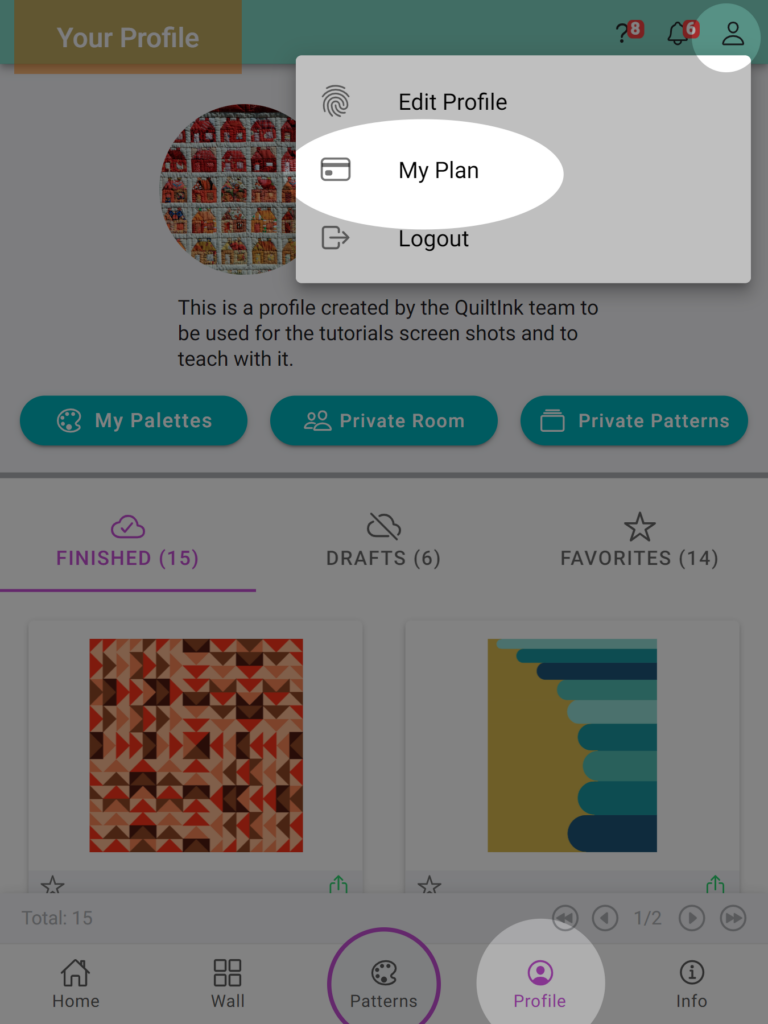
To change your plan, simply visit your profile page and click on the person icon in the top bar. From there, select the “My Plan” option, where you can manage all aspects related to your subscription and change your plan at any time.

REMEMBER

  • The usage of private patterns in QuiltInk is restricted to the patterns you have purchased. 
  • Private patterns do not allow for private rooms to share the pattern with other QuiltInk users.
  • Private patterns can not be activated for public coloring.
  • Mock-ups created from private patterns cannot be published in the public Wall.
  • Private patterns are intended for private coloring, exclusively for the user who has uploaded them to QuiltInk.

Private Patterns Management Page

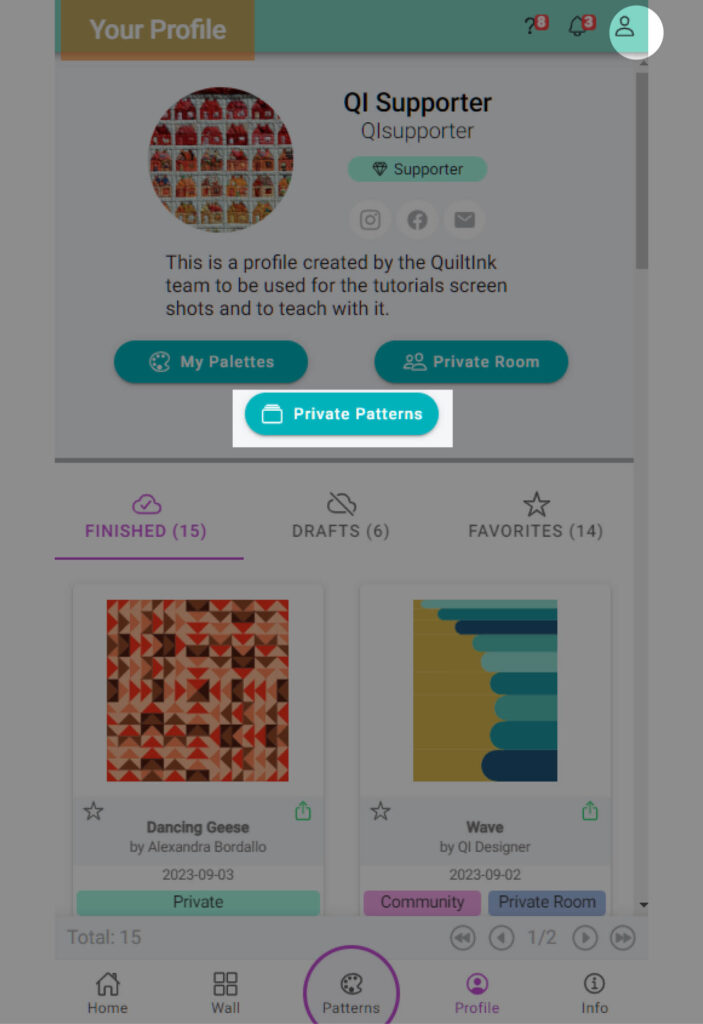
When you are subscribed to a plan that includes private patterns, you will find a button on your profile page labeled “Private Patterns.” Clicking on this button will take you to a dedicated page where you can manage all of your private patterns.

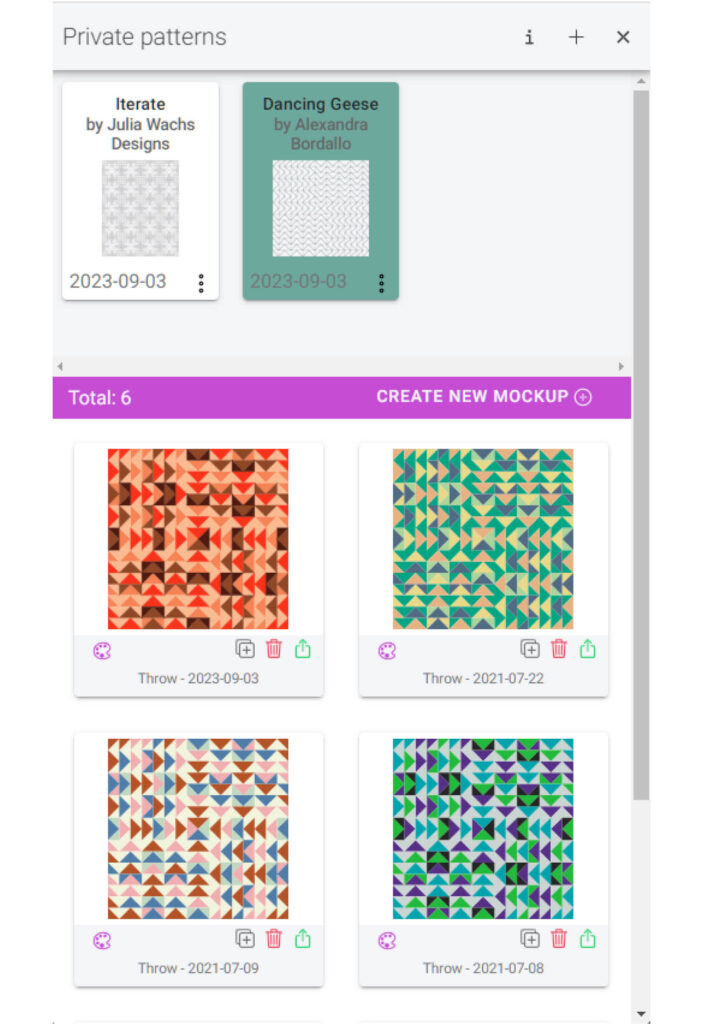
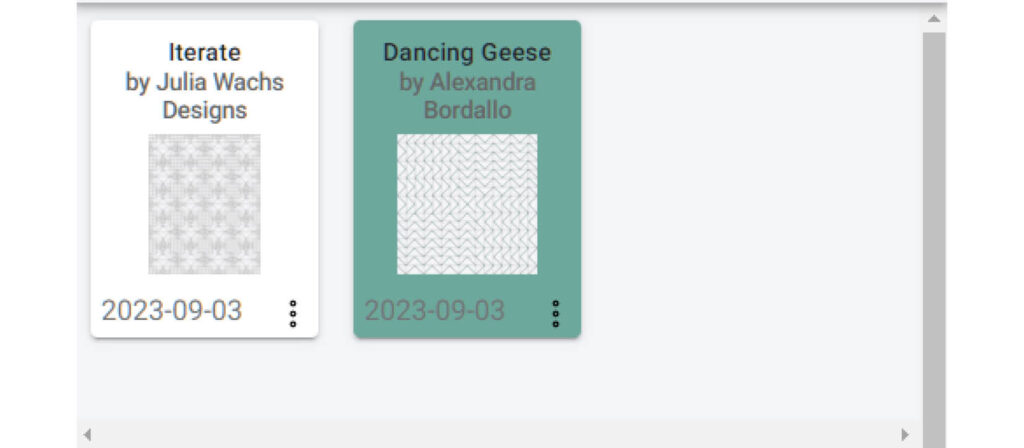
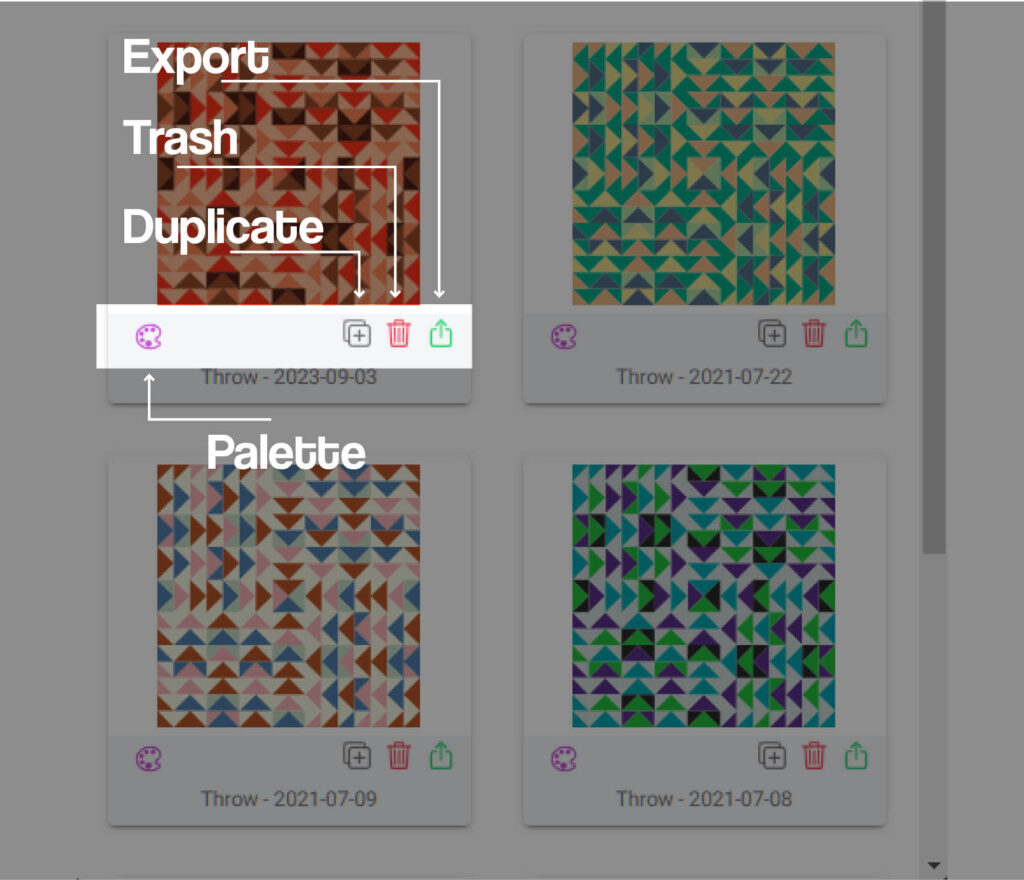
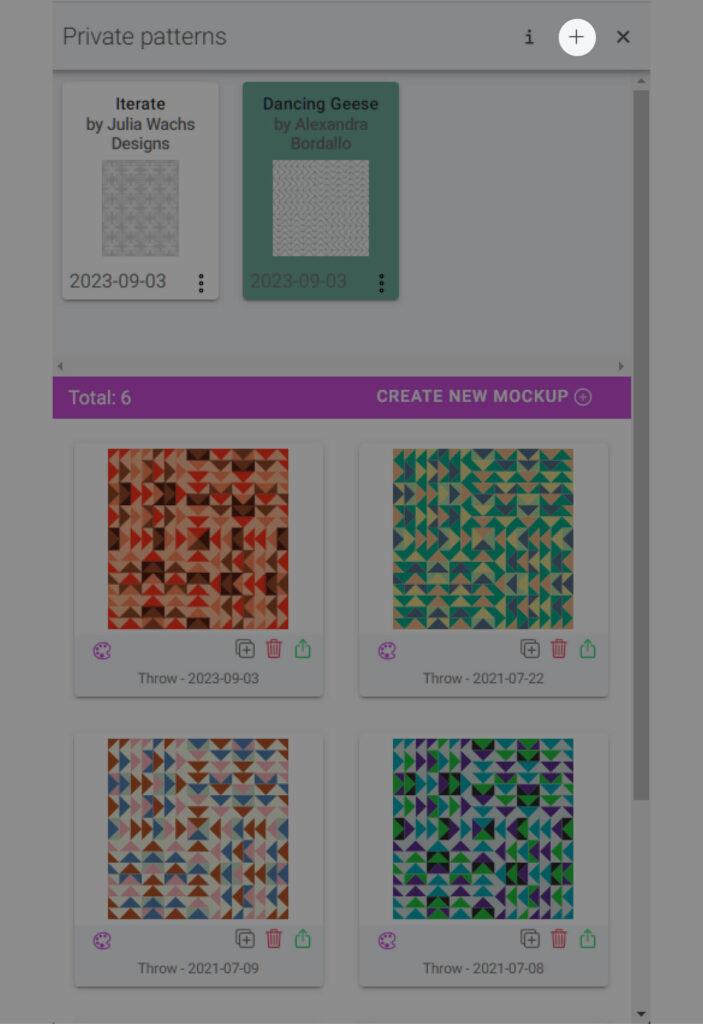
At the private patterns manage page, you will find the following sections and options:


  • Top Bar: The top bar contains three icons:
    1.  Info icon: Clicking on this icon will display a pop-up window with information about your subscription plan, including the number of patterns you have uploaded, the number of patterns you can upload based on your plan, the number of disabled patterns, and the patterns you can disable because they have been in Quiltink for more than one year.
    2. “+” icon: Use this option to submit new patterns to QuiltInk. Instructions below.
    3. “x” icon: Clicking on this icon will close the window.
  • Top Section: In this section, you will see all the patterns you have uploaded to QuiltInk. Each pattern is displayed with its title, designer, submission date, and an “…” icon that allows you to access the edit options for that pattern.
    If a pattern has been on QuiltInk for more than one year, you have the option to disable it and replace it with another pattern within the limit of your plan. You can disable a pattern to upload a new pattern without upgrading your plan. If a pattern can be disabled the option with a “crossed circle” icon will appear at “…” icon, and the pattern will remain in this top section but without the possibility you to click on it, only to the “…” icon to enable it if the number of patterns in your plan allow it.
    To start coloring a pattern or see the mockups you have created for it, click over the card of this pattern.
  • Central Bar: After selecting a pattern from the top section, the central bar will display the number of mockups you have created for that pattern on the left side. On the right side, there is an option, “Create new mockup”, to start coloring the pattern.
  • Bottom section: In this section, you will find all the mockups you have created for the selected pattern. Each mockup is indicated with its creation date and offers the following options:
    •  Palette icon: Clicking on this icon allows you to modify the colors by accessing the coloring page again.
    • Duplicate icon (+): This option allows you to create a duplication of the mockup and create a new one using it as a basis. This is helpful if you want to create a new mockup and you don’t want to start coloring again from the blank diagrams.
    • Trash icon: Clicking on the trash icon will delete the mockup. Please note that this action is irreversible, and the mockup will be permanently removed from QuiltInk.
    • Export: You can export the mockup either with the list of colors and fabrics used or just the image. This allows you to save and share your mockup with others out of Quitlink. For more information on exporting your mockups, refer to the “Export your mock-ups” tutorial.

Submit a new Private Pattern

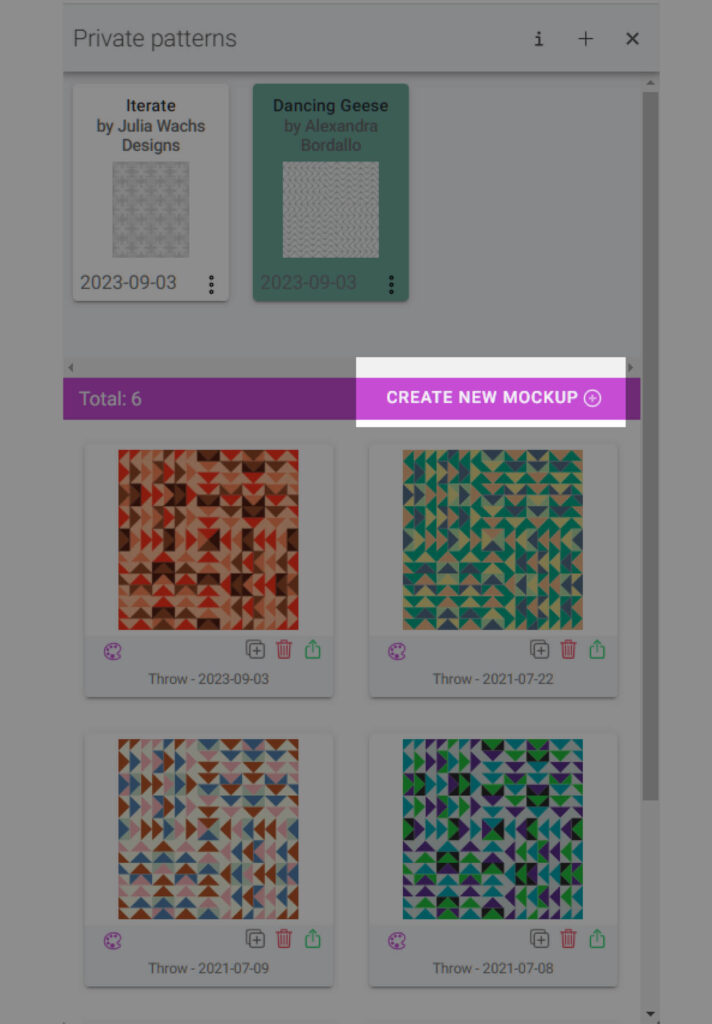
The steps to upload a new private pattern to QuiltInk are as follows:


  1. Purchase the pattern. It is important to note that you cannot upload coloring pages downloaded from the web or copied from other sources such as Pinterest or Instagram. You can create a pattern for yourself and send us your design.
  2. Access QuiltInk, sign in to your account, and click on the “Private Patterns” button on your profile page.
  3. Click on the “+” icon located at the top bar in the private patterns management page. This will open a new page with a form.
  4. Fill out all the required fields in the form:
    • Name: Enter the name of the pattern you are uploading.
    • Designer: Specify the name of the pattern’s designer. This helps keep your private patterns organized.
    • Technique: Provide additional information about the pattern, such as the technique used.
    • Files: Click on the “Add files +” button to select the pattern files with the coloring diagrams from your computer. These files should be the coloring sheets from the PDF pattern you purchased from the designer of the pattern. If that pattern you want to upload is your own pattern, the files should be in vectorial format (e.g., SVG, PDF, AI). If you are unable to provide the files in vector format, you can still submit what you have, and the QuiltInk team will assess if they can create the skeletons based on the information provided.
    • Comments: Use this field to indicate the sizes of the diagrams you submitted and any other important information for the QuiltInk team to consider when working on your pattern.
  5. Once you have completed the form, click on “Submit”. This action will create the new pattern in your private patterns management page and send all the information and files to the QuiltInk team. We will use these files to create the skeletons, which are the blank diagrams you will use to color the pattern. Please note that the skeletons will not be immediately available as they need to be prepared by the QuiltInk team. Typically, this process takes around 1-2 days to complete. You will receive a notification once the skeletons are ready and uploaded to the QuiltInk platform, allowing you to start coloring them.
Click on + icon
Fill in the form

Color a Private Pattern

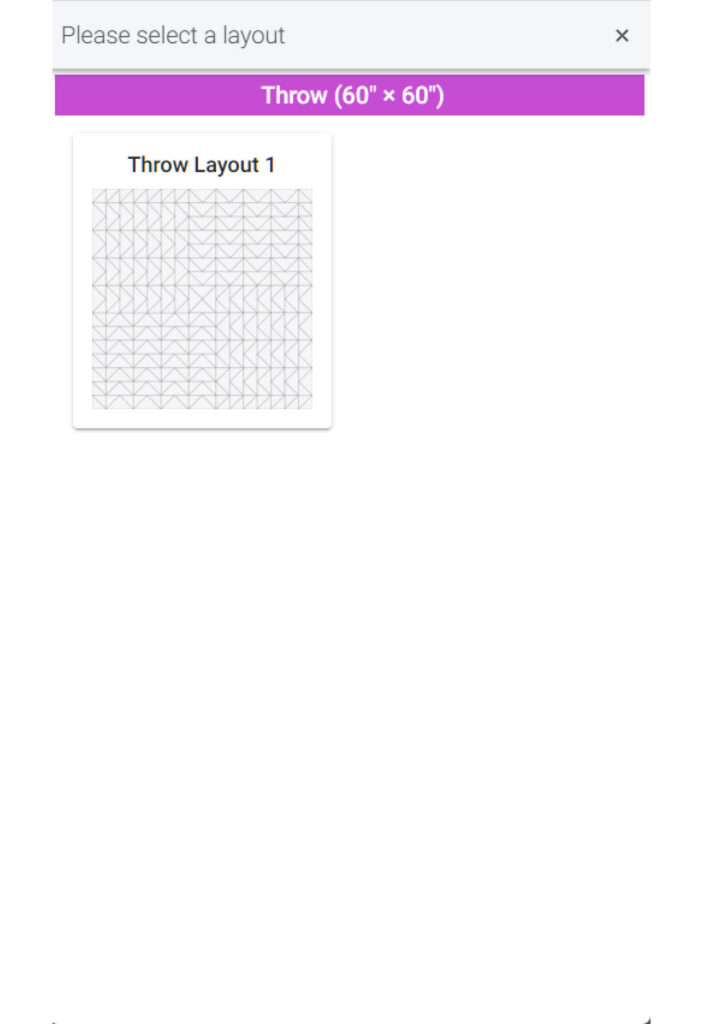
Once you have been notified that the skeletons for your private pattern have been uploaded to the QuiltInk platform, you can start coloring it by following these steps:

  1.  Select the pattern from your private patterns management page. 
  2. In the central bar, click on “Create new Mockup”
  3. The color layouts page will open, displaying the different sizes and layouts of the pattern you requested. Unlike other patterns in QuiltInk, the color layouts for private patterns are blank diagrams. You will need to color each piece individually to create the mock-ups.
    Refer to the “Color a pattern” tutorial  to explore all the coloring options available: select your color/fabric palette, merge pieces by color, remove strokes, and more.
  4. Once you have created the first mockup, you can use it as a basis and duplicate it to create new mockups. Alternatively, you can start coloring each time from the blank skeletons by clicking on the “Create new Mockup” button.
  5. You have the flexibility to create as many mockups as you want, duplicate them, or remove them as needed.
    They will all be displayed in the bottom section where you can compare and manage them.
  6. When you have finished coloring the pattern, you can use the “export” icon (a box with an arrow going out) to export your mockups. You have the option to export them with the list of colors/fabrics used or as images only. For more information on exporting your mockups, “Export your mock-ups” tutorial.


If you have any questions or concerns related to the private patterns or any aspect of using QuiltInk, we are here to help. You can reach out to us via email at info@quiltink.com or through the chat on our Instagram platform (@quilt_ink).