
After submitting a pattern to Quiltink, we will create one skeleton per size of the quilt. These skeletons are not coloured yet and you’ll need to make the different colour layouts depending on the ones available in your pattern. Let’s see how to create them:
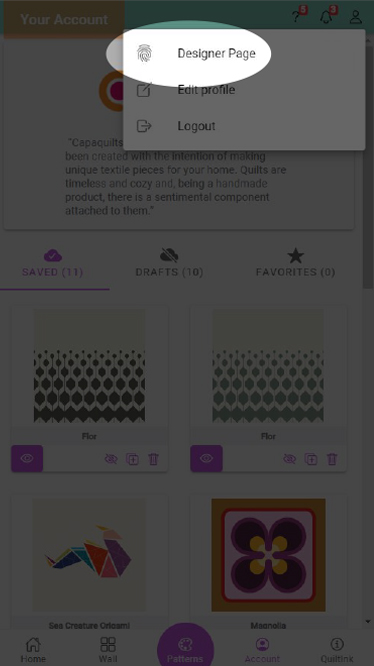
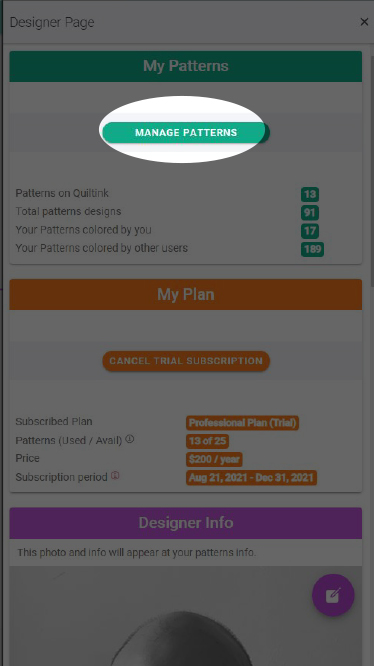
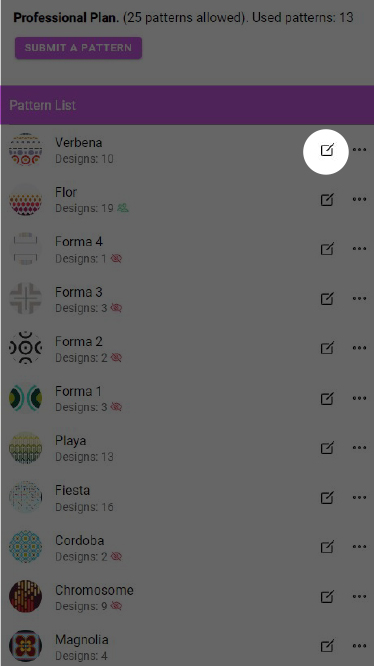
First of all you need to create a draft. In your account icon, go to designer page, then click manage patterns and click on the pen icon next to the pattern you need to create a colour layout for.
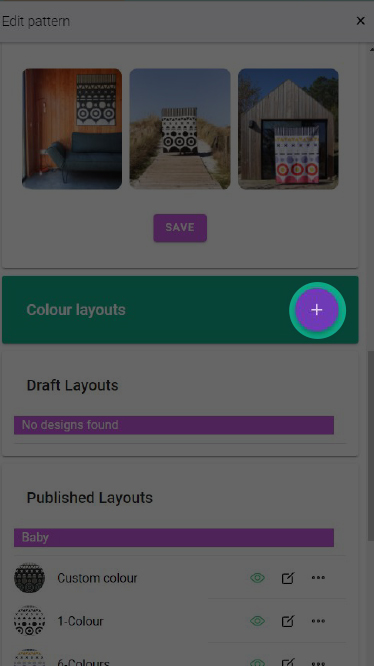
In the edit pattern page, click on the purple plus sign to create a colour layout. Then select the size you want to create the colour layout for, by clicking on the plus sign.
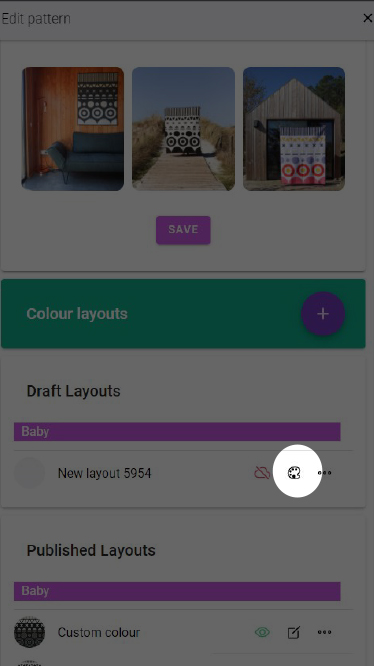
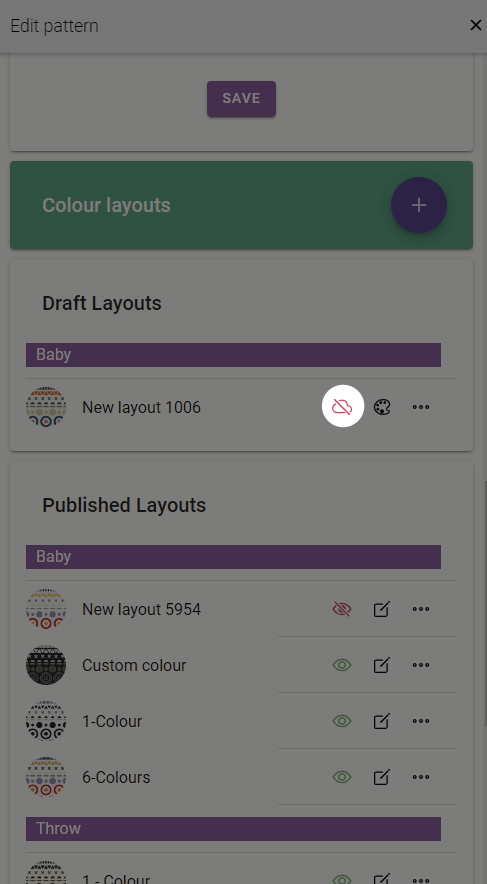
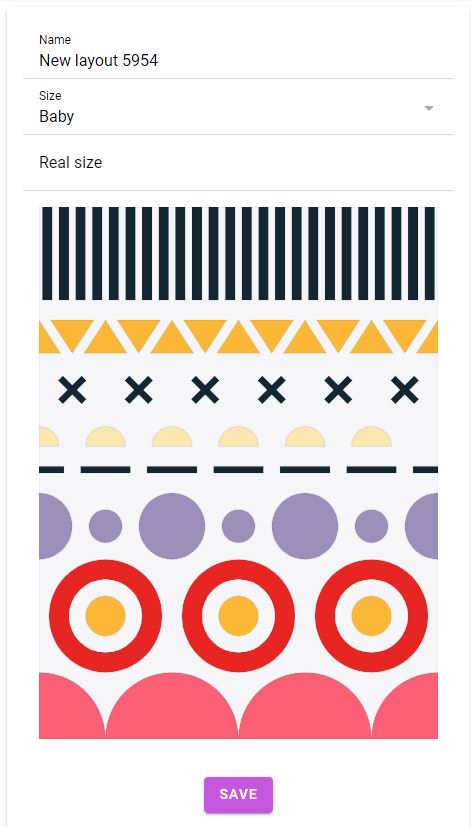
A new draft layout will be created automatically with the name “New Layout xxxx”. You’ll change this name later. First, click on the colour palette next to this new layout.
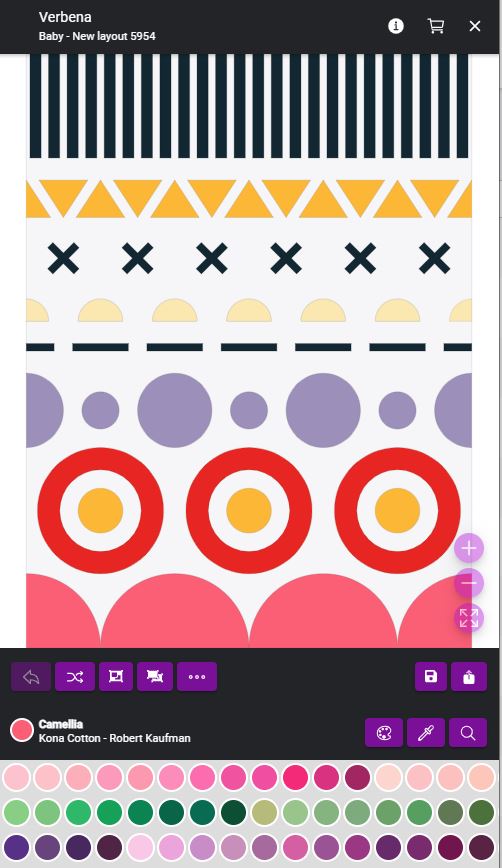
A new window will pop up where you can colour your layout.
You may find further info about how to colour your layout here.
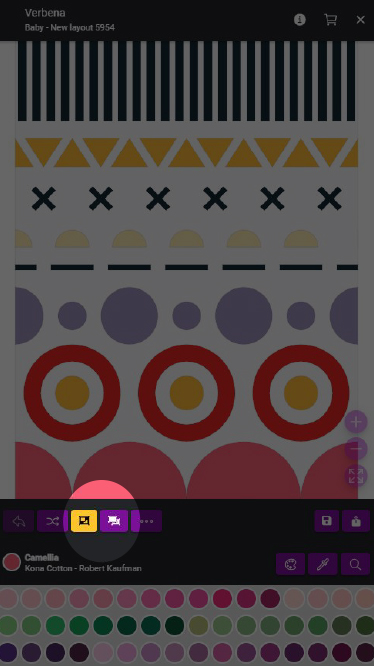
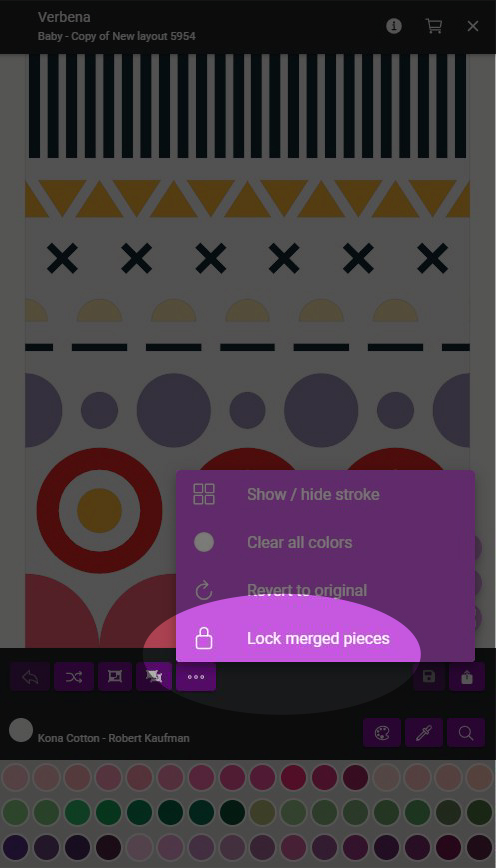
One of the new features in QuiltInk is the possibility of merging pieces of the same colour. You might group or ungroup the pieces of the same colour at any moment.
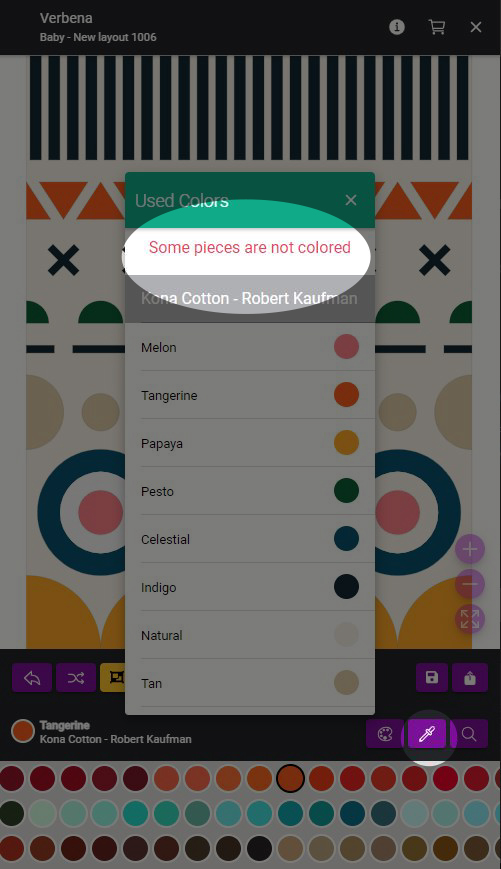
Please note that a colour layout can only be published if all the pieces have a colour asigned. To check you have painted every piece, you can click on the dropper and a window will pop up showing the list of colours included in the colour layout. If there is any piece missing, a message in red will show up on top of the list.
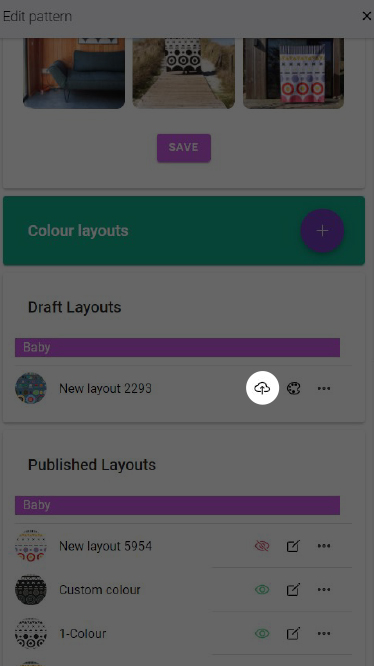
Also, the publication of the colour layout will be locked. You’ll see a crossed out cloud in red next to the layout draft in the edit pattern menu.
When you are finished, click on the floppy disk icon to save your draft. This action will not publish the colour layout yet. You might come back and edit it again.
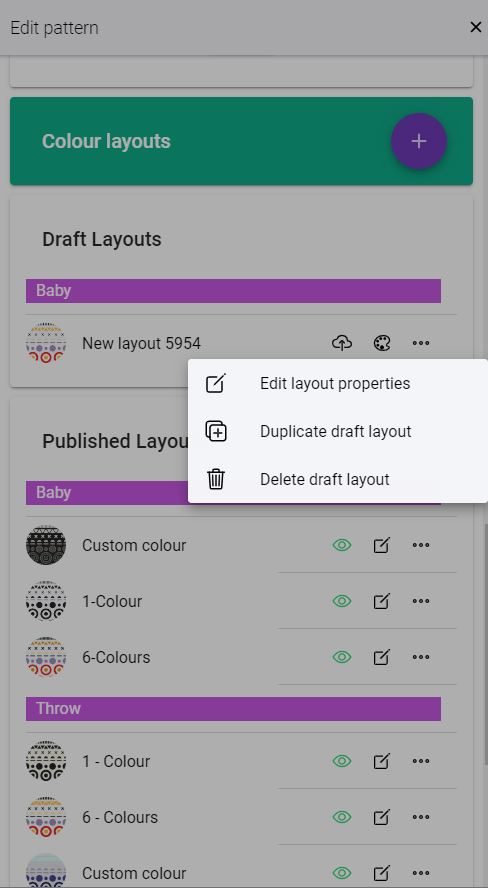
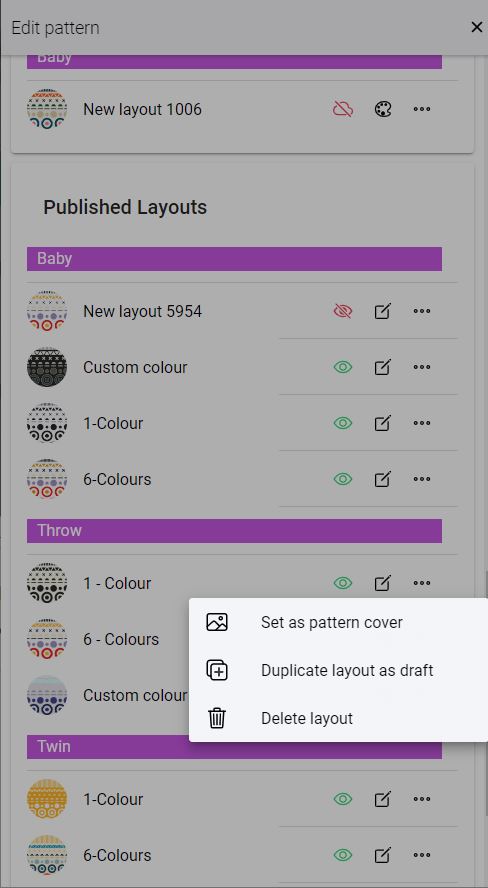
Once you have the colour layout ready, you can edit the properties. Go back to Edit pattern and click on the “···” icon of the layout you need to edit. You’ll find three options there:
1. Layout properties
If you click on edit layout properties, a new window will pop up showing you the properties:
When you are finished, click save.
2. Duplicate the colour layout.
This is very useful if you want to change/amend a published colour layout.
It will create a new draft based on this colour layout. Then follow these steps:
3. Delete de colour layout
This action will remove the colour layout. If the colour layout you need to delete has been already used by any user, it’s not possible to be removed, but you may deactivate it clicking on the eye icon.
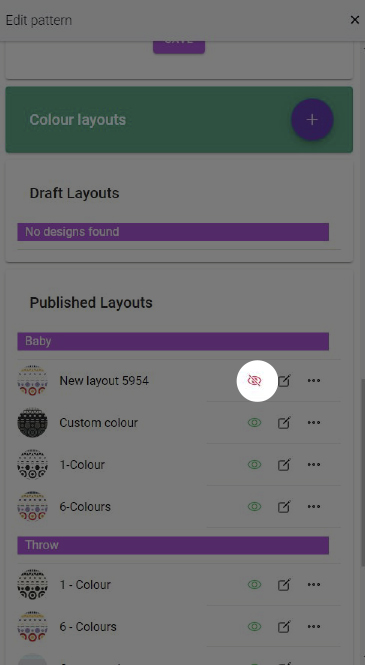
When you are ready with all the settings, click on the cloud icon to publish the colour layout. This colour layout won’t be public after publishing. If you want to make it public, click on the eye icon. You can deactivate it at any moment.
Once you have ready all the colour layouts, you need to set a cover of your pattern before it’s published.
To set it, select the layout you want to be the cover of the pattern, click on the “…” icon and “set as pattern cover”.