Before sending a design to Quiltink, please prepare the files using this guide. We need to receive the files in a properly edited way, otherwise we will have to edit it by ourselves, involving some extra work.
Whichever is the designing software you use to create your pattern designs, please follow these simple steps:
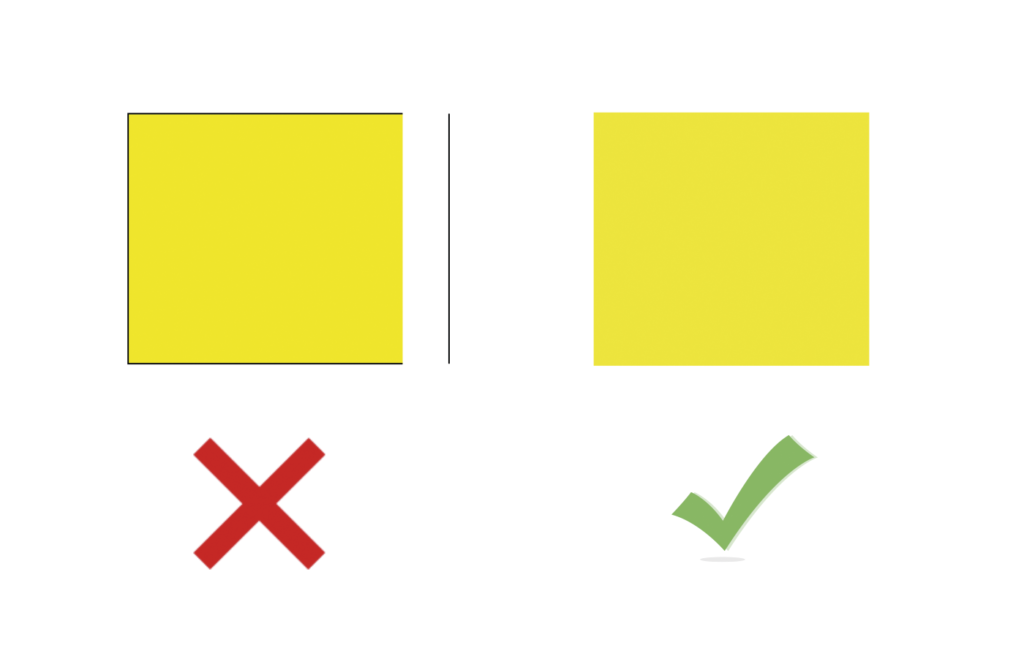
Files must be in .svg vector format . Please don’t send img formats like jpg, png, tiff… Here you have some instructions on how to export your files in .svg format, depending on the designing software you use. If you use a different one, export it in pdf format.
Inkscape is a Freeware tool that already works in svg format. So there is no need to export it. You may send the file.
To save your artwork as SVG, choose File > Export > SVG (svg). Check “Use Artboards” to export the contents of your artboards as individual SVG files. Make sure that the name of each artboard is the quilt size of the layout in it.
InDesign does not export to SVG directly. Export your shapes to PDF, open that in Illustrator and save your SVG from there.
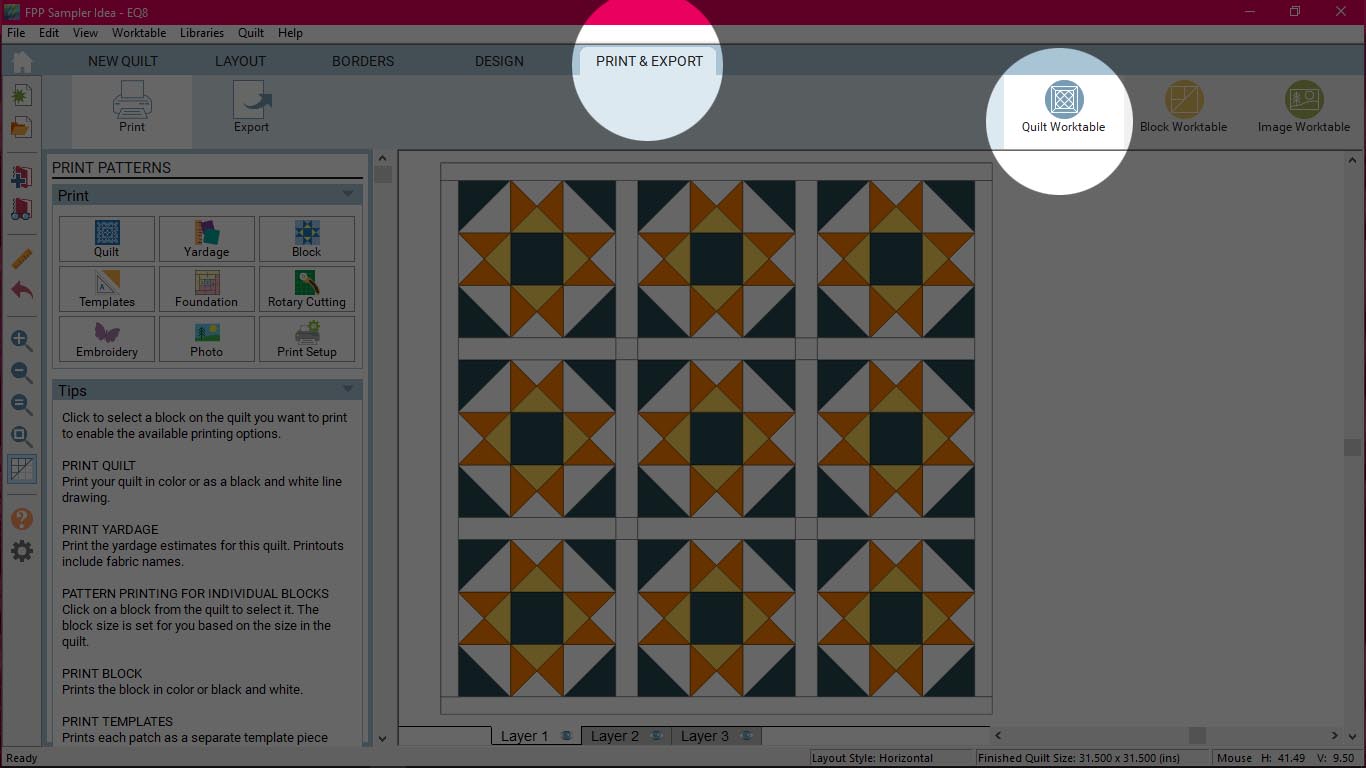
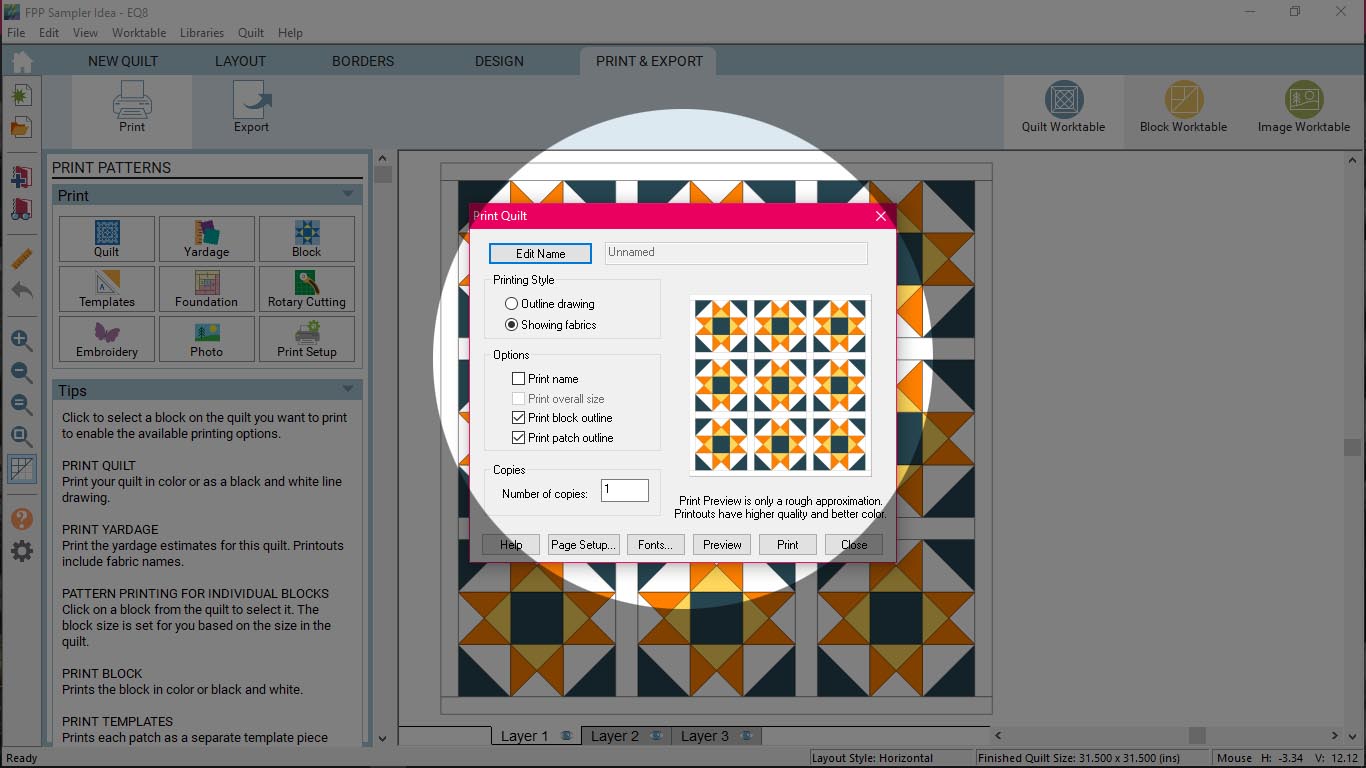
You only need to print a pdf from the “quilt worktable”. Click “print & export”, then “block” on the right side.
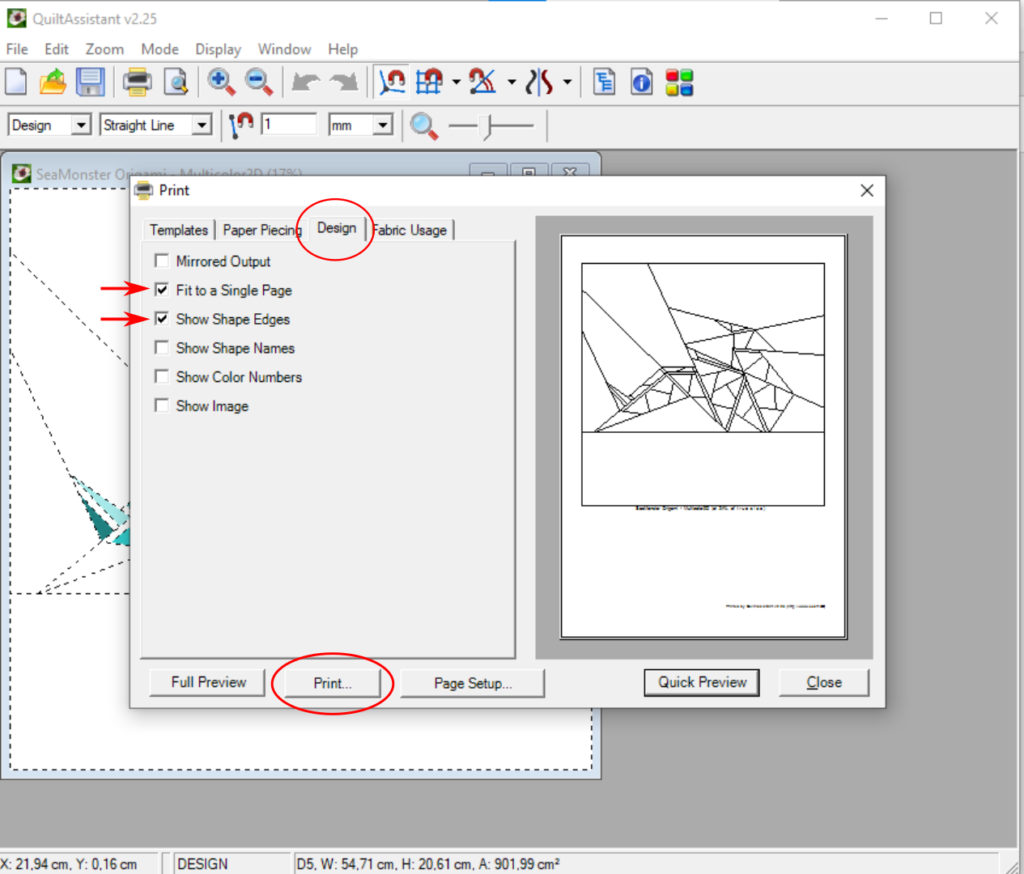
This dialog box pops up. On page set up change the measurements of the page to the quilt size. Select “outline drawing” and the settings shown here.
The rest of the process is exactly like any other pdf printing. You just need to select PDF as the printer.
Once you have your files ready, it’s time to submit them! It is quite simple to do. Here is a step by step explanation:
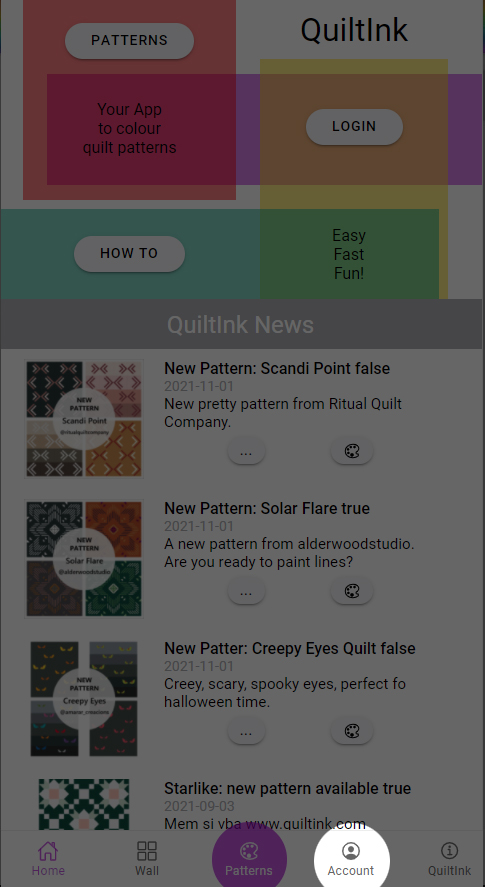
On the main page, go to your account.
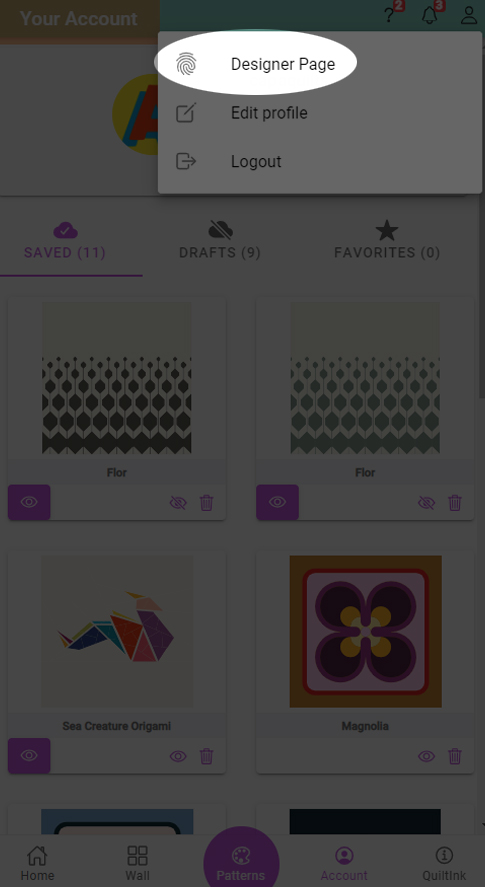
On the top right account icon, click on designer page.
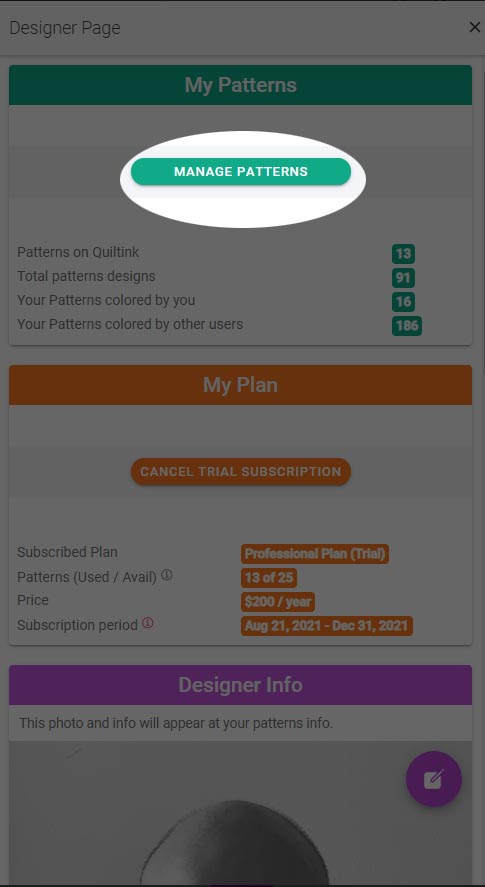
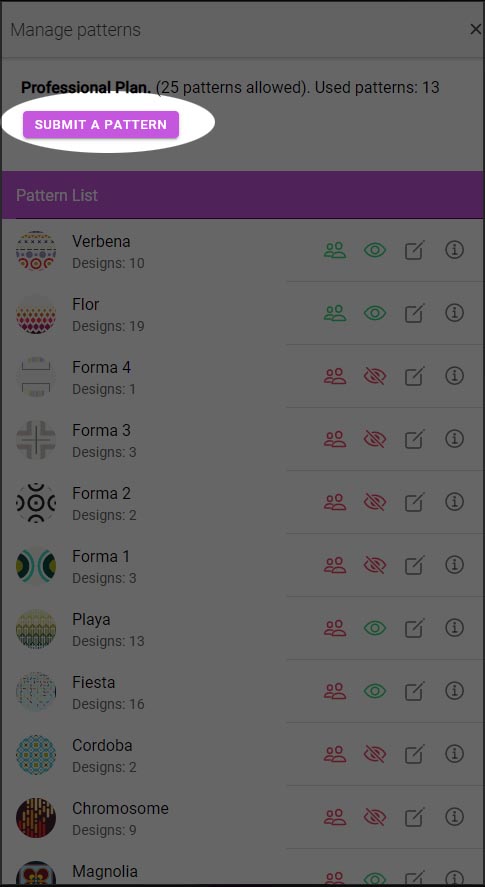
Click on Manage Patterns
Click on submit a pattern.
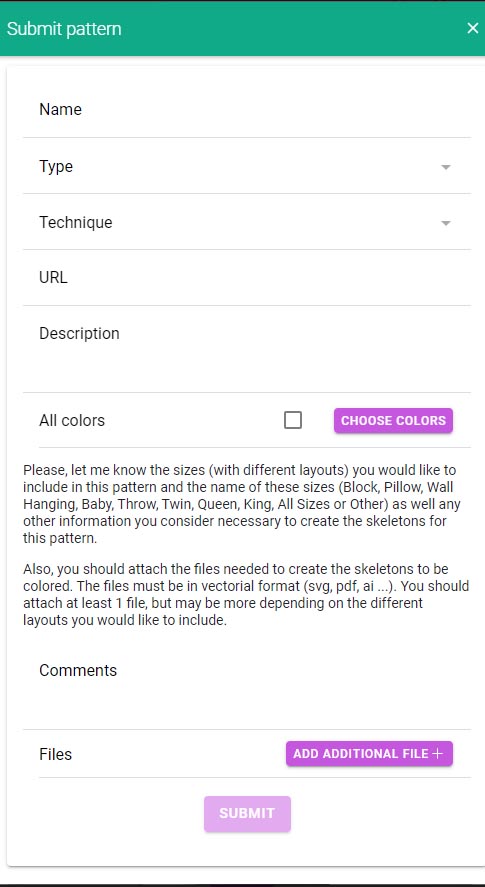
Fill in the form with the information requested:
Once you have finished, upload the files. We need to receive one file per size. Please name the files with the size.